This post may contain affiliate links. See my full disclosure. As an Amazon Associate, I earn from qualifying purchases.
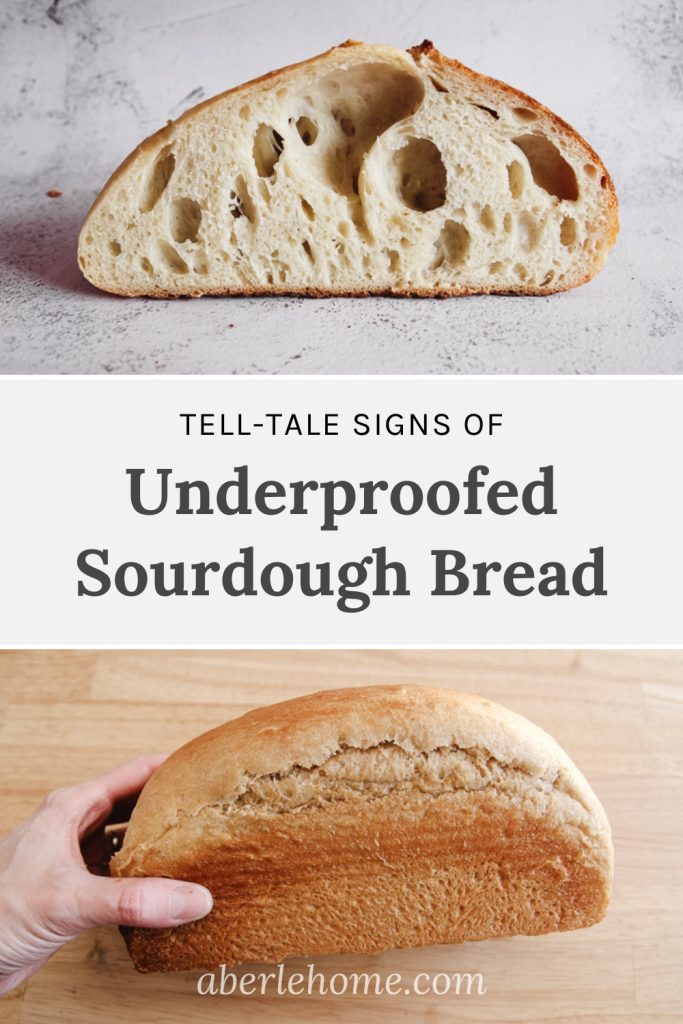
Underproofed bread is a common outcome for beginner sourdough bakers. If you’re wondering why you ended up with a dense and gummy texture, tunneling in the crumb, or a thick hard crust, read on!
Quite often when beginners are requesting troubleshooting advice for their loaves, I’ll notice that their sourdough is under-proofed.
If you’re new to sourdough baking, you may be running into the same issue.
There are certain factors that contribute to underproofed sourdough and some common signs to look for in your finished bread.
What is “Proofing” in Sourdough Bread Baking
The word proof is usually referring to the second, final rise of the dough only.
For our purposes here, however, when we’re talking about the proof, we’re referring to the overall fermentation of sourdough bread.
This includes both bulk fermentation (first rise) and the final proof (second rise) before baking.
You may be wondering what the point of double proofing is in the first place.
The starter needs adequate time to develop strength and flavor in the dough and break down the flour into carbon dioxide gasses and organic acids.
The time allotted to both phases (bulk fermentation and final proofing) is essential to the process.
Under proofed (underprooved) sourdough bread, then, has not been given the time it needs (or perhaps a mature starter) to ferment and rise fully.
It can certainly be difficult to judge when to end bulk fermentation or proofing since so many variables come into play!
You can look at the features of a baked sourdough loaf (including rolls, buns, and any leavened bread) to determine whether or not you properly fermented your dough.
If you did not, you can make adjustments to the process for your next bake.
What is Sourdough Crumb Structure?
The crumb structure is the pattern of holes throughout the bread when you slice it open. The holes themselves are called “alveoli.”
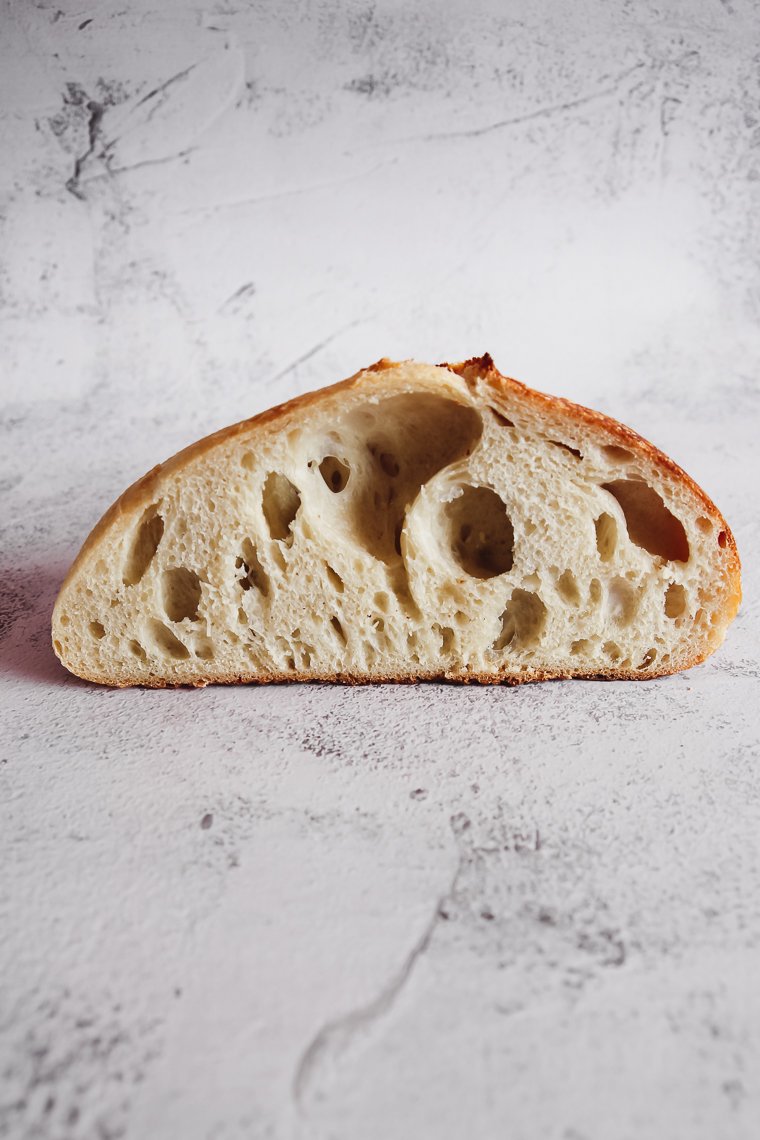
The crumb can reveal a lot about fermentation. I will refer to crumb structure as we discuss underproofed sourdough bread.
Factors That Contribute to Underproofed Sourdough Bread
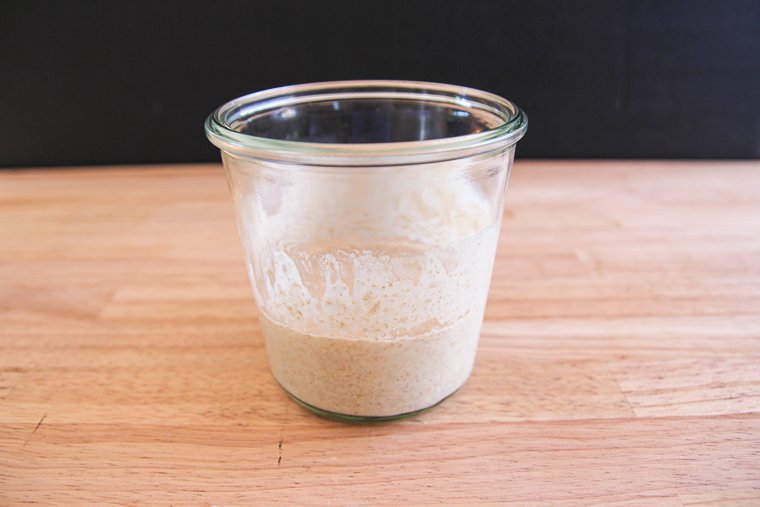
1. A Weak Sourdough Starter
It’s worth noting that loaves may come out grossly underproofed simply because the starter is not established.
A new starter may be showing some healthy signs in the jar, but it may not yet have the ability to leaven bread well.
See this post to know how to tell when a new starter is ready for baking and to troubleshoot issues.
If your starter is not working, your bread will come out looking super dense, pale, and very doughy with little to no rise whatsoever.
Even though you followed a proper baking timeline as written in a recipe, your loaf will turn out basically inedible.
There are two more things to understand if your starter is well established:
- A starter should be used at its peak rise (or shortly after) and not sooner. If you just fed your starter an hour ago and are trying to mix it into your dough before it has risen in the jar, you will stunt the fermentation of your bread.
- If you neglect an established starter by not consistently refreshing it at its peak rise, it will become sluggish overtime. Learn how to maintain a sourdough starter here.
2. A Low Percentage of Starter
The second factor that can contribute to underproofed sourdough is a low percentage of starter.
If you decrease the percentage of starter in your dough or switch to a recipe that calls for a small percentage of starter, know your bread will take longer to bulk ferment.
3. Cool Temperatures
The most accurate sourdough recipes list desired temperatures along with the baking timeline.
This is because a sourdough baking timeline is dependent on the final dough temperature (the temperature of dough at the start of bulk fermentation) and the ambient (room) temperature.
A sourdough proofing temperature between 75°-78° is ideal.
If your temperatures at home are cooler than the recipe writer’s, your dough will rise slower.
There are tricks to increase your dough temperature. You can use warm ingredients and give your dough a warmer environment to rise in (like placing your dough in a proofer box or microwave with the light on inside).
An ambient thermometer and instant-read thermometer are useful tools here.
Ultimately, you have to allow the dough the time it needs.
Use the clock as a framework for the timing, but ultimately learn to read the dough to know when to move on to the next step in the process.
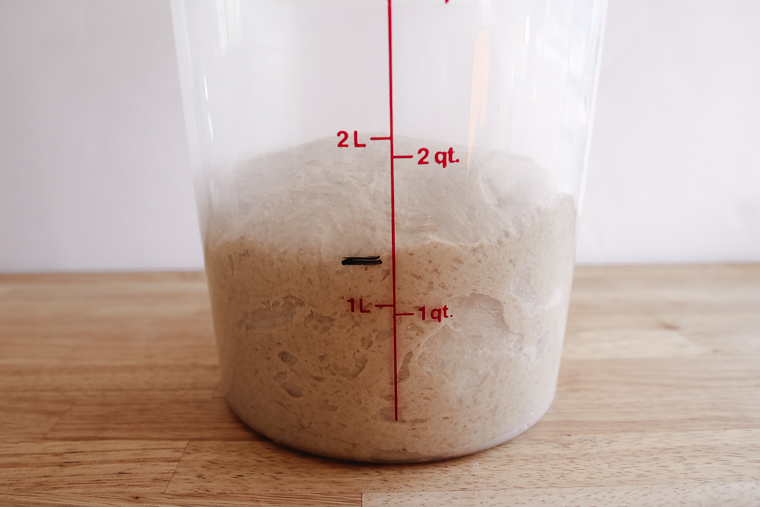
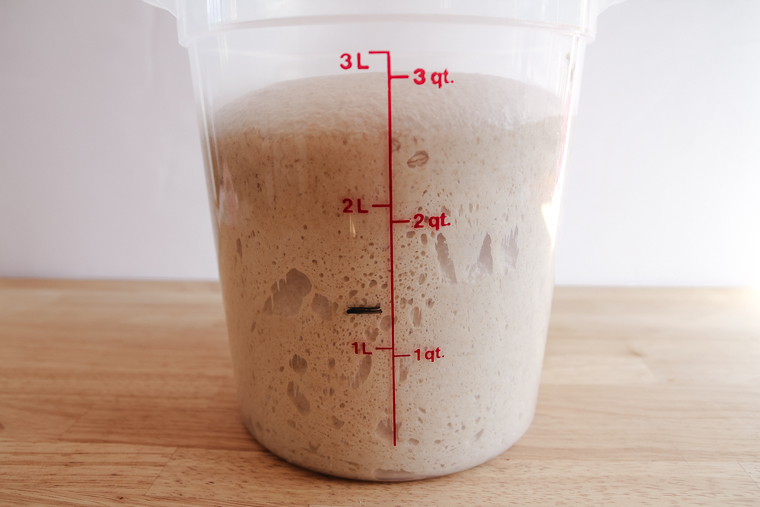
4. Not Bulk Fermenting Long Enough Before a Cold Proof
Many sourdough bread recipes call for an overnight cold proof in the fridge after shaping, but this should follow a warm bulk ferment at room temperature.
Beginner bakers can mistakenly cut the warm fermentation time too short or omit it altogether, believing their bread will rise enough in the fridge.
But the reality is, your dough won’t rise much in the cold, especially if it wasn’t very warm going in.
Tell-Tale Signs of Underproofed Sourdough Bread
Let’s dive in now and go over the common signs that you underproofed your sourdough.
You’ll notice these signs to some degree whether your bread is unmistakably and substantially underproofed or you’re just splitting hairs to perfect your craft.
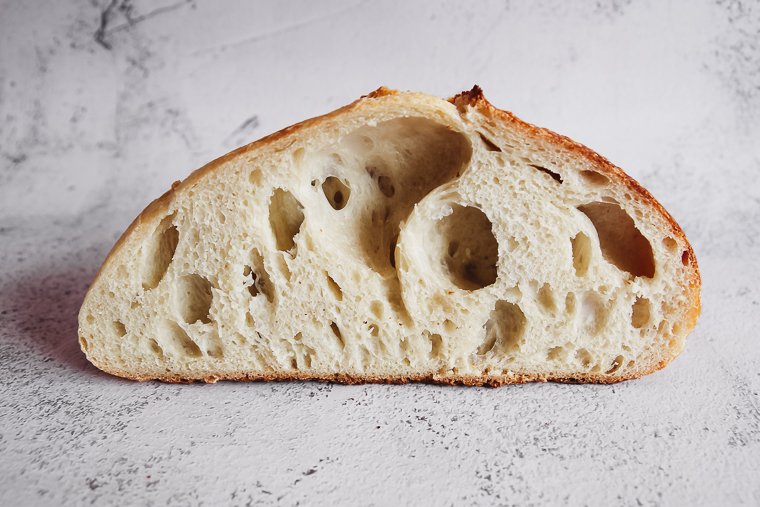
1. Bread Has a Tight Crumb or Irregular Crumb With Tunneling
A very under-fermented loaf may hardly spring up at all during baking, causing a small, dense loaf with a very tight crumb.
Instead of feeling alive and risen with trapped gasses, the dough probably felt rather tight during shaping–much like dough right after its initial mixing.
In a moderately underproofed loaf, though, tunneling will show up in the crumb.
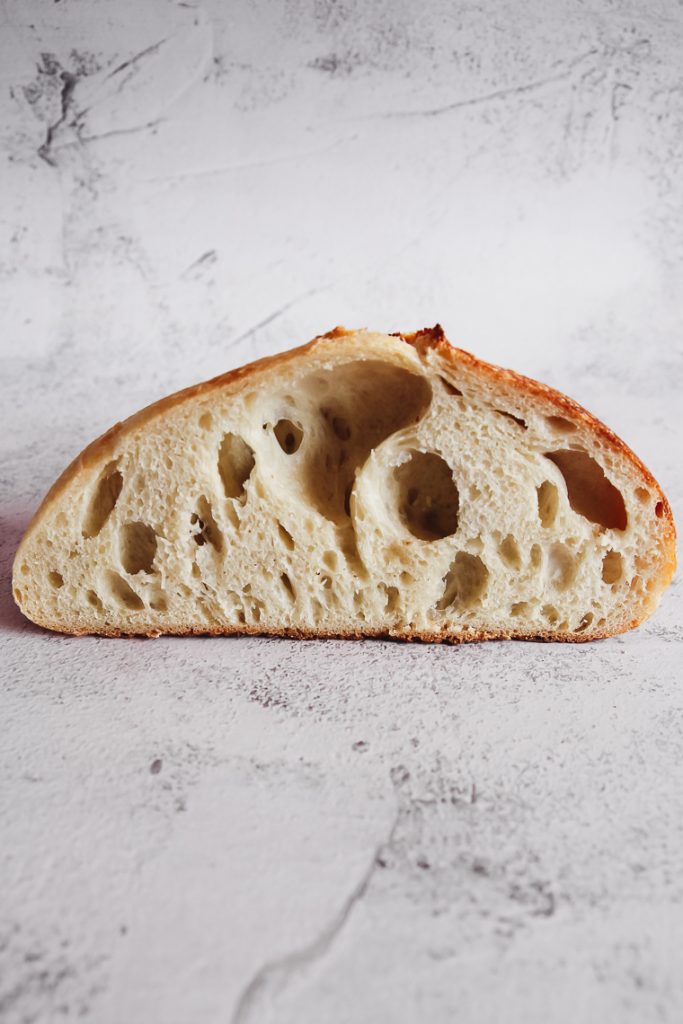

Don’t be fooled as a newbie. This is not the even, desirably open crumb structure that many sourdough bakers aim for.
These tunnels (sometimes very large) jut through the loaf, especially toward the top crust.

Around the tunneling, the small alveoli remain tiny and tight. This crumb structure is a dead giveaway.
2. Sourdough Bread Texture is Dense and Gummy
When the crumb structure doesn’t open up with proper fermentation, the texture of the sourdough bread suffers.
Even the fully baked bread may have an unpleasant slightly doughy and dense crumb (not to mention a bland flavor).
Some may describe the texture as spongy or gummy. The loaf may even have doughy lines running through it, or a sandwich loaf may have a dense line along the bottom.
To rule out underbaking: bread should reach an internal temperature of 200°-210°F (93°-99°C) for a lean dough and 190°-200°F (88°-93°C) for an enriched dough when measured in the center with an instant read thermometer.
Also insure that you’re allowing the bread to cool completely (possibly up to six hours for a large loaf) before you slice it. The released steam of warm bread can cause a gummy crumb.
If these bases are covered and texture issues persists, under-proofing is to blame.
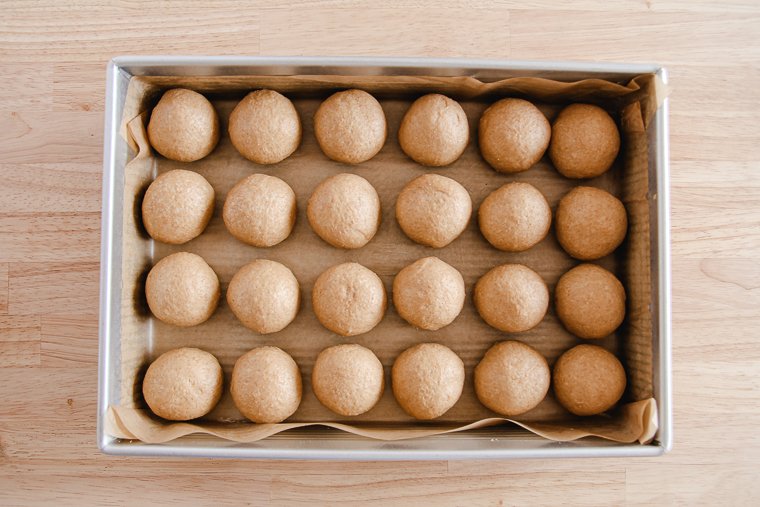
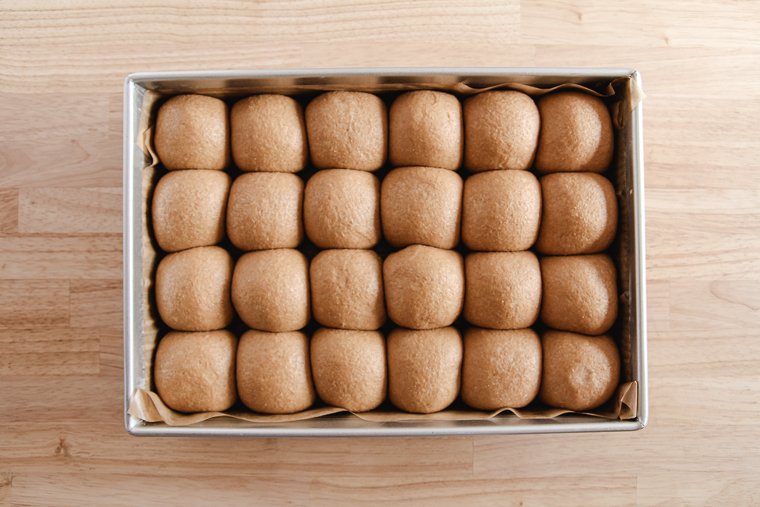
These same texture issues can be observed in bakes that aren’t loaves. Underproofed hamburger buns will have a dense, closed texture when they should be light and fluffy.
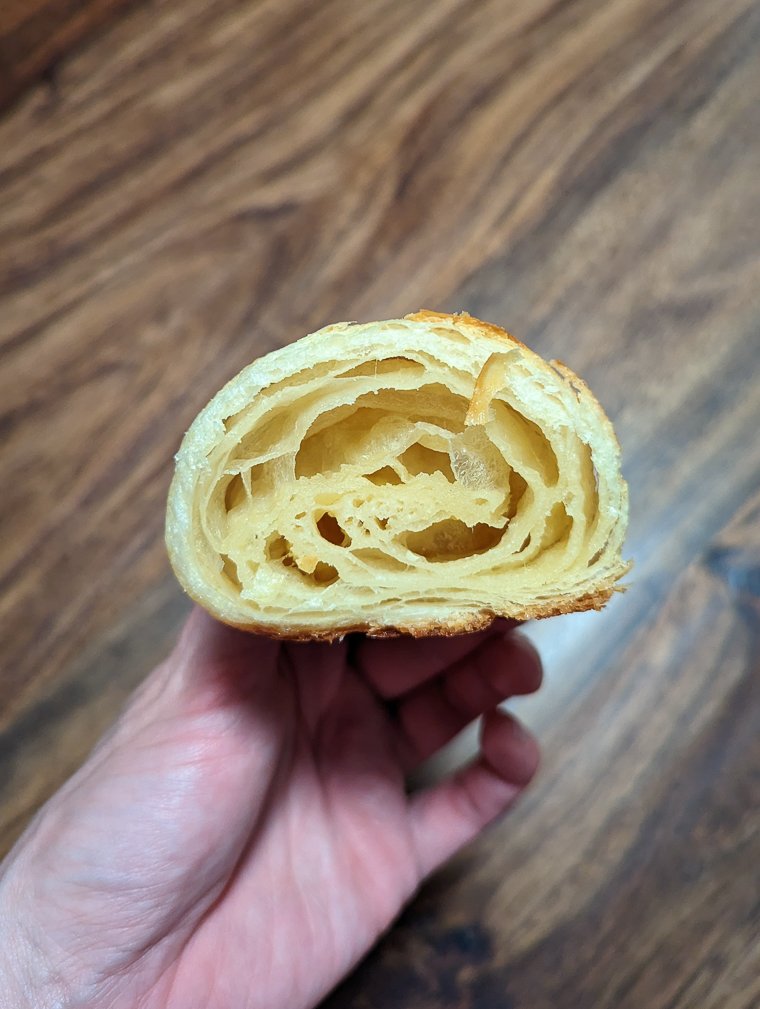
Underproofed sourdough croissants will have a dense, doughy interior instead of a coveted light and flaky open honeycomb.

Pastries like sourdough Danishes will have thick pronounced layering instead of a light, flaky texture.
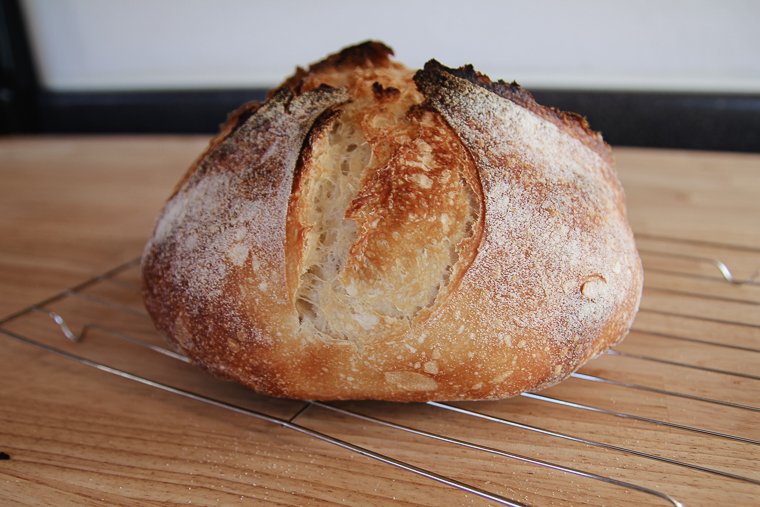
3. Underproofed Sourdough Bread Has a Domed Shape
A common sign of moderately or slightly underproofed sourdough is that it bakes into a markedly domed shape instead of relaxing into a nice round belly.
Dinner rolls, cinnamon rolls, buns, and bagels can also show this shape. This is especially due to cutting the final proof short:
- Bagels puff so high during baking that the holes almost close shut.
- Hamburger buns bake up tall and narrow instead of relaxing into their a typical hamburger-bun shape.
- Cinnamon roll centers pop out during baking despite proper shaping.
- Donuts bulge while frying.
4. Underproofed Sourdough Tearing While Baking
At a point before bread is fully proofed, the dough is left with too much “oomph” from the starter.
At the same time, the dough’s gluten structure hasn’t relaxed enough to allow the dough to expand gracefully while it bakes.
The resulting bread ruptures or tears in the oven.
It will burst in areas where you didn’t score it. Or it may open too dramatically along a scoreline, causing an exaggerated, thick ear that sticks up tall above the loaf.
A underproofed sandwich loaf crust may split open on one side above the edge of the loaf pan.
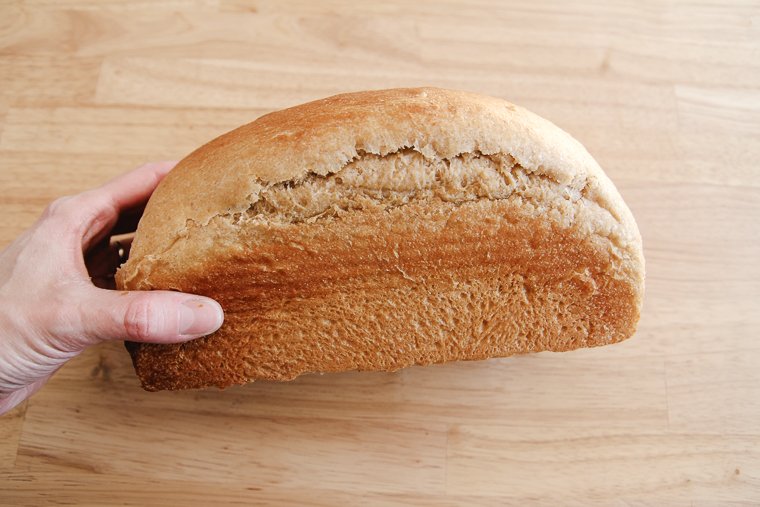
5. Underproofed Sourdough Crust is Too Hard and Thick
The baked outer crust of sourdough bread can tell a lot about how fermentation went.
If the crust of your freeform loaf is nearly to impossible to slice through and too hard to chew, your dough was probably underproofed.
Yes, the crust will be thinner the higher the hydration of the sourdough recipe. Still, with proper fermentation, even a low-hydration recipe should produce a crust that is pleasant to eat.
6. Crust is Pale and Won’t Brown
A substantially underproofed loaf may also have a pale, lackluster crust that just won’t brown during baking. There’s science behind this problem.
Simply put, the starter needs to sufficiently break down the flour in the dough through the process of fermentation.
The resulting sugars and animo acids allow caramelization and the Millard (my-ard) reaction to occur while the bread is baked. These reactions are responsible for the aromatic and flavorful browning of the crust.
So when the flour has not fully fermented in underproofed bread, these reactions can’t take place.
Conclusion
A weak starter and other factors can contribute to underproofed sourdough.
Thankfully, common signs of underproofing make themselves known in the features of the baked bread.
These observations will allow you, the baker, to make timing adjustments to the bulk ferment and final proof for your next bake.
This is the info I was looking for. Thanks!
Glad it was helpful, Chris! Thanks for reading.
Great summary and pix! I learned a lot.
Thanks for reading, Ron!