This post may contain affiliate links. See my full disclosure. As an Amazon Associate, I earn from qualifying purchases.
Do you have the right sourdough bread making tools to easily bake sourdough at home? Here I share my favorites. You shouldn’t have to invest too much money on equipment when you’re starting out. Some creative substitutions can probably be found in your kitchen already.
Having the right sourdough bread making supplies makes all the difference when you’re handling dough.
Obviously, you can dive quite deep into sourdough baking (as with any hobby) and end up spending more, but you really don’t need much to get started.
Let’s go over some essential sourdough bread making tools, and then some that are nice to have if you’ll be baking frequently and continuing to improve your skills as a baker.
I also recommend you visit the post, Sourdough Baking Terms for Beginners if you’re new to sourdough baking.
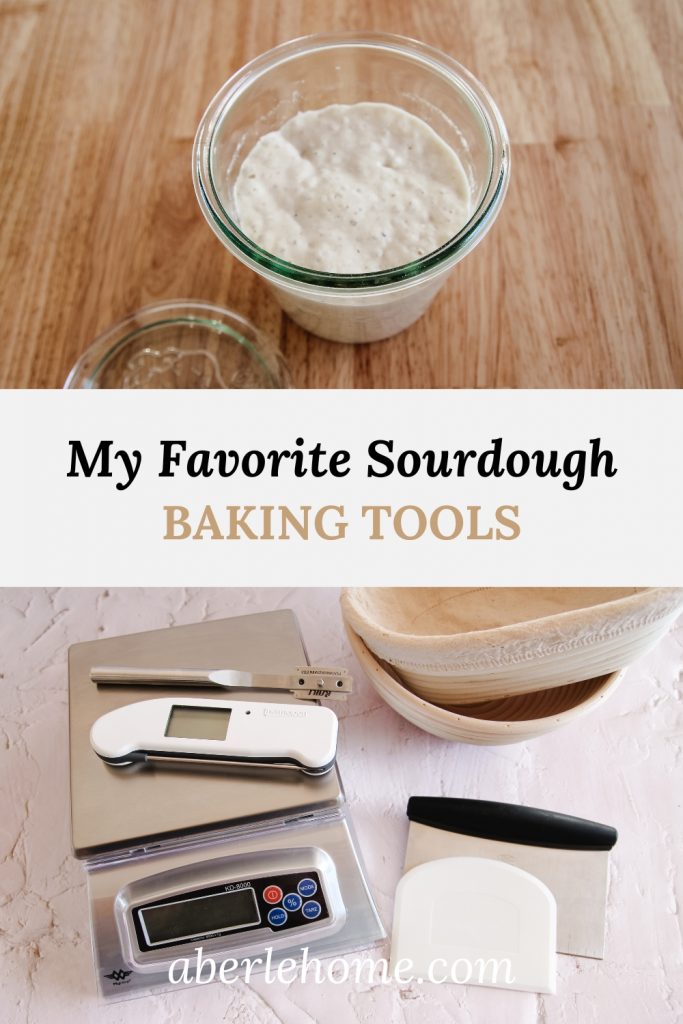
Sourdough Bread Making Tools for the Beginner
1. Equipment for Sourdough Starter
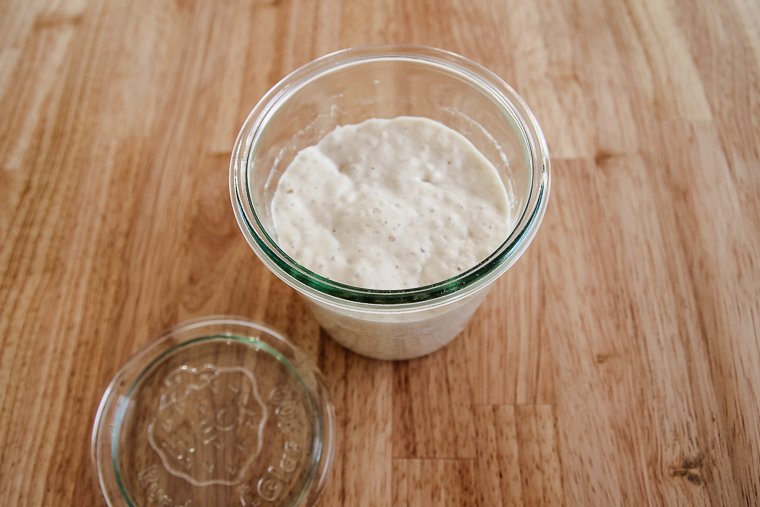
- Sourdough Starter – If you don’t have a starter yet, I go over the process of making a homemade starter in this post: Easy Sourdough Starter from Scratch. You could alternately get some starter from a friend or purchase fresh sourdough starter here.
I also share my favorite supplies for my starter in that post including more information about the jars I use.
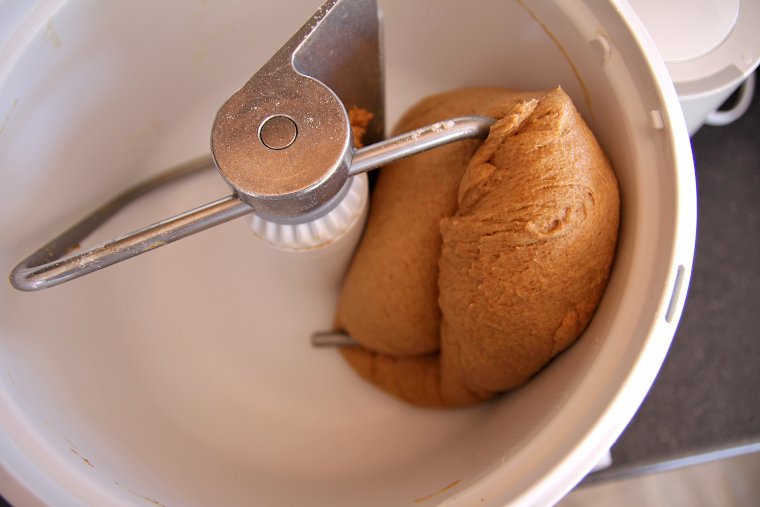
2. Equipment for Mixing and Fermenting Dough
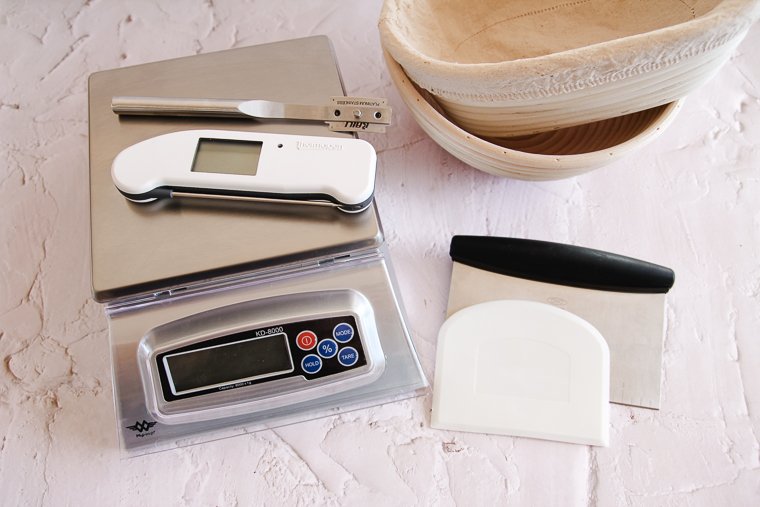
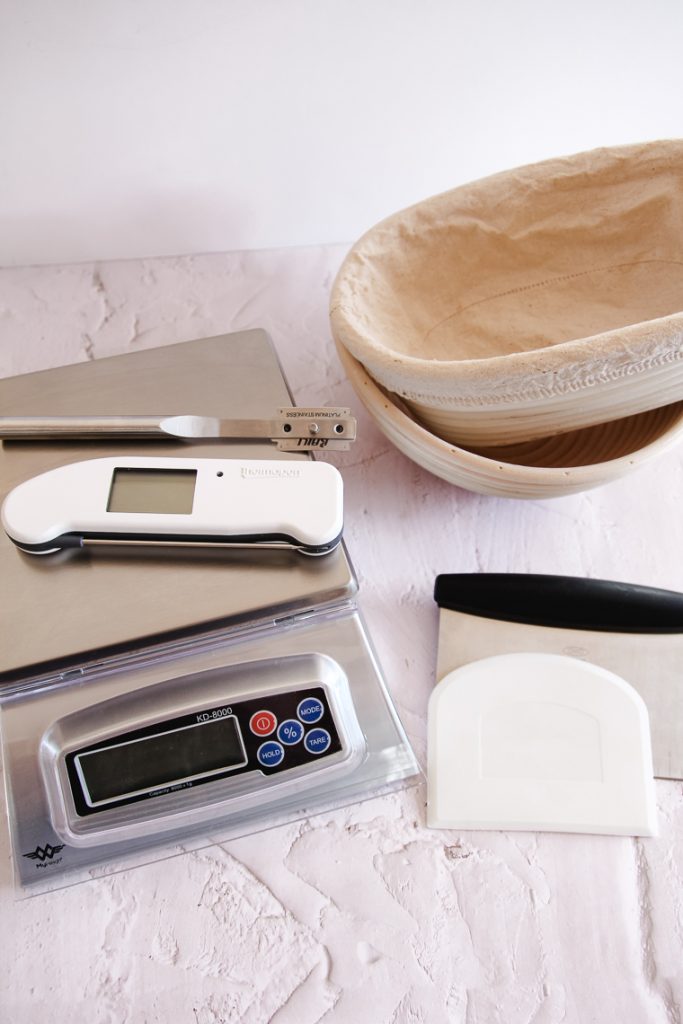
- Digital Kitchen Scale – Though any digital scale will work, this one is my favorite scale. Many sourdough recipes (including recipes on my blog) list ingredients in gram weights instead of volume. This is for accuracy since every person measures differently. A bread recipe can be thrown off quickly by small discrepancies in the amounts of flour and water. If weighing ingredients feels intimidating at first, I promise you’ll get used to it quickly. Simply tare the scale to zero after each addition. You’ll keep your measuring cups clean!
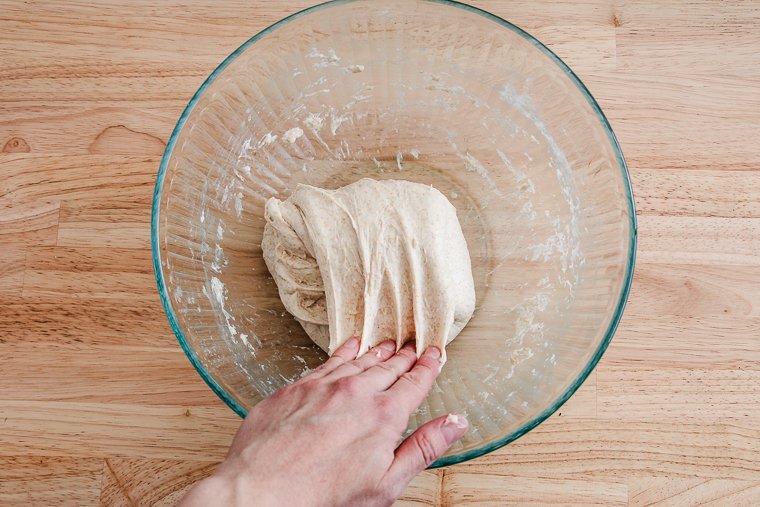
- Large Bowl with a Cover – You’ll need a bowl for mixing and fermenting dough. It needs to be big enough for your dough to more than double in size. I usually grab my large lidded glass bowl from this set because the lid is convenient to prop on to keep the dough from drying out. You can really use any large mixing bowl you have as long as you keep your dough covered with plastic wrap or a reusable bowl cover (or clear plastic shower cap).
- Ambient thermometer – An ambient thermometer can be used to check the temperature in the room where you will be fermenting dough or leaving your starter to ripen. This is another tool for reaching greater consistency in bread baking.
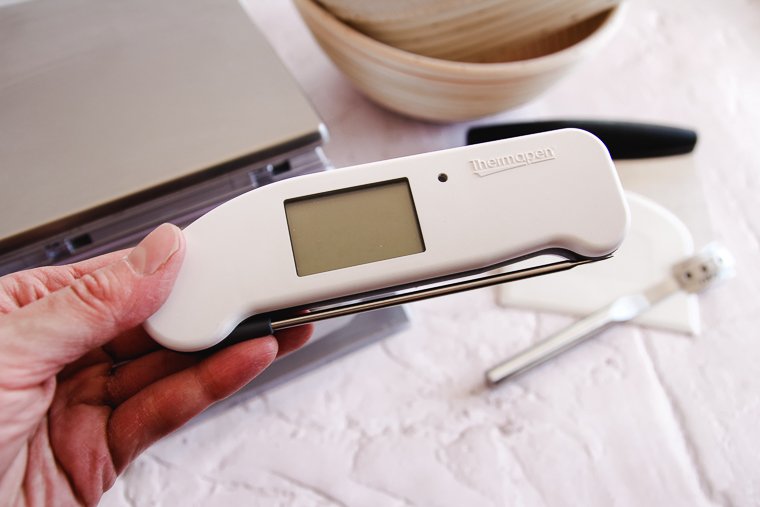
- Instant-Read Thermometer – Use an instant-read thermometer to check dough temperature before bulk fermentation for consistency, or to determine if a loaf is baked through. This high-quality thermometer is my go-to since it gives a quick accurate reading and can be used for a variety of applications in the kitchen.
3. Supplies for Handling Dough
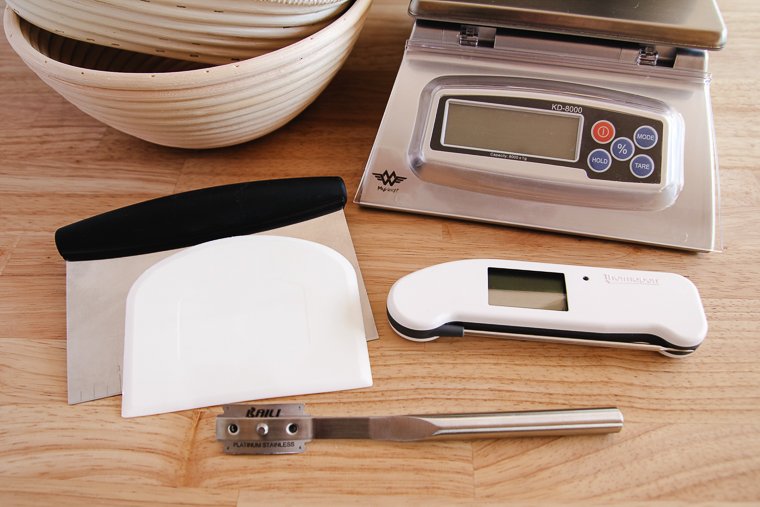
- Bench Scrapers – Bench scrapers (or dough scrapers) function as an extension of your hand when handling sticky dough. They can also be used to clean your work surface, divide dough, and gently coax dough from a bowl. You might notice on my blog that I use both a bench scraper and a flexible bowl scraper at different times. I would highly recommend having these.
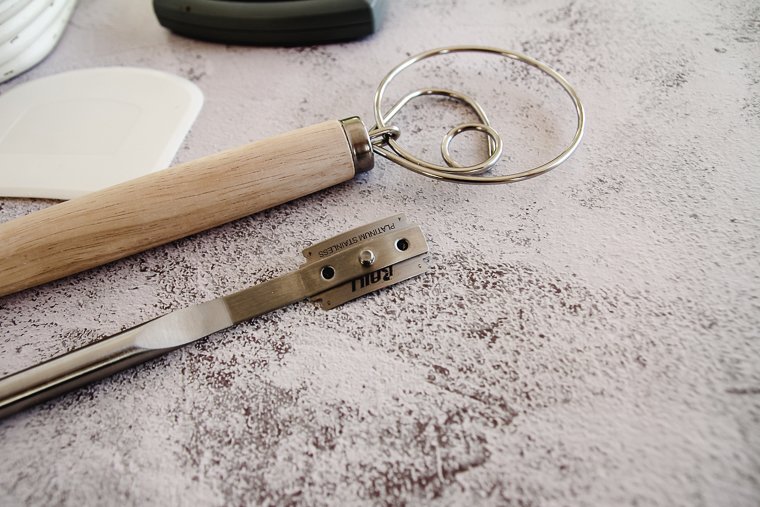
- Bread Lame – A lame (pronounced “lahm”) (get 10% off through my link) is a tool used for scoring dough. It’s superior to a kitchen knife because it will slice through delicate dough without deflating it. Dampen the lame with water to help it slide through easily, hold at a 45° angle, and slash with confidence. Wire Monkey UFO or Goose lames are my absolute favorites for quality and hand-feel (pictured is my old lame), but you can get away with a plain razor blade in a pinch.
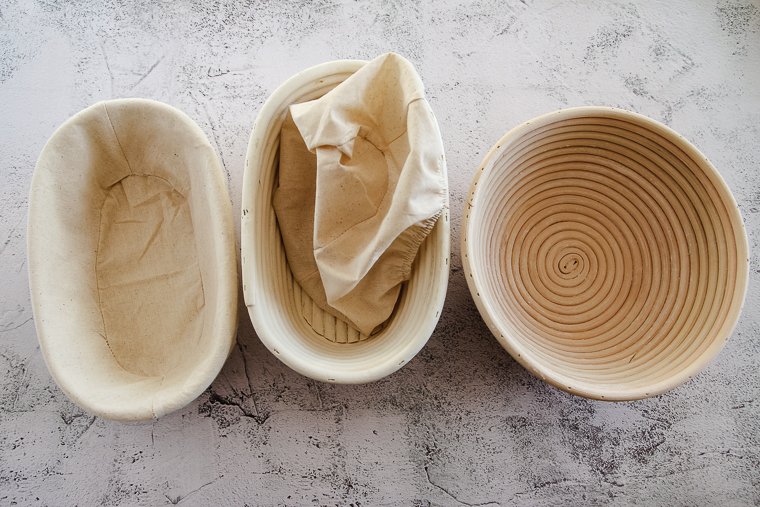
- Proofing basket – a banneton is a cane basket used to hold a loaf while it proofs, helping the loaf to keep its shape. Bannetons usually come with muslin liners, but can also be used without a liner or with a tea towel instead. I own a 10-inch round banneton and a couple of oval shaped ones as well. It’s nice to have at least two baskets to proof two loaves at a time. For a proofing basket substitute, use a similar-size bowl or colander. Simply line it with a clean flour sack towel, dust the towel with rice flour, and you’re ready to place your shaped loaf inside.
- Rice Flour – Grab a small bag of rice flour (your grocery store probably has this in stock) to use to dust your proofing baskets. It works wonderfully to prevent any sticking after a long proof, unlike wheat flour which becomes stodgy and sticky. You’ll thank me later! An equal mix of rice flour and white flour should work fine for dusting as well. Since it takes me a while to go through a bag, I store it in the freezer to extend its shelf life.
- Small Fine-Mesh Strainer – A little strainer will allow you to dust your counter, proofing basket, and loaf with a light, even layer of flour. You could also use a dredge shaker for the same purpose.
- Pastry Brush – You’ll want to have a pastry brush on hand to apply an egg wash to dough or melted butter to the outer crust of a baked loaf. I prefer a wooden brush with boar bristles for a nice even coating.
4. Bread Baking Tools When It’s Time for the Oven
- Parchment Paper – Parchment paper comes in very handy to transfer a loaf into a Dutch oven or to line a baking pan to prevent sticking. It won’t ignite even in high temperatures. This brand in the 12″x16″ size is my favorite. It’s precut to fit a half-sheet pan, which is so convenient.
- Silicone Oven Gloves – I love my Lanon Protection gloves for a little extra protection and dexterity with baking at high temperatures (you can get 10% off with my code ABERLEHOME).
- Lidded Cooker – An oven-safe covered pot like a 6-quart Dutch oven can be used for baking loaves at high temperatures. It transfers heat to dough quickly and traps steam to help the dough to rise to its full potential before the crust sets. There are ways create steam in the oven without using a lidded cooker, but this is the easiest way for a beginner. Plus, it’s such a versatile pot to keep in the kitchen for cooking.
- Baking Steel – If you’re wanting to bake sourdough pizza or flatbread often, you’ll want to have a baking steel. It transfers heat to the bottom of a pizza quickly to promote oven spring and a crisp bottom crust.
- Baking Pans – The baking pans I use the most are my two half-sheet pans (for sourdough soft pretzels, buns, croissants, etc.), 8×8 and 13×9-inch baking pans (for rolls), and 1-pound loaf pans (for sandwich loaves and cinnamon raisin bread). Lately I’m loving the shape my pullman pans give to my pan loaves. I generally choose Nordic Ware or USA brand pans. They have a light-colored coating which keeps my crusts from over-browning. I usually line my pans with parchment paper prior to baking.
- Serrated Bread Knife – Use a bread knife and a gentle sawing motion to slice bread for serving once it has cooled. The serrated blade won’t smash the bread in the process.
- Cooling Rack – Every baker should have a cooling rack in their kitchen to allow baked goods to cool without getting stodgy on the bottom from trapped steam. I like buying commercial quality cooling racks so they hold up a long time.
Sourdough Bread Making Tools for the Advancing Baker
- Grain Mill – Freshly milled flour can add so much flavor and nutrition to your bread. To make flour at home, you’ll need a small electric grain mill. I like my Mockmill 200.
- Cambro Food Storage Container – If you’re having a hard time nailing the timing for bulk fermentation, try using this round food storage container and corresponding lid. It has straight sides with graduations, so you can determine exactly how much your dough has risen. It’s a lot harder to judge this in a regular bowl.
- Danish Dough Whisk – A Danish dough wisk is a flat whisk with layered coils and a thick handle designed to easily mix dough without too much resistance. If you don’t have one of these, you can actually mix your dough with a table knife or your hand.
- Electric Mixer – A Bosch mixer (this is the mixer I have, you can use the code ABERLEHOME for $20 off) with a dough hook can be helpful if you’re baking large batches of bread on a regular basis or want a mixer than can handle long knead times without damage to the motor (like brioche).
- Folding Proofer – A proofer box like this is the way to achieve the most control over the temperature of your dough. If you’re serious about sourdough baking at a higher level, this might be for you. There are other creative ways to keep your dough warm if your house is chilly, though. My favorite way is to put my dough in a turned-off oven with the oven light on.
- Bread Bags – I love using these bags to cover my proofing baskets while the dough is in the fridge overnight and to store bread that I make. They are thick enough to keep the bread in good shape in the freezer and will hold a larger loaf than a gallon-size zipper bag. I also like gifting bread in these bags since they look nice with a twist tie or ribbon.
Conclusion
I hope you now have a greater understanding about which sourdough bread baking tools you will want to have in your kitchen.
Don’t forget to visit the post Sourdough Baking Terms for Beginners and try some of my sourdough recipes when you’re ready. I love to help if you have questions.
Hi I a beginner, I have spent many hours looking for adding on, building up my starter to make bread. Thank you very kindly for the Ratios.
I’m so glad it was helpful, Cheryl!
Funny thing, I just ordered a 50 lb sack of flour and thought, “what on earth was I thinking?” And the next morning your sour dough e-mail arrived. Wonderful reminder to feed my starter and prepare for fall baking weather!
Haha, I love it, Michelle! 😂