This post may contain affiliate links. See my full disclosure. As an Amazon Associate, I earn from qualifying purchases.
You’ve just made a brand new sourdough starter from scratch or received some from a friend. What do you do with it now? I’ll show you how to feed and maintain a sourdough starter (the easy way!) to keep it happy and healthy for baking.
In my previous post, I shared my method for making an Easy Sourdough Starter from Scratch. If you don’t have a starter of your own yet, you can visit that post to begin the process!
You can also purchase a fresh sourdough starter here.
Once you have a mature, bubbly starter in your hands, it’s time to learn how to feed, use, and maintain your sourdough starter.
Caring for sourdough starter is the part that seems to scare people at first. The process is not hard, but there are different ways to go about maintaining a starter (which you’ll quickly realize if you start perusing the internet).
Not to worry… I’ll break down the basics for you in a straightforward way. You’ll fall into a comfortable routine of your own as you get going!
You’re already well on your way to baking delicious homemade goods like Sourdough Cinnamon Raisin Bread, Soft Sourdough Breadsticks, or Sourdough Pizza Crust.
Additional Sourdough Guides for Beginners:
How to Feed a Sourdough Starter
Since your starter is a living fermented culture, you’ll refresh or “feed” it regularly by removing extra starter and stirring in new flour and filtered water. (We’ll talk about how much in a second.)
You’ll need to feed the starter to activate it before adding it to a recipe.
Start with a digital kitchen scale to weigh your ingredients accurately. Tare the scale out to “zero” before each new addition. Choose a jar or bowl that will allow sufficient room for your starter to almost triple in size.
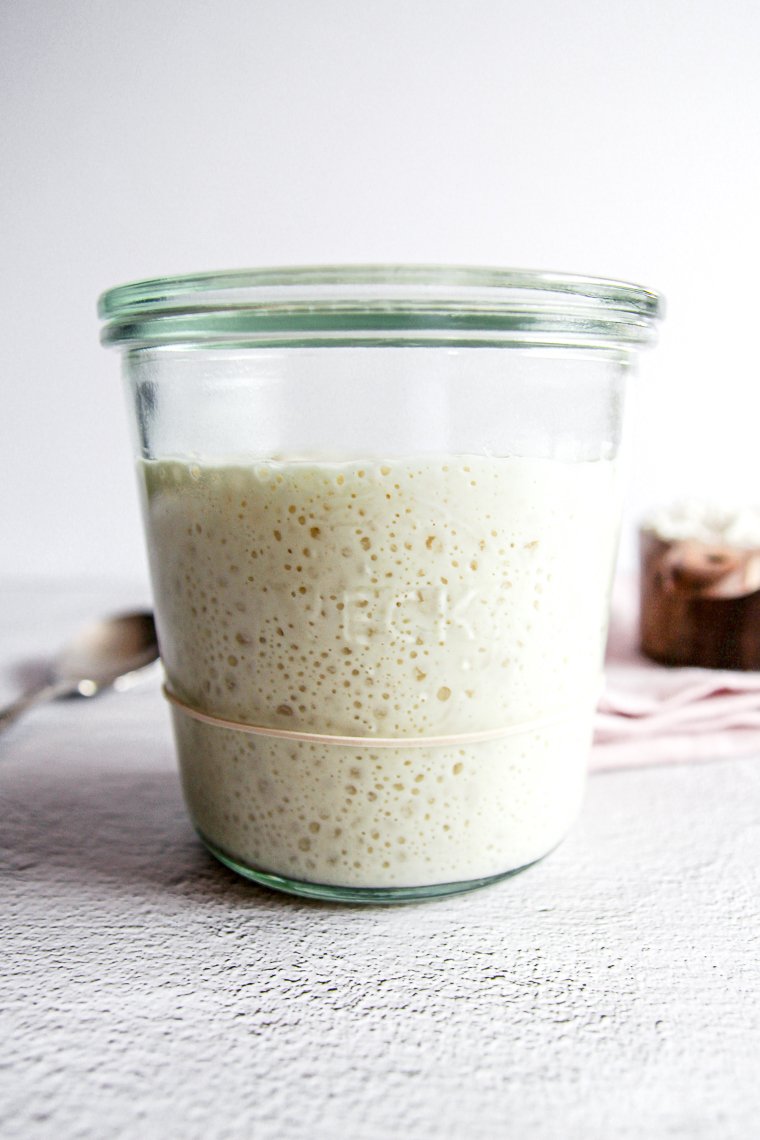
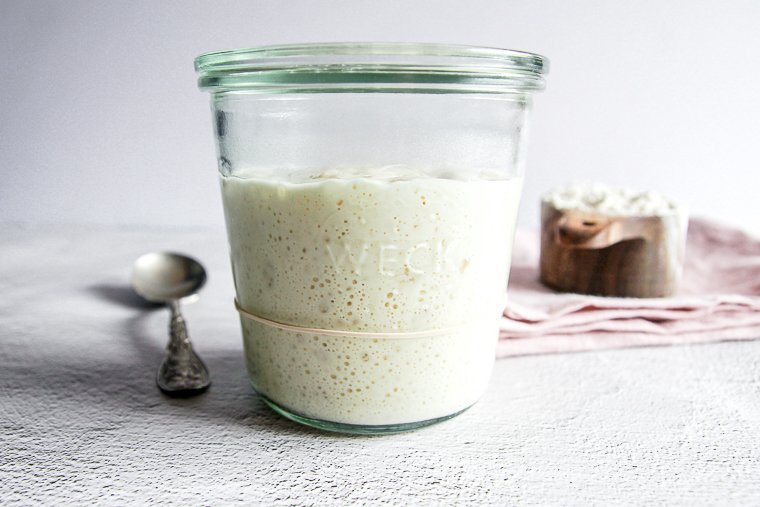
I like a 3/4 liter Weck jar. The mouth is nice and wide and the glass lid can be used without the gasket.
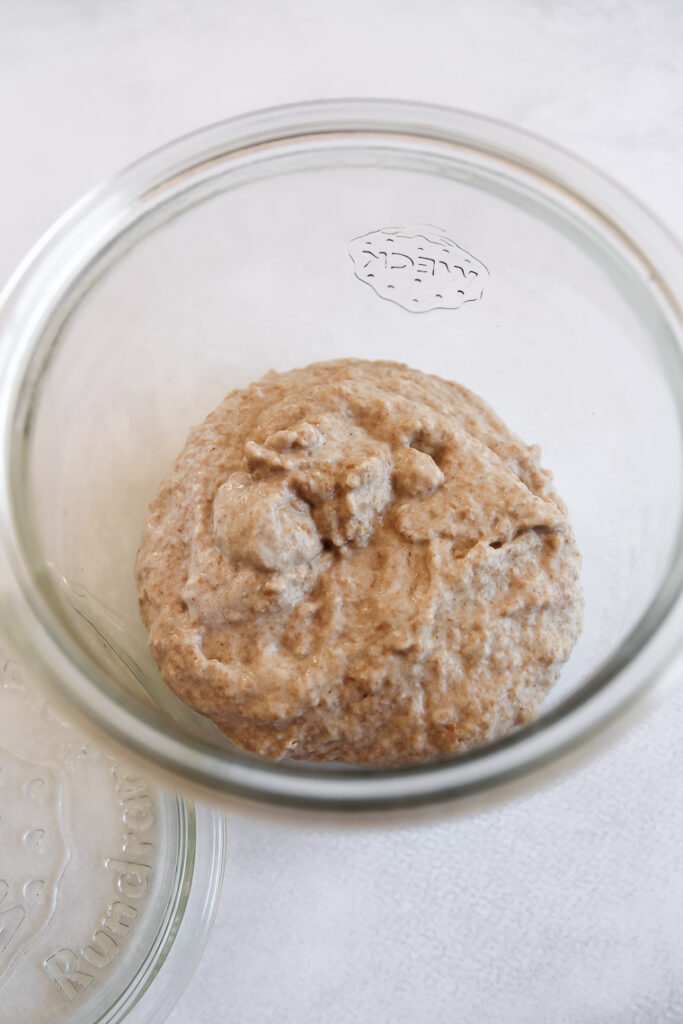
Stir together the starter, flour, and water with a silicon jar spatula. Scrape the inside edges as clean as you can.
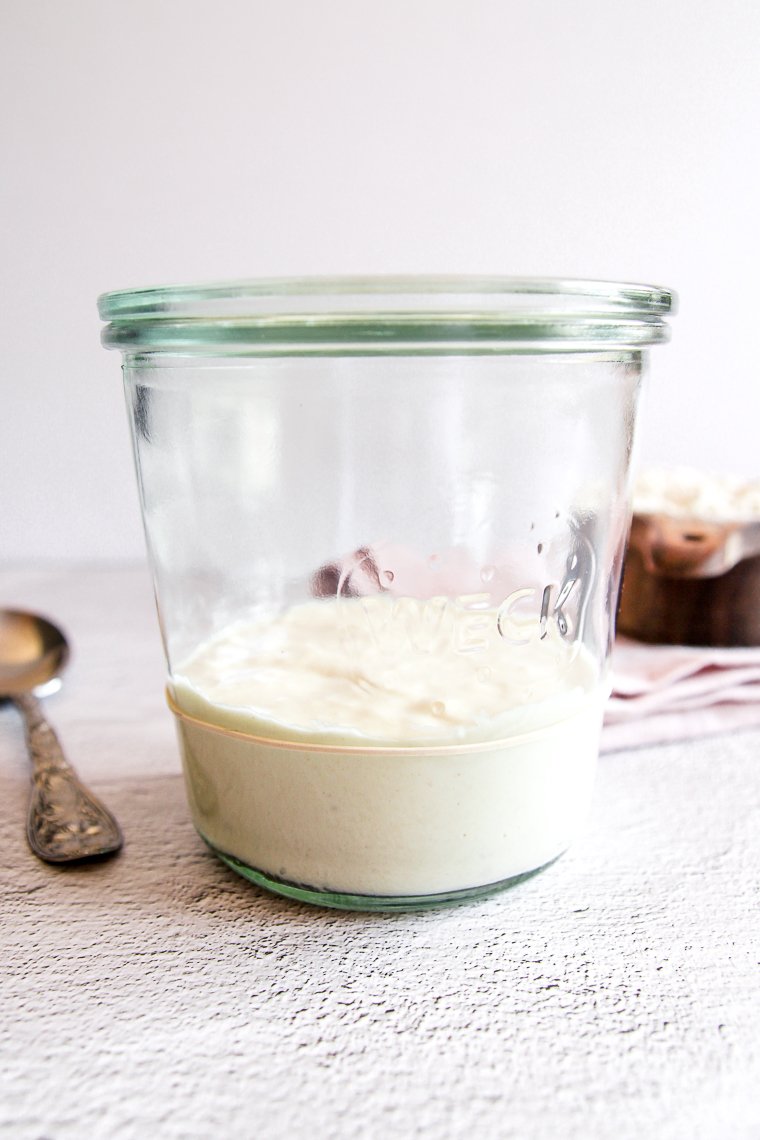
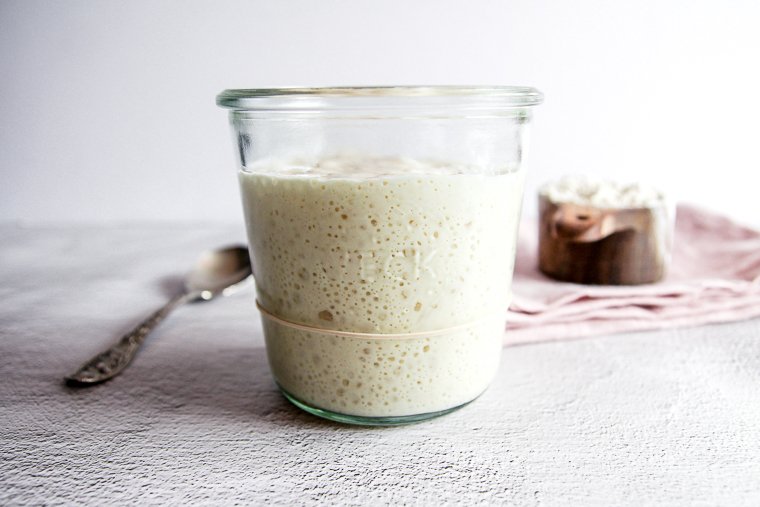
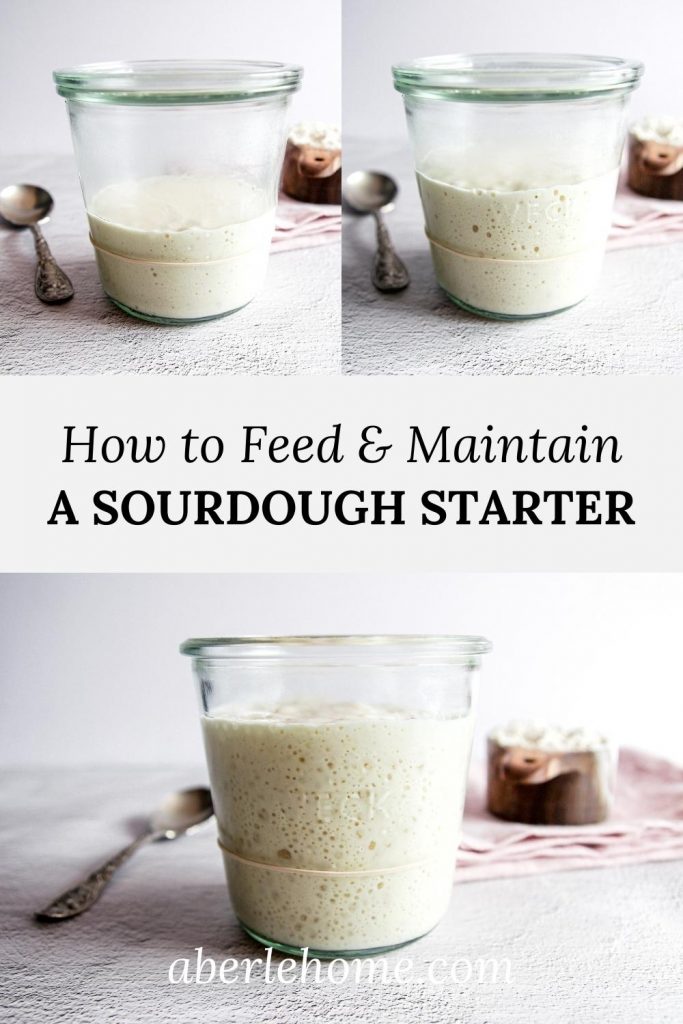
You can place a rubber band at the starting point if you want to clearly see how much it rises. It also works to draw a little line with a dry-erase marker.
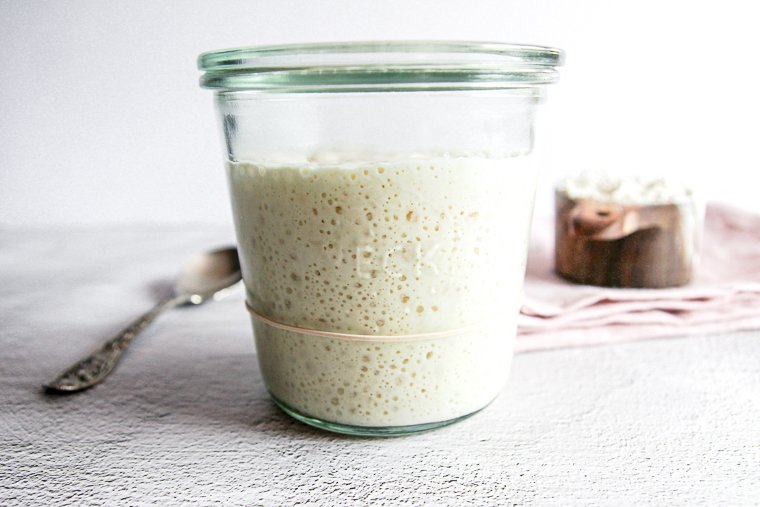
Cover the fed starter with a loose-fitting lid and allow it time to become “ripe” (active) in the jar.
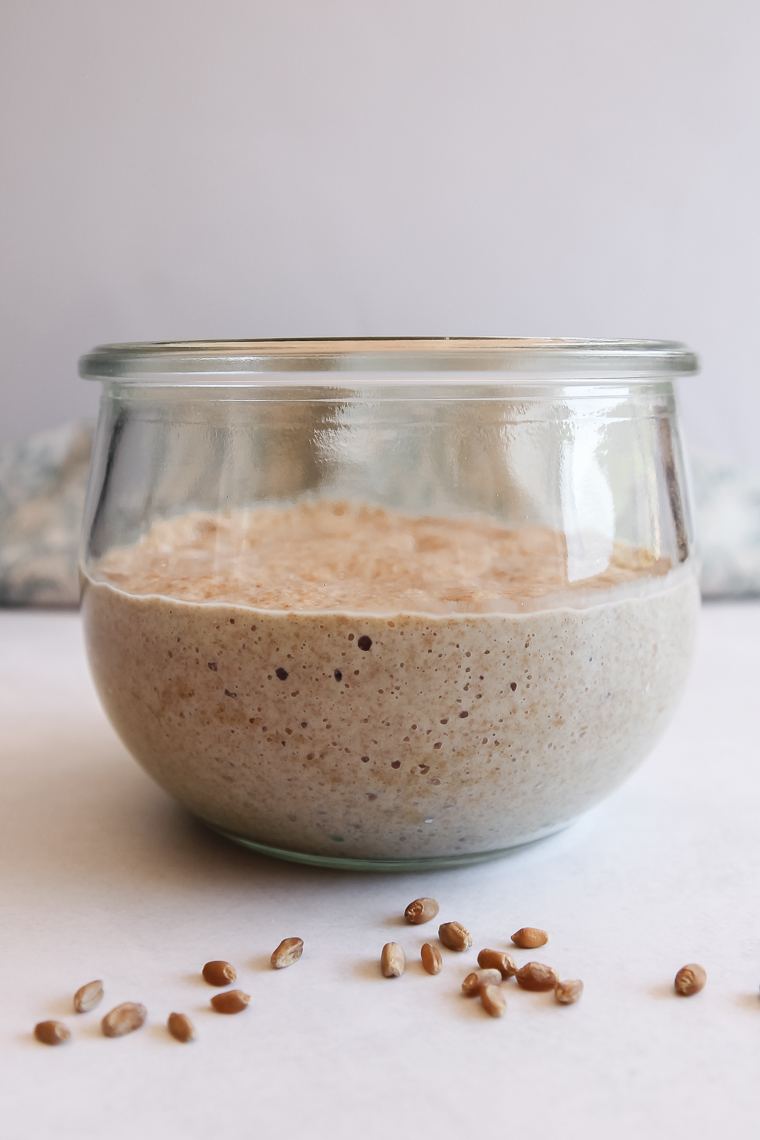
Note: A starter is considered “ripe” or “active” when it reaches its peak (highest possible point) in the jar or has just begun to fall from its peak. It should have doubled or tripled in size depending on the flour used. It will look airy with lots of bubbles throughout (and even on the surface), flattened on the surface, and have a yeasty, sweet, and slightly sour aroma.
This is the point when you’ll use it in a recipe (or discard) and feed it again.


Understanding Feeding Ratios
You can build your starter up or scale it back anytime you need to.
No matter how big your starter, a base feeding ratio is 1 part starter, 1 part flour, and 1 part water by weight. An example would be 100 grams starter, 100 grams flour, and 100 grams water.
Note: Feeding a starter with equal weights flour and water maintains a “100% hydration starter.” This consistency of starter is standard for most sourdough bread recipes.
With this 1:1:1 feeding ratio, you can expect your starter to become active in about 4 hours at 75°F (23°C) if you’ve used room temperature water. (You will avoid growing a giant starter and wasting flour by discarding extra before you feed the starter again.)
A whole wheat starter will ripen slightly quicker than a white flour starter at the same temperature.
You could also choose to feed your sourdough starter with a greater ratio of flour and water if you need to build your starter bigger or you want it to rise slower. Examples include a 1:2:2 ratio: 50 grams starter, 100 grams flour, 100 grams water; a 1:3:3 ratio: 50 grams starter, 150 grams flour, 150 grams water; etc.
But notice that we feed it at least its own weight in new flour and then add water to match the weight of the flour. You shouldn’t feed a sourdough starter a smaller ratio of flour and water.
You can build your starter up with successive feedings (allowing it to peak in between feedings) if you really need a large amount.
Always insure you’ll end up with enough ripe starter to save some for next time after you take what you need for a recipe.
Using Feeding Ratios and Temperature to Your Advantage
Since you want your starter to peak around the time you’re ready to bake, you can use feeding ratios to your advantage to control how fast or slow your starter will ripen.
The temperature of your water and your kitchen are two other variables that come into play. Cooler temperatures will slow the activity of your starter, while warmer temperatures will speed up the process (70°-80°F is ideal for a starter).
So as an example, if I am feeding my starter before bed and want it to peak in the morning for baking, I may feed with cold water using a 1:3:3 or 1:4:4 ratio. My kitchen is usually cooler at night which will also keep it from peaking too early.
If I am feeding in the early morning and want it to peak quickly so I can start a recipe late morning or early afternoon, I could feed using a 1:1:1 ratio with lukewarm water and place it in a warm spot.
If your kitchen is chilly, you can place the jar of starter in a folding proofer box or in a microwave with the door ajar to keep the light on. You could also try wrapping it in a towel or setting the jar in a bowl of warm water.
An ambient thermometer is inexpensive and helpful to place next to your starter so you know what the temperature is for sure.
How to Maintain Sourdough Starter (Easy Refrigerator Method)
If the living yeasts and bacteria in the starter are often left to starve between baking projects, you’ll end up with an overly acidic starter that isn’t able to leaven bread productively.
While your starter is out at room temperature, it will need to be fed every time it peaks in the jar (probably twice a day).
This would be an overwhelming maintenance routine if you’re only baking 1-3 times per week, and you’d probably be discarding a lot of starter to boot.
The easy solution is to slow the activity of your starter by storing it in the refrigerator until you’re ready to activate it for baking.
Using Sourdough Starter from the Fridge
Several hours before you’re ready to bake, remove the starter from the fridge and stir it together if there is any separation or liquid floating on the surface.

Option 1 (Feed the Whole Jar):
Discard excess if necessary and feed the starter (enough for the recipe plus 100g or so extra to store). As soon as the refreshed starter peaks in the jar, it’s ready to go.
After you use most of the starter for baking, place the lid snuggly on the remaining starter and place it back in the refrigerator.
You can wait to feed it until the next time you pull it out to prepare for a baking project, or feed it, allow it to peak, and then place it in the fridge.
Option 2 (Make a Levain):
Remove just enough starter from the mother starter to feed for a recipe.
For example, if the recipe calls for 90 grams of ripe sourdough starter, remove 30 grams from your jar to feed with 30 grams flour and 30 grams water.
This prepared starter is called a “levain.” Once the levain ripens, you can add it to your dough. (If a recipe actually instructs you to make a levain, the author will tell you exactly how much starter, flour, and water to mix.)
If you still have a good amount of mother starter remaining, you can simply place the jar in the fridge for later in the week.
If you’re running low on mother starter, give it a feeding, allow it to peak, then place it in the fridge.
This is all the attention your starter will need as long as you bake at least once a week. If you take an extended break from baking, pull your starter out once weekly, feed it, and place it back in the fridge.
Reviving a Sluggish or Neglected Sourdough Starter
If you haven’t touched your starter for over a week or you change the type of flour you’re feeding with, refresh it with 2-3 feedings in succession at room temperature (allowing it to peak with each refreshment) to strengthen it before baking again.
Your starter will likely survive even a couple months of negligence in the fridge, it will just need some regular feedings at room temperature to bounce back.
Once it’s consistently rising and bubbling as usual, you can use it for baking and resume a normal maintenance schedule.
One last consideration: Don’t feed a starter until it’s hungry. Feeding a starter that hasn’t ripened first is a sure way to weaken your starter.
Sourdough Starter Maintenance FAQs
1. How soon after feeding sourdough starter can I use it?
Ideally, you’ll use your starter at its peak (or highest point) in the jar.
As we have discussed above, many variables come into play to affect how slow or fast your starter will ripen. A healthy starter fed at a 1:1:1 ratio with room temperature water will likely become active in about 4 hours at 75°F (23°C).
2. What can I do with discard starter?
You can save discarded starter in a separate container to use in a “sourdough discard” recipe like pancakes, waffles, muffins, or banana bread. These recipes are specifically formulated for sourdough starter that isn’t fed.
Discard can also be composted or fed to backyard chickens.
3. How can I maintain my starter at room temperature if I will be baking daily?
If you choose to bake nearly every day of the week, it would be most convenient for you to keep your starter out at room temperature so it’s always ready to go when you are.
I would recommend refreshing the starter every 12 hours. This would give you two opportunities to use the starter when it’s ripe: either in the morning or in the evening.
Use a small amount of starter (e.g. 20-50 grams) and a large enough ratio of flour and water to make enough ripe starter for a recipe leaving 20-50 grams of starter for next time.
Your goal it to get your starter to peak consistently around each 12 hour mark.
You can do a little experimenting to get your feeding ratio right for the temperature of your kitchen so that it’s not peaking too early. A 1:4:4 or 1:5:5 ratio might be just right.
If it peaks too fast, decrease the amount of starter in your ratio the next go around. You can also try setting it in a cooler part of your home and use cold water to refresh it.
If it’s taking longer than 12 hours to peak, use slightly more starter in your ratio next time. You can try keeping the starter warmer (75°F is ideal) and refreshing with lukewarm water.
Obviously, the time of year can affect how quickly your starter peaks. It’s a learning curve at first to maintain starter at room temperature, but you’ll get into a grove with your maintenance routine before you know it.
4. Do I have to use all-purpose flour to feed my sourdough starter?
All-purpose flour is inexpensive and practical to use in both white bread recipes and recipes with wholegrain, but you have other options!
You can feed a sourdough starter with bread flour or organic flour. You’ll just want to avoid bleached flour.
You can surely switch your starter to a wholegrain (wholemeal) flour (or a combination) if that suits your baking preferences or gives your bread certain characteristics you’re after. Common flours to use would be whole wheat or rye flour.
If you’re milling your own flour at home for baking, then you’ll probably want to keep a whole wheat starter.
Some bakers also choose to switch their starters to wholegrain flour temporarily to strengthen the starter.
You can switch the flour you’re feeding with anytime. It’s possible that your starter may need a few regular feedings at room temperature to adjust to the change.
5. How do I know if I have killed my starter?
If you’ve added water above 120°F to your starter or if you notice fuzzy or colorful mold, you will want to toss it and start again.
More likely, though, you’ve neglected your starter for a while and it just needs some TLC. It may have gray/brown liquid (called “hooch”) floating on the surface, but that is nothing to worry about.
Remove any dry crusty bits from the top of the starter. Pour off the hooch.
Keep the starter out at room temperature and feed at a 1:1:1 ratio every 12 hours until it exhibits all the signs of a healthy starter again.
6. Can I keep my starter at a different consistency than 100% hydration?
Yes, you can keep a starter that is more dry or wet, but a 100% hydration starter is probably the most practical for the home baker.
This is the consistency that most sourdough recipes are built upon, and you won’t have much maintenance or discarded starter if you store it in the refrigerator between bakes.
Dry starters require more effort to incorporate into a recipe (physically and mathematically), and wetter starters can ripen too quickly.
A levain can be made when a stiff starter is needed instead of making the mother starter more dry.
7. What is a levain?
I touched on this above, but some sourdough recipes will direct you to create a levain (also called “leaven,” or “prepared starter”) to add to the dough mixture later. Don’t let the terminology scare you; simply follow the directions in the recipe.
A levain is basically a preferment (made from a little of your ripe starter, flour, and water) that will have certain characteristics to affect the flavor or performance of the dough you’re making.
A levain allows you to make a starter especially suited for a particular bake (with a certain texture or a certain type of flour) without making any changes to your mother starter.
Hello,
I have about 4 cups of starter in my fridge. I feed it each week. I never pour off the hooch, I mix it into the starter when I feed it.
Am I ok with my sourdough routine?
Thanx,
Missy
Hi Missy! It’s fine to mix in the hooch when you feed weekly. Better to pour it off if the starter has been neglected.
Hi, I need some help. I have 3 jars of starter/discard. I’m getting myself all confused with what to do with what. So can you help me.. I just took a jar and am trying to revive my starter. I added 25g of the wet starter, 25g of flour and water. I have that in a warm spot. I have 2-3 bigger jars that have liquid dough in them. Do I just measure what I have in those and then feed them? Let them sit out over night? I’m wanting to make bread. Help
Hi Melissa, feel free to email me through the contact form if you’re still having trouble. There’s no need to keep that much excess discard around and feed extra jars of starter, if that makes sense. Also, if your starter is in the creation stage, you won’t want to eat the discard at all. If your starter is showing signs of maturity, though, then it’s okay to use it for baking bread.
Love all the good information. I would like to make my sourdough loaf taste a little more sour. How would I work my starter to accomplish this?
Hi Kate, for a more sour flavor, I find it helps to use the starter a little past its peak (when it has started to fall in the jar), add a little whole wheat flour to the recipe, and use a recipe that retards the dough in the fridge overnight.
Hi Leanna,
Thank you for the easy to understand directions for starting a sourdough starter. I am on day 10 for a new starter using all purpose unbleached flour. It is bubbling, but not rising very much. My kitchen is between 73-75 F. On day 8 I used the 100% hydration ratio as usual but for the flour i fed it a mix of 3/4 AP and 1/4 whole wheat flours. I’m feeding every 12 hours. Today it still hasn’t risen more than maybe 15%. Any guesses as to why it is still sluggish?
Thank you for your help.
Hi Nancy! If your starter is still sluggish, I would recommend feeding only once every 24 hours until it shows signs of maturity. Then you can move to a normal maintenance routine, giving it peak-to-peak feedings or storing it in the fridge.
Thank you so much. I’m reading up. You sound like an expert. My starter is only on day 2! Yikes! Worried also that I might GAIN weight if it turns out too good! lol.
You made me laugh! Thanks for reading, Betty.