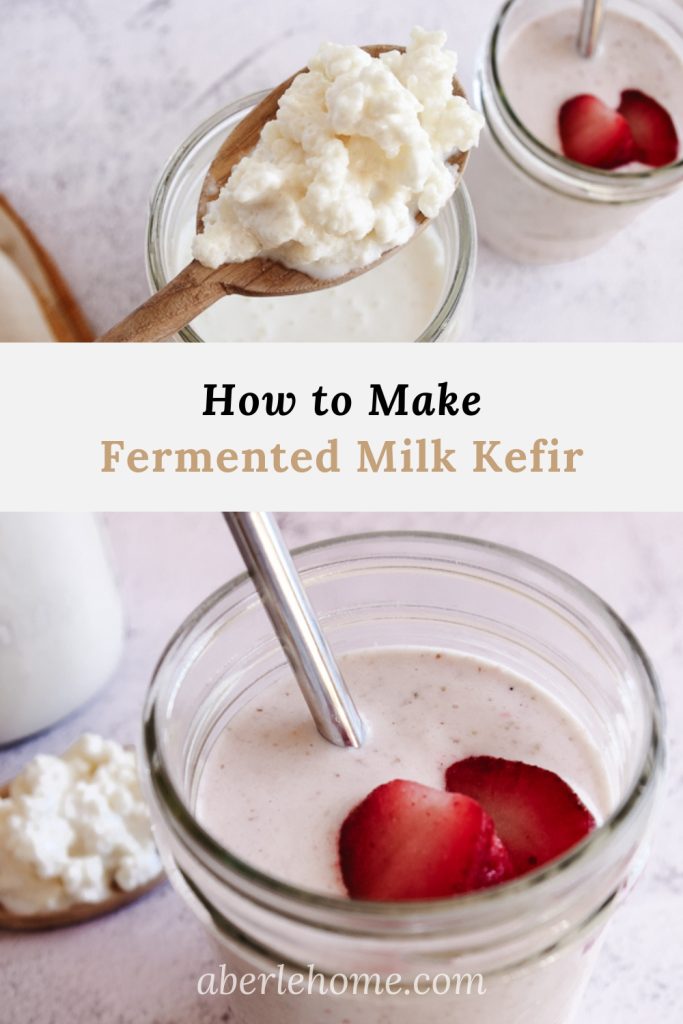
This post may contain affiliate links. See my full disclosure. As an Amazon Associate, I earn from qualifying purchases.
Learn how to make creamy, probiotic-rich milk kefir at home! Kefir yogurt is one of the easiest fermented foods you can make yourself.
I love baking with sourdough and making fermented foods like lacto-fermented jalapenos and sauerkraut.
Kefir (pronounced kuh·feer) is one of the easiest fermented foods we make in our home, and everyone in our family enjoys drinking it!
(Homemade cultured buttermilk or Instant Pot yogurt in jars are two other easy cultures you may like to try.)
You’ll easily spend over $4 for a small bottle of kefir at the store, but once you have your own starter grains, you can make homemade kefir for the price of your milk.
The process to make milk kefir is very simple. There’s no need to heat the milk or measure temperatures. The kefir can be ready to consume the very next day.
I’ve been making it for several years now after I received my starter culture (called “milk kefir grains”) from a friend.
You can purchase fresh milk kefir grains from Cultures for Health here.
I’ll share how to make the most creamy and thick milk kefir!
What is milk kefir?
Milk kefir (sometimes called kefir yogurt) is a fermented beverage made using the starter culture. It’s similar to drinkable yogurt.
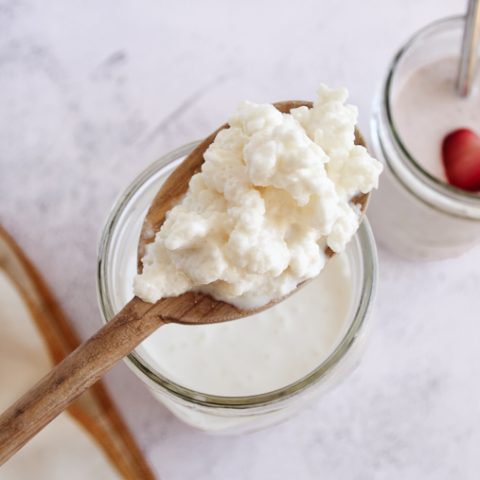
The kefir grains aren’t made of grain at all, but are a lactic-acid bacteria and yeast culture that grows at room temperature.

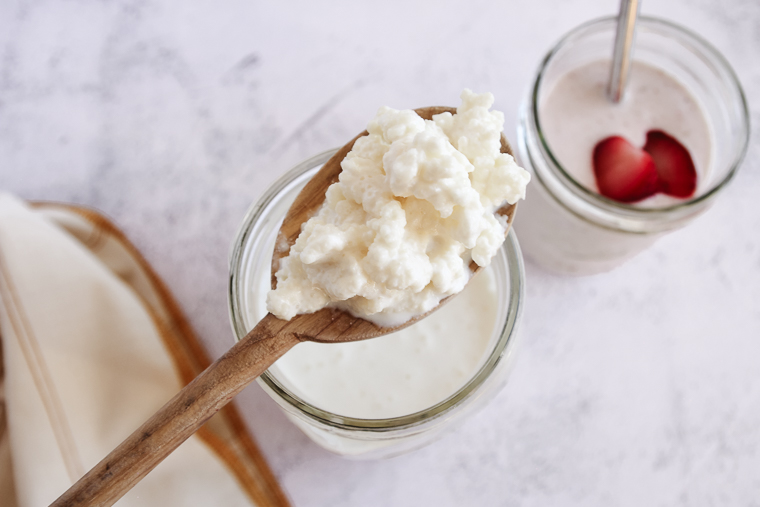
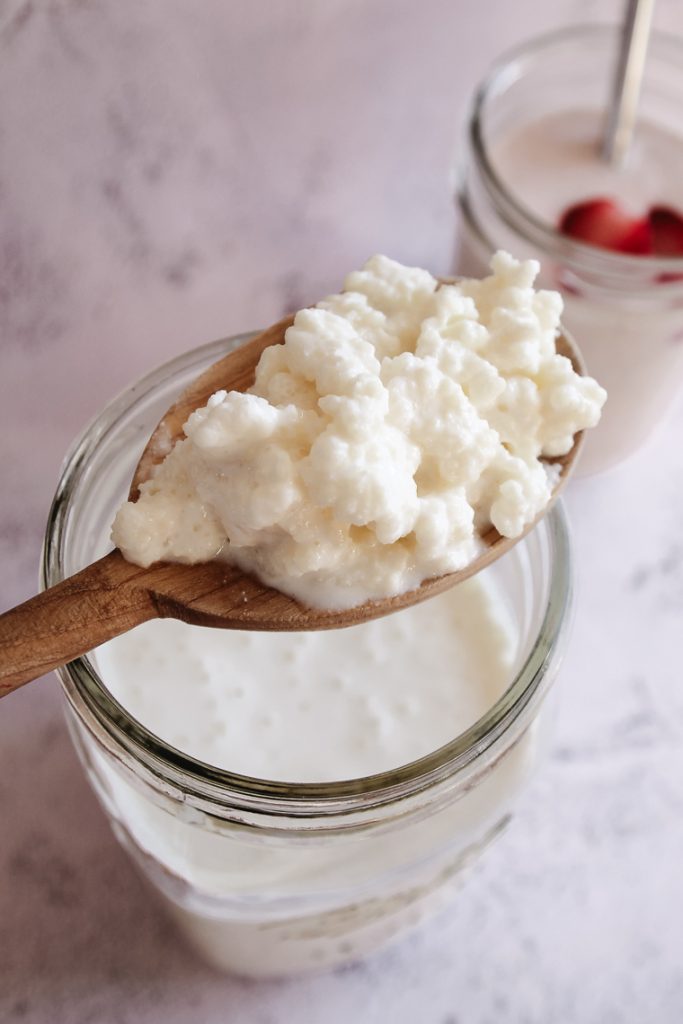
They are squishy and cauliflower-shaped and are white or light-yellow in color. Fermenting milk with these grains will give you the cultured beverage known as kefir.
Milk kefir tastes tangy and creamy. Although it has similarities to yogurt, it has its own unique taste and smell (and nutritional properties).
Milk Kefir Benefits
Kefir is high in vitamins and minerals and is much lower in lactose than milk.
Some people who are lactose intolerant can actually tolerate kefir as long as it has fermented long enough.
And as I mentioned before, it’s packed with probiotics, so it can help to balance the gut.
Homemade kefir contains many more strains of beneficial bacteria and yeasts than yogurt or even store-bought kefir.
Store-bought kefir usually contains twelve live and active probiotic cultures, but homemade milk kefir contains up to sixty-one strains of bacteria and yeasts! (Source)
Some people with certain health conditions should not consume milk kefir, so it’s best to do your own research for your family before you add it to your diet.
What can I do with milk kefir?
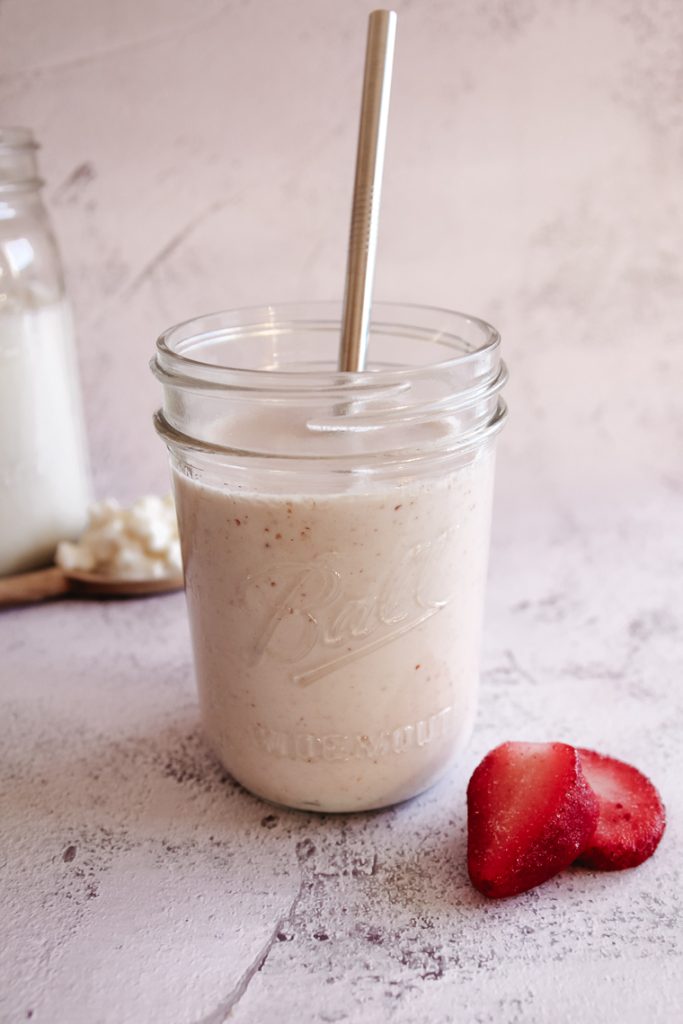
You can drink it plain or stir in a bit of honey or maple syrup. It’s delicious eaten with fruit, cold cereal, or homemade cinnamon and nutmeg granola.
We most often blend kefir yogurt into strawberry or blueberry breakfast smoothies, using ripe bananas to add sweetness.

I also love to blend kefir with banana, flax seeds, cinnamon, and nutmeg.
Finally, you can use kefir in place of buttermilk, yogurt, or sour cream in recipes (though heating it will kill the probiotics).
There are many delicious kefir salad dressing, ice cream, and popsicle recipes online.
Tips for Making Milk Kefir
- You can make a new batch of kefir with your strained grains every single day, or you can store the grains in the fridge in a smaller jar of milk between batches for a week or more.
- Your grains will multiply over time, but using too many at once to ferment a small amount of milk won’t work effectively (you’ll notice the whey separates before your kefir thickens properly). You can give extra grains away to a friend, blend them into a smoothie, feed them to your dog or chickens, or compost them.
- Your kefir should culture in no less than 12 hours and no more than 48 hours. 12-24 hours is ideal. You can adjust either the amount of grains, the amount of milk, or the temperature of the room to help your kefir ferment more quickly or more slowly. Less milk, more grains, warmer room = quicker fermentation. More milk, less grains, colder room = slower fermentation.
Equipment Needed to Make Milk Kefir
*Stick with glass (not crystal), plastic, wood, or stainless steel utensils and containers for making kefir. Metals besides stainless steel can react with kefir.
- Kefir grains
- Half-gallon mason jar with lid (I like these plastic lids for my wide-mouth mason jars)
- Medium-size bowl
- Sieve or colander
- Spoon or rubber spatula
- Smaller jar with lid for storing grains in the refrigerator
How to Make Milk Kefir (Step-by-Step Instructions)
I’ve included a printable recipe card at the end of the post with the grains-to-milk ratio. See the FAQs section at the end for information about which kinds of milk work.
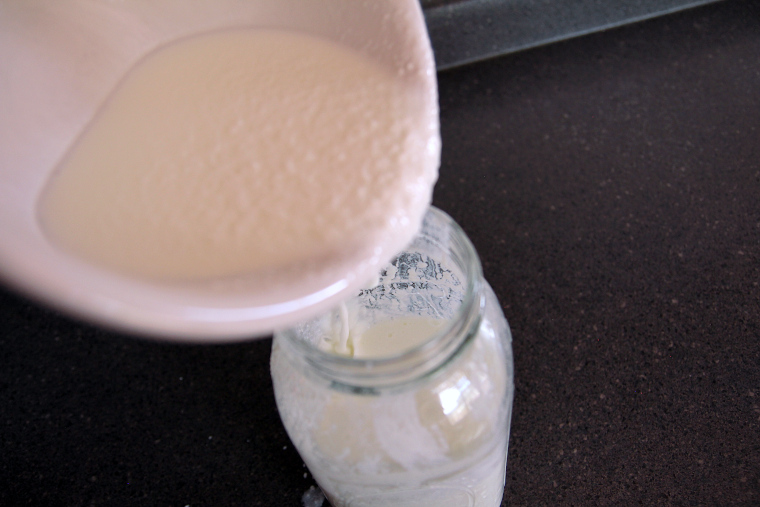
Step 1 (Day 1) – Combine Milk and Kefir Grains
First, add your kefir grains to a clean half-gallon mason jar.
Insure that any soap residue has been rinsed clean from the jar, but there’s no need to sanitize the jar.
Pour fresh milk over the top of the grains to the 6-cup mark on the jar. (If you want to make more or less kefir at once, just use the same grains-to-milk ratio.)

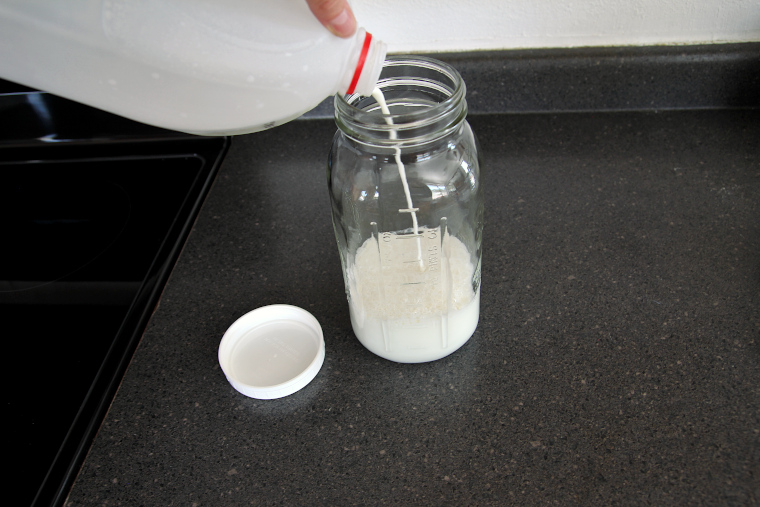
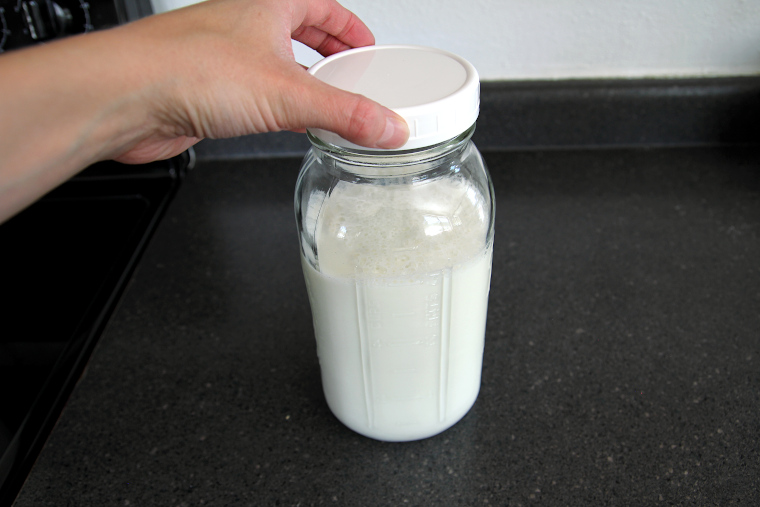
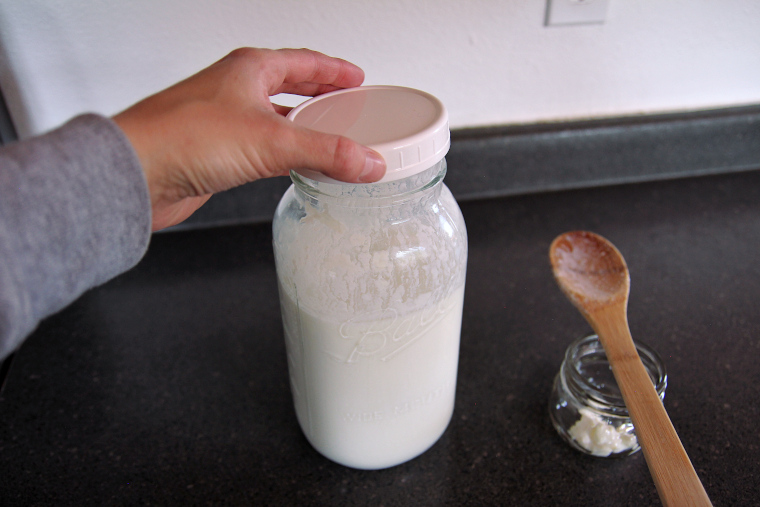
Screw a lid on loosely so it’s covered but can still breathe.
Then place your jar out of direct sunlight. I just cover mine with a towel on the counter so I don’t forget about it the next day.
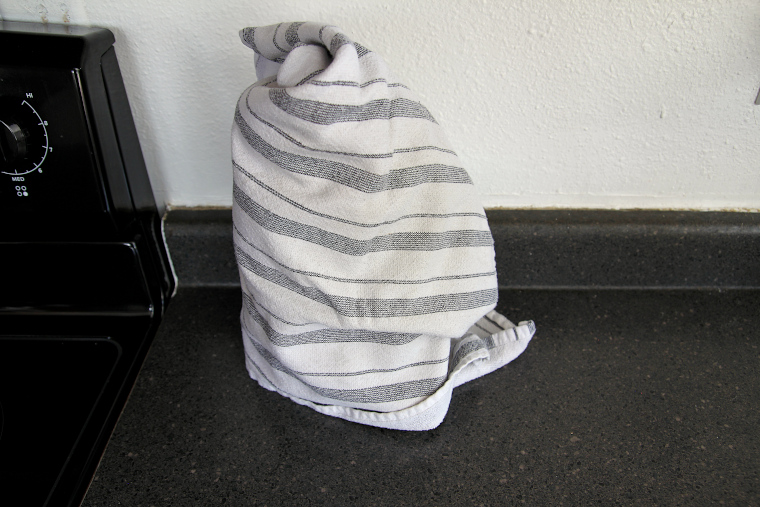
Allow the milk to ferment for about 24 hours, or until it has thickened to the consistency of heavy cream (ideally before the whey begins to separate from the solids).
Your kefir is done and ready to be strained and consumed at this point, if you wish, or you can do an optional second fermentation.
Step 2 (Day 2) – Optional Second Fermentation for Thicker Kefir
To make the thickest, creamiest kefir, place your jar of milk with the grains into the refrigerator for another 3-12 hours after the initial fermentation.
This extra step is optional, but I’ve found it really makes a difference in the texture.
Step 3 – Strain Out the Milk Kefir Grains
Place a colander or sieve over a bowl and strain your kefir through to remove the starter grains.
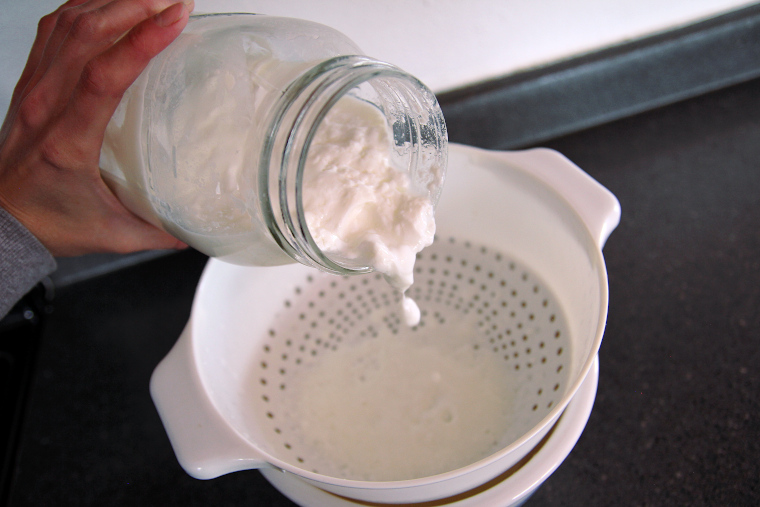
Use a spoon or rubber spatula, if needed, to help the kefir through.
Pour your kefir back into the same half-gallon jar after you’ve strained out the grains. Then replace the lid.
You can use your grains to start another batch of kefir milk right away, or store them for another time.
Note: Some people prefer to do the second-fermentation at room temperature without the kefir grains.
For this method, you would allow the kefir to sit at room temperature for an additional 6 hours after the grains are removed.
I found I don’t like how the whey begins to separate from the solids with this extra warm fermentation time. However, you might like to try both methods and see which you prefer.
How to Store Kefir Grains When Not in Use
If you want to wait until another day to make more homemade kefir, simply store the grains in the refrigerator in a small jar of milk.
I recommend labeling the jar with a dry-erase marker so no one unknowingly throws out the starter culture.

If the milk thickens in the fridge after a couple of weeks, and you still aren’t ready to make more kefir, just strain and replace the milk so the grains don’t starve.
When you’re ready to make more homemade kefir, pour the grains, milk and all, into your half-gallon jar and top it off with new milk as normal.
The grains will multiply less quickly if they are used infrequently, as the cold can make them sluggish over time. They will be happier if you make small batches of kefir more often rather than bigger batches less frequently.
You can easily revive sluggish kefir grains by making a few subsequent batches at room temperature.
I’ve included a How to Make Milk Kefir FAQs section below the recipe card, but I’m happy to answer any other questions if you leave them in the comments below.
I’m so grateful for your comments, reviews, and questions! Your star ratings help others discover my recipes, and your feedback helps me make improvements. Thank you for your support!
How to Make Milk Kefir
Learn how to make creamy, probiotic-rich milk kefir at home! Kefir yogurt is one of the easiest fermented foods you can make yourself.
Ingredients
- 2 teaspoons milk kefir grains (not water kefir grains)
- 4-6 cups whole milk
Instructions
- Mix: Place milk kefir grains (the starter culture) into a clean half-gallon mason jar. Pour milk over grains to the 4 or 6-cup mark. Place a plastic lid on the jar finger tight, cover jar with a tea towel.
- Ferment: Leave to ferment at room temperature for 24 hours, or until the milk has thickened to the consistency of heavy cream or thin yogurt (ideally before the whey begins to separate from the solids).
- Optional second fermentation: After the kefir has thickened, place the jar in the refrigerator for 3-12 additional hours for the most thick and creamy kefir or proceed to step 4.
- Strain: Strain kefir through a colander or sieve into a bowl to remove the grains. (Use grains immediately to start a new batch of kefir or store them in a small jar of milk in the refrigerator for another time.) Pour strained kefir back in the jar and replace the lid.
- How to store: Store kefir in the refrigerator with the lid on securely for up to two weeks and use as desired.
Notes
- Whole fat animal milk will give you the best result and help your grains thrive, but you can also use lower fat milk. Avoid skim or ultra-pasteurized milk.
- If your grains are new, they may need a few batches to become fully active.
- Use only glass (not crystal), wood, plastic, or stainless steel utensils and containers to make and store kefir. Kefir will react with other metals.
- The temperature of your house will affect how quickly your milk will turn into kefir. Adjust time, amount of milk, or amount of grains if fermentation is happening to slowly or too quickly.
- Instead of doing a cold second fermentation, some people prefer to do the second fermentation for 6 hours at room temperature after the grains have been strained off.
- To make a bigger or smaller batch of kefir, just use the same grains-to-milk ratio.
Recommended Products
As an Amazon Associate and member of other affiliate programs, I earn from qualifying purchases.
-
 Milk Kefir Grains
 -
YBM Home 9.75 Inch Plastic Strainer Colander with Long Handle – Made of Food Safe BPA-Free Plastic - Use for Pasta, Noodles, Spaghetti, Vegetables and More 31-1130-white (1, White)
-
WIDE Mouth Mason Jar Lids [16 Pack] for Ball, Kerr and More - Food Grade White Plastic Storage Caps for Mason/Canning Jars - Leak-Proof & Anti-Scratch Resistant Surface
-
Ball Half-Gallon Jars, Wide Mouth, Set of 2
![WIDE Mouth Mason Jar Lids [16 Pack] for Ball, Kerr and More - Food Grade White Plastic Storage Caps for Mason/Canning Jars - Leak-Proof & Anti-Scratch Resistant Surface](https://m.media-amazon.com/images/I/41GE7an60hL._SL500_.jpg)

Nutrition Information:
Yield: 4 Serving Size: 1Amount Per Serving: Calories: 894Total Fat: 48gSaturated Fat: 27gTrans Fat: 0gUnsaturated Fat: 15gCholesterol: 147mgSodium: 634mgCarbohydrates: 70gFiber: 0gSugar: 74gProtein: 46g
*Nutrition information is not always accurate.
How to Make Milk Kefir FAQs
1. What is the best milk for kefir?
Full-fat animal milk is ideal for thick, creamy kefir and happy grains. You can make do with a lower-fat milk if you need to. Pasteurized or raw milk will both work. Don’t use skim milk or ultra-pasteurized milk.
Any time you switch milk types, your grains may take a couple of batches to adjust to the change.
It is also possible to make kefir from plant-based milks, though I won’t go into that here.
2. How long does milk kefir last in the fridge?
It should last just fine in the fridge for two weeks, and maybe a little longer.
3. Why did my kefir separate?
It’s natural for the whey to separate from the solids in kefir, and it’s not harmful. I’ve noticed my kefir will always separate in the fridge if I use a lower fat milk. You can shake or blend it to help it come back together.
If your kefir is separating during fermentation, it’s over-fermenting. Either you’re letting it sit too long for the temperature of your kitchen, or you’re using too many grains.
4. How do I know if my kefir is bad?
If you see fuzzy or colorful mold, or the kefir has changed color or smells rotten, get rid of it. Remember, though, that the smell will be different and stronger than yogurt.
I’ve never experienced a kefir ferment going south or making us sick in the years that I’ve made it.
5. What happens if I drop my grains?
If you accidentally drop a grain on the counter or floor (I’ve been there!), don’t worry! You can give it a rinse in a strainer with clean, cold water, then place it back in milk.
6. How much kefir should I drink each day?
If necessary, you can consume kefir in very small amounts in the beginning to allow your gut to adjust to it.
I personally didn’t have any trouble drinking a full cup from the beginning. Some people enjoy drinking a serving of kefir daily.
Hi Leanna, Can I used raw milk to make the kefir?
Hi Maria! Yes you can use raw milk.