This post may contain affiliate links. See my full disclosure. As an Amazon Associate, I earn from qualifying purchases.
This is no recipe for a buttermilk substitute, ladies and gentlemen. No, this is the real deal. You can make cultured buttermilk inexpensively at home to always have on hand for cooking and baking. And best of all, it will be one of the easiest things you make in your kitchen.
I recently discovered just how easy it is to make homemade cultured buttermilk! Did you know it cultures right on the counter at room temperature?
I enjoy making cultured and fermented foods in my kitchen like milk kefir, Instant Pot yogurt in jars, sauerkraut, lacto-fermented sliced jalapenos, and sourdough breads.
What is Cultured Buttermilk?
Buttermilk can refer to the liquid leftover when cream is churned into butter.
However, the thick and creamy “cultured buttermilk” we purchase from grocery stores is actually milk that has been cultured with lactic acid bacteria.
Cultured buttermilk is a source of healthy probiotics (when consumed fresh) and is very useful for baking!
Real buttermilk works so much better than a buttermilk substitute. Buttermilk makes baked goods light and tender in a way that a mix of milk with lemon juice (or vinegar) just cannot.
Reasons I Make Buttermilk At Home
I used to have a hard time remembering to purchase buttermilk from the store for my baking. I would also have trouble using up an entire carton before it expired.
And have you peaked at the ingredient label? Here is the store brand of buttermilk where we shop:
“Cultured skim milk and milk, salt, modified corn starch, tapioca starch, guar gum, sodium citrate, locust bean gum, and carrageenan, vitamin A palmitate, and vitamin D3”
I mean, yikes. Those additives are reason enough for me to make it myself at home.
I culture buttermilk in whatever amount we will comfortably use up for the week. I can quickly make up a new batch before the week is over.
Buttermilk Starter
When making buttermilk, a starter is used to inoculate the milk with the right strains of lactic acid bacteria.
There are two ways you can get starter:
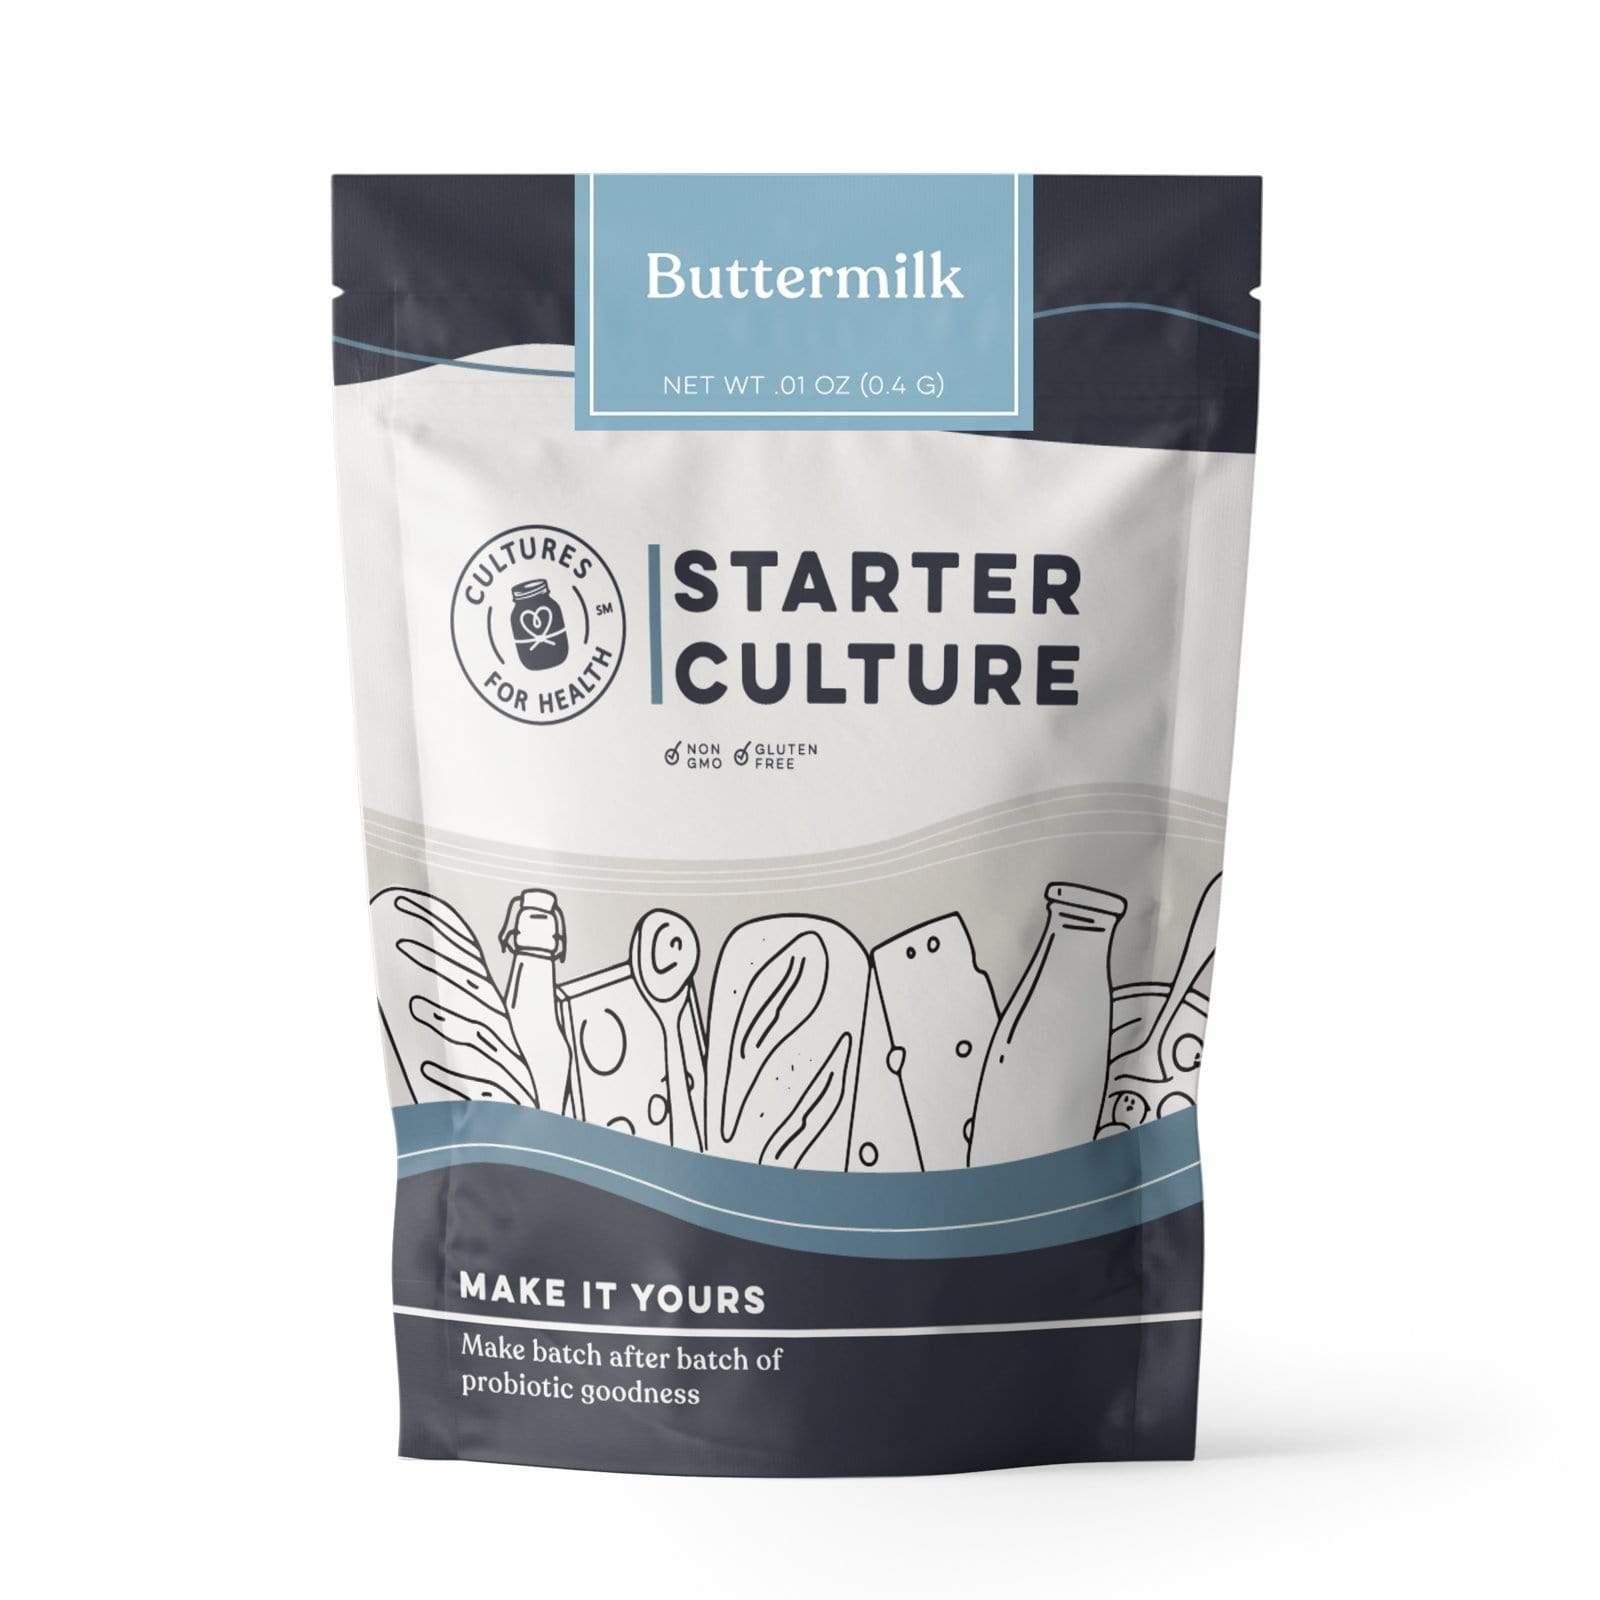
The first option, you can purchase an heirloom starter culture from Cultures for Health to begin making homemade buttermilk.
The second option is to simply use a small amount of store-bought buttermilk as the starter as long as the buttermilk says “cultured” on the bottle.
After you make your first batch, just remember to reserve a little buttermilk to use as the “starter” for next time. Then you can continue making buttermilk over and over for only the cost of your milk!
Equipment Needed
*Avoid using any metal utensils besides stainless steel for buttermilk making.
- 32-ounce wide-mouth mason jar or any size wide mouth jar depending on how much buttermilk you want to make at once
- Plastic lid (for a wide-mouth jar)
- Measuring spoon
- Spoon for stirring
How to Make Homemade Cultured Buttermilk
Step 1 – Mix Buttermilk Starter Culture and Milk
The process is so simple.
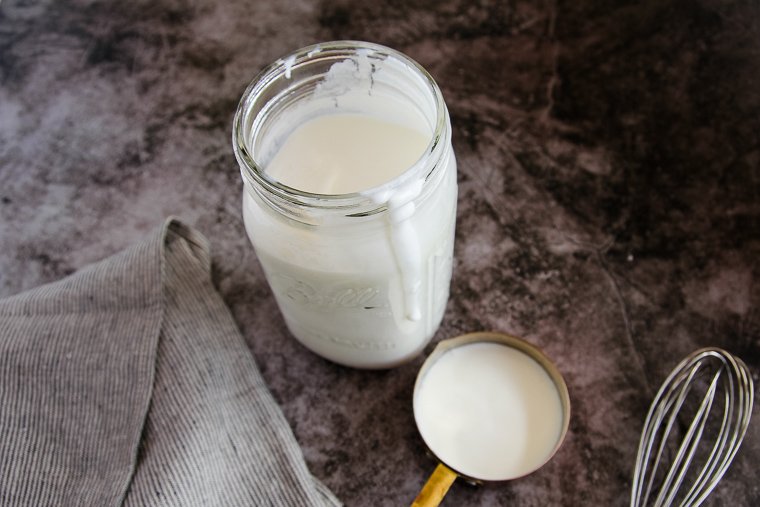
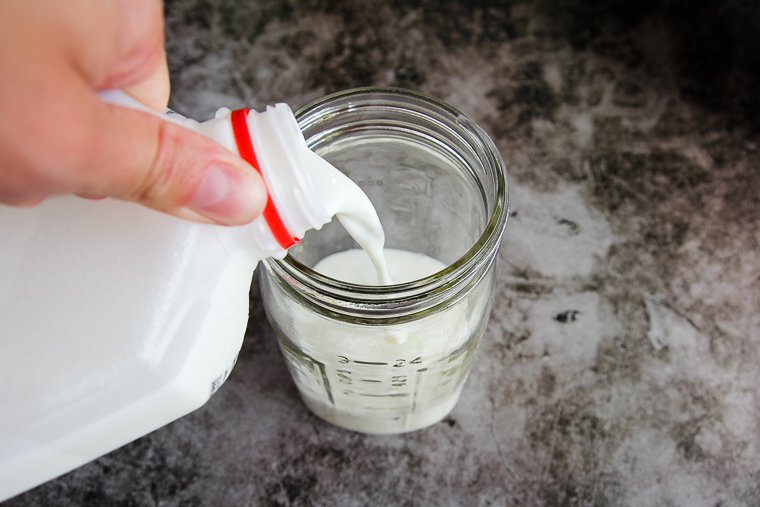
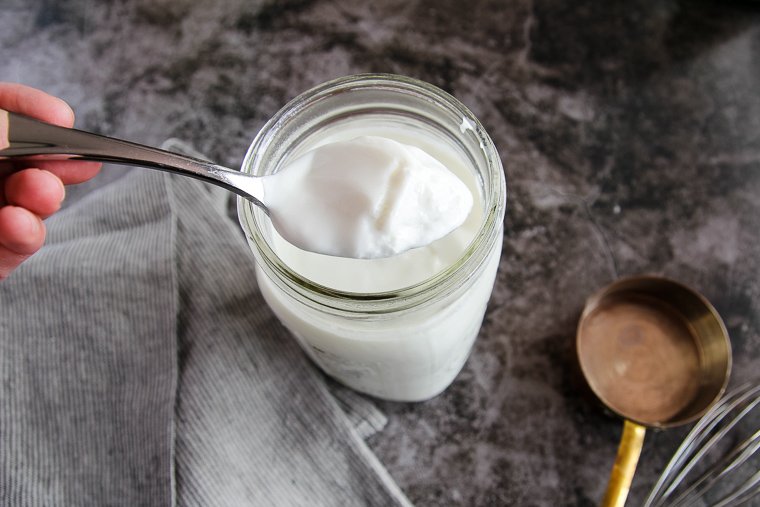
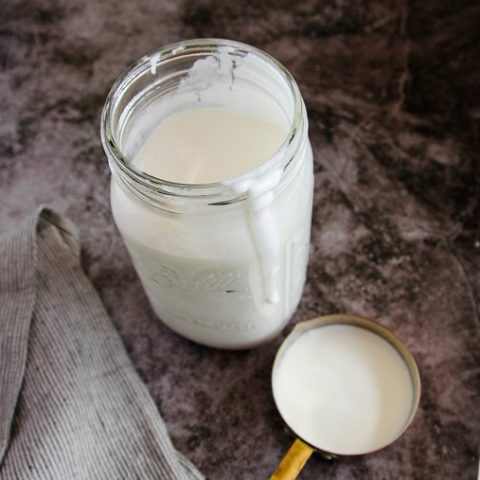
Start with a clean jar. Put 2 tablespoons of buttermilk in the bottom of your jar for every cup of milk you will be culturing.
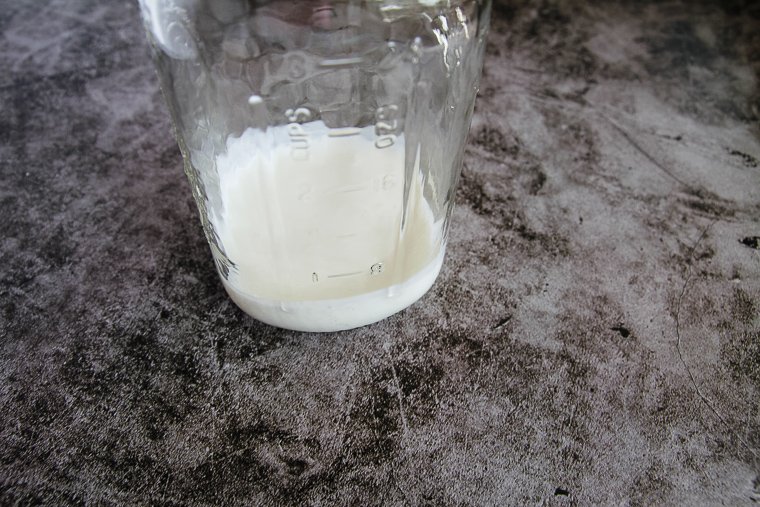
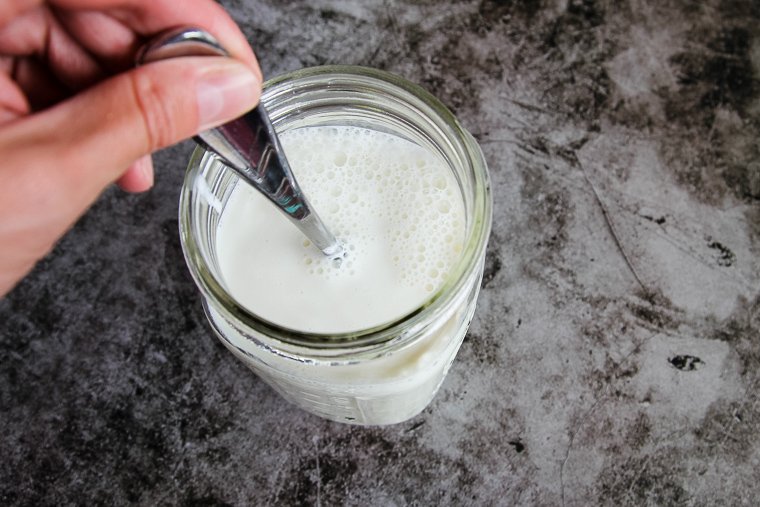
Pour your milk over the top (you can probably measure the milk using the lines on the jar), and stir with a clean spoon.
Step 2 – Allow the Milk to Culture at Room Temperature
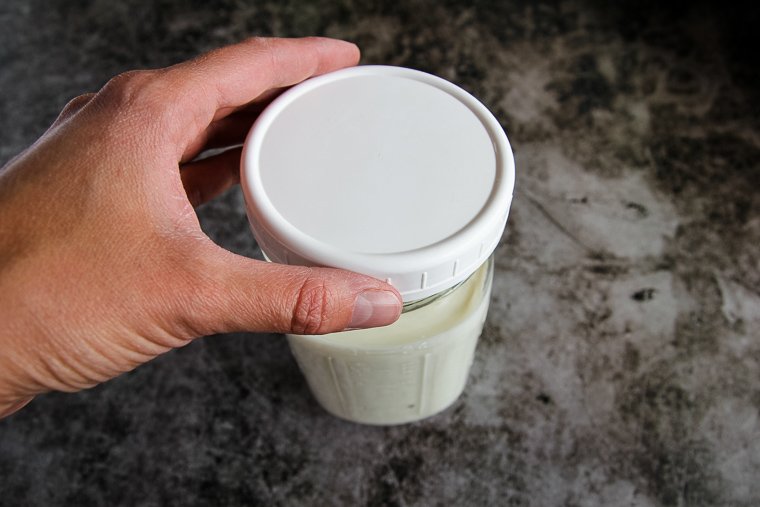
Place a lid on the jar and tighten it only one turn to allow air to escape. I like these plastic lids because they are so easy to use and wash.
Allow your jar to sit out of direct sunlight at room temperature for about 12 hours (or longer). You’ll know your buttermilk is done when it has thickened in the jar.
Fermentation happens slower in cooler temperatures and faster in warmer temperatures, so it might take more or less time depending on the temperature in your kitchen.
If you allow the buttermilk to continue to sit after it has thickened, it will eventually curdle and separate, which you don’t want.
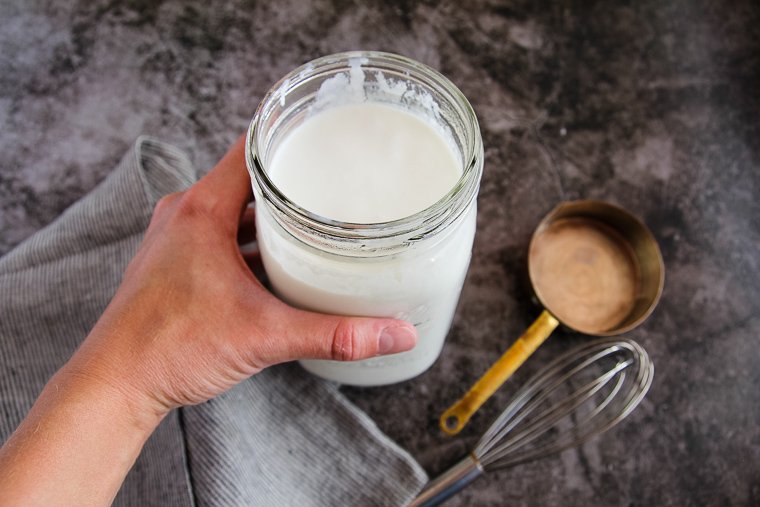
Step 3 – Store Cultured Buttermilk in the Refrigerator Until Ready to Use
When it’s finished, simply screw the lid on tightly and transfer the jar to the fridge. So easy!
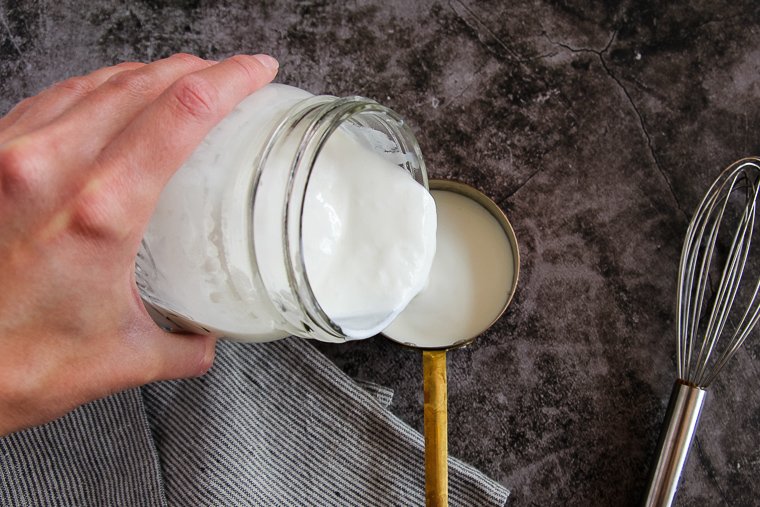
You can reserve some buttermilk right away to use as a starter for next time, or just remember to save some at the bottom of the jar later.
How to Use Cultured Buttermilk
This week I used some of my buttermilk in a batch of pumpkin cupcakes. Buttermilk is wonderful to use in cakes, muffins, biscuits, pancakes, waffles, donuts, and more!
I honestly won’t make pancakes without buttermilk anymore after tasting the difference.
Buttermilk is also delicious in homemade creamy salad dressings.
You can even enjoy drinking it fresh as a source of gut-healthy probiotics! Just start slow if you wish to consume it this way.
How long can you keep homemade buttermilk in the fridge?
You can store your cultured buttermilk in the refrigerator for up to two weeks before consuming it or using it as a starter to make more (though you’ll preferably make more buttermilk within 7 days to keep your starter strong).
You can also freeze buttermilk for up to 3 months without killing the live cultures. You can place it back in the refrigerator to thaw when you are ready to use it again.
I’m so grateful for your comments, reviews, and questions! Your star ratings help others discover my recipes, and your feedback helps me make improvements. Thank you for your support!
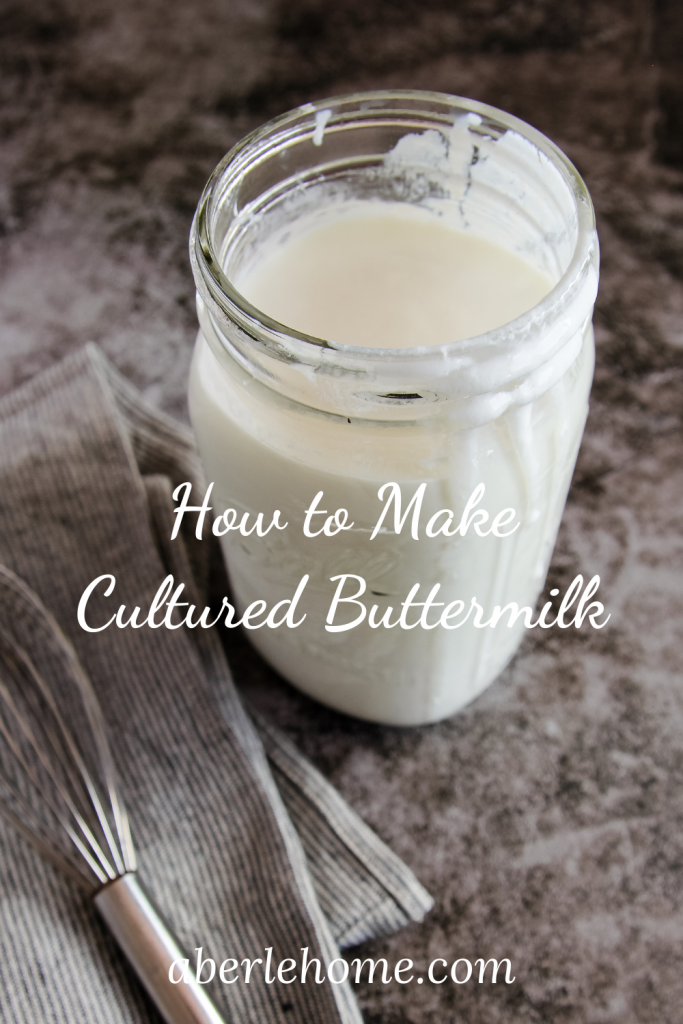
Homemade Cultured Buttermilk
This is no recipe for a buttermilk substitute, ladies and gentlemen. No, this is the real deal. You can make cultured buttermilk inexpensively at home to always have on hand for cooking and baking. And best of all, it will be one of the easiest things you make in your kitchen!
Ingredients
- 1 cup whole milk, cold*
- Buttermilk starter culture or 2 tablespoons cultured buttermilk (from the store or from a previous batch of cultured buttermilk)
Instructions
- Add milk and buttermilk to a clean jar in the ratio of 2 tablespoons of buttermilk for every cup of milk you want to culture (or if using starter culture, follow the instructions on the package for the first batch of buttermilk.) Stir to combine.
- Place the lid on the jar fairly loosely, and set the jar at room temperature out of direct sunlight for 12 hours, or until the buttermilk has thickened. Culturing will take less time the warmer your kitchen is and more time the cooler your kitchen is. If it curdles or separates, you've let it sit too long.
- When the buttermilk is finished, secure the lid tightly and store in the refrigerator for up to 2 weeks or in the freezer for up to 3 months (thaw in the refrigerator). Reserve a little from the batch to use as a starter to repeat the process next time.
Notes
*Raw or pasteurized milk will work. Lowfat milk will also work, however, your buttermilk won't be as thick.
Recommended Products
As an Amazon Associate and member of other affiliate programs, I earn from qualifying purchases.

![WIDE Mouth Mason Jar Lids [16 Pack] for Ball, Kerr and More - Food Grade White Plastic Storage Caps for Mason/Canning Jars - Leak-Proof & Anti-Scratch Resistant Surface](https://m.media-amazon.com/images/I/41GE7an60hL._SL500_.jpg)
Nutrition Information:
Yield: 1 Serving Size: 1Amount Per Serving: Calories: 161Total Fat: 8gSaturated Fat: 5gTrans Fat: 0gUnsaturated Fat: 3gCholesterol: 26mgSodium: 163mgCarbohydrates: 13gFiber: 0gSugar: 14gProtein: 9g
*Nutrition information is not always accurate.
Thank you for the recipe. What temperature should the milk be at?
Hi Sandy, you can start with cold milk from the fridge. Then the temp of your kitchen will determine how long it takes to culture.
We made our own cultured buttermilk which in 24 hours at room temperature it becomes very thick.
We consume it on smoothie with fruit, mixed with yogurt added protein powered formula with amino acids and vitamins.
We are going to making a sort of cream cheese with it doing the same process that we do with yogurt.
Hi Arthur! I love to hear all the ways you are using your buttermilk! Those are wonderful ideas.
Thanks so much for the great info! I’m new to making cultured buttermilk and was not able to find answers to some questions on any of the several YouTube I watched, i.e., how long the buttermilk can be stored in either the fridge and/or freezer without killing the live bacteria.
Best regards
Patricia
I’m so glad it was helpful, Patricia! Thank you for reading. 🙂