This post may contain affiliate links. See my full disclosure. As an Amazon Associate, I earn from qualifying purchases.
A themed Christmas cookie decorating kit might just be the perfect homemade gift for some kids, seniors, or busy people in your life! They’ll get to enjoy decorating delicious pre-baked sugar cookies without the hassle of making anything themselves.
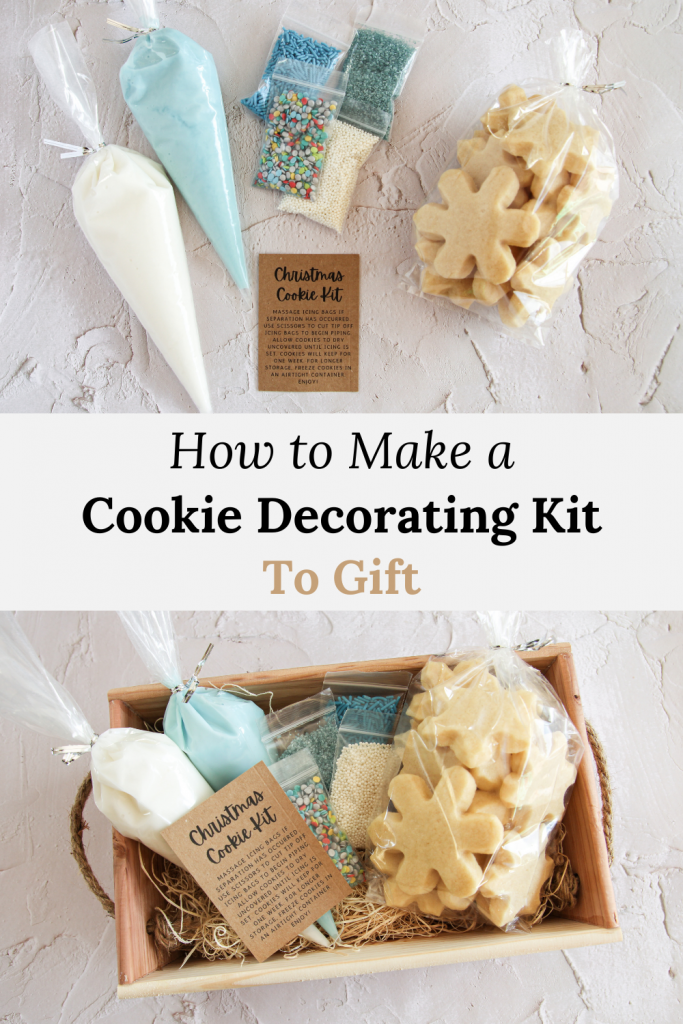
A couple of weeks ago I shared a post with Perfect Homemade Food Gifts for the Holidays. To me, making and sharing delicious food is always a part of Christmastime!
(If you like to bake bread, check out my post for Homemade Bread Gifts to learn how to wrap a loaf of bread and make creative gift baskets.)
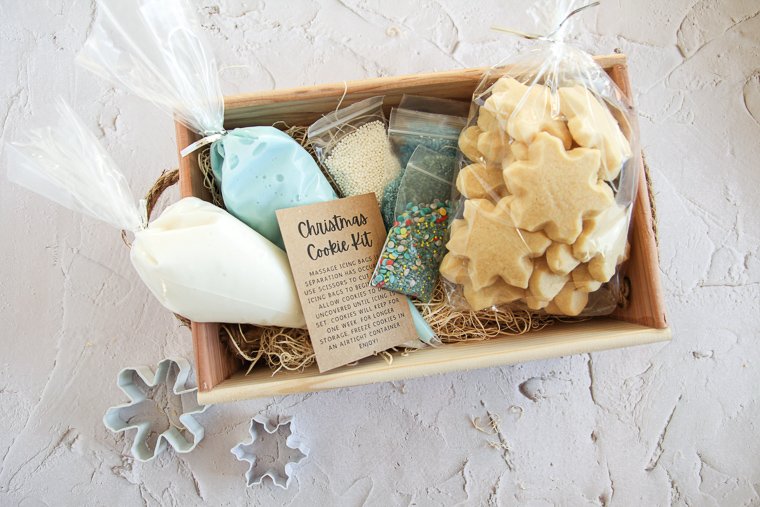
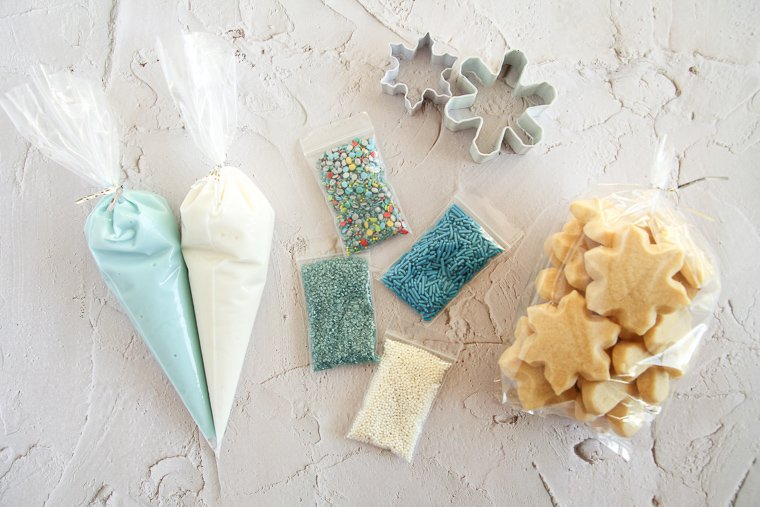
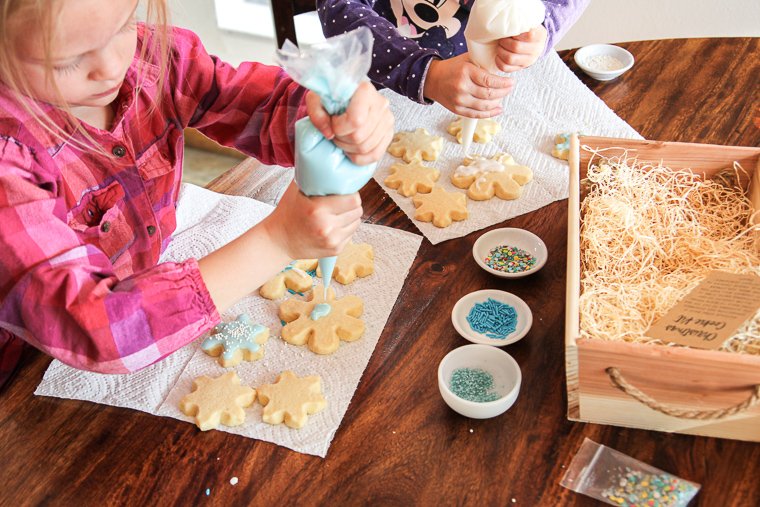
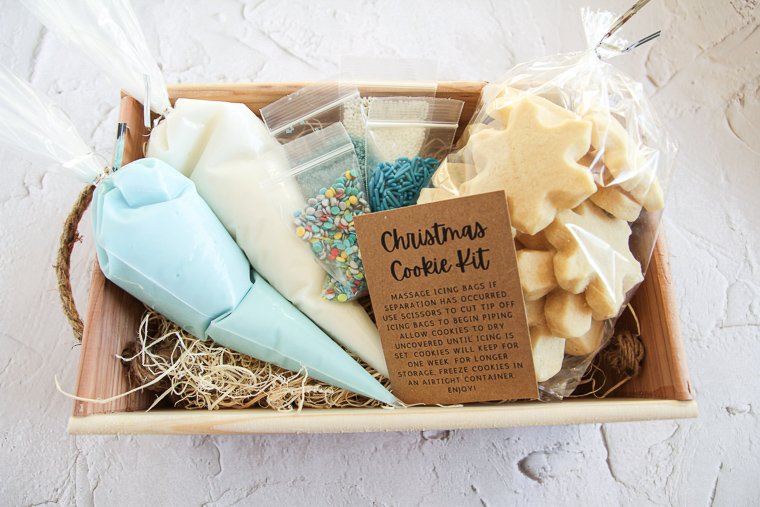
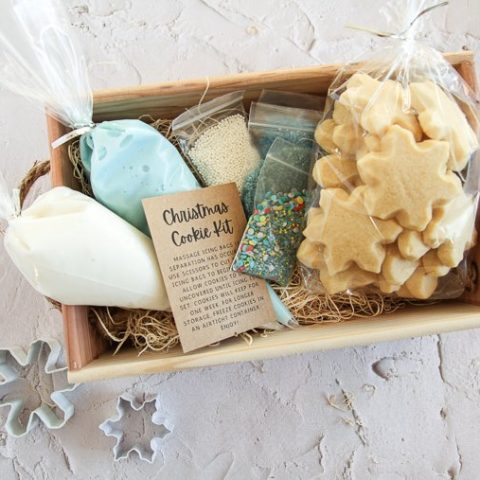
I followed a snowflake theme for my Christmas cookie decorating kit. I included two sizes of snowflake sugar cookies, two pastry bags filled with white and light-blue icing, and four varieties of sprinkles. A free printable card with instructions finishes off the kit.
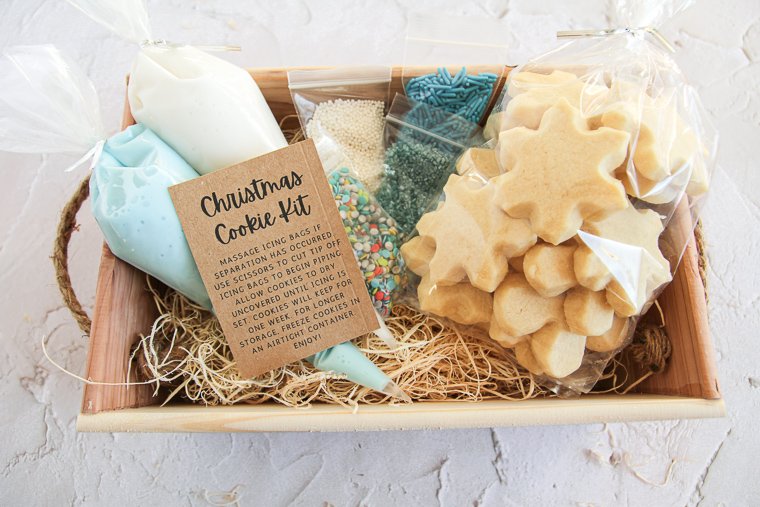
To decorate the cookies, the recipient simply needs to massage the icing bags if any separation has occurred. Then they can snip off the very tips of the icing bags with scissors to begin decorating.
I wanted everything in the kit to taste really good. The icing is simple to whisk together and sets well, but it isn’t as hard as royal icing. I used my favorite sugar cookie recipe (which I will hopefully share soon). Any good sugar cookie recipe would be perfect!
If you’re going to go through the process of getting supplies and making homemade cookies and icing for one kit, it’s easy to just make multiple kits at the same time. Plan ahead to make enough cookies and purchase enough supplies.
I gifted this kit to my own girls, ages 5, 3, and 2. The three of them had a blast decorating the cookies together, and it was the highlight of our day.
How to Make a Christmas Cookie Decorating Kit to Gift
1. Choose a Theme for Your Christmas Cookie Decorating Kit
You’ll want to begin by planning our your kit so you can purchase the right supplies.
Here are some fun ideas to get you brainstorming:
- Snowman Kit – include snowman sugar cookies with white icing, and mini candy or sprinkle elements for the details
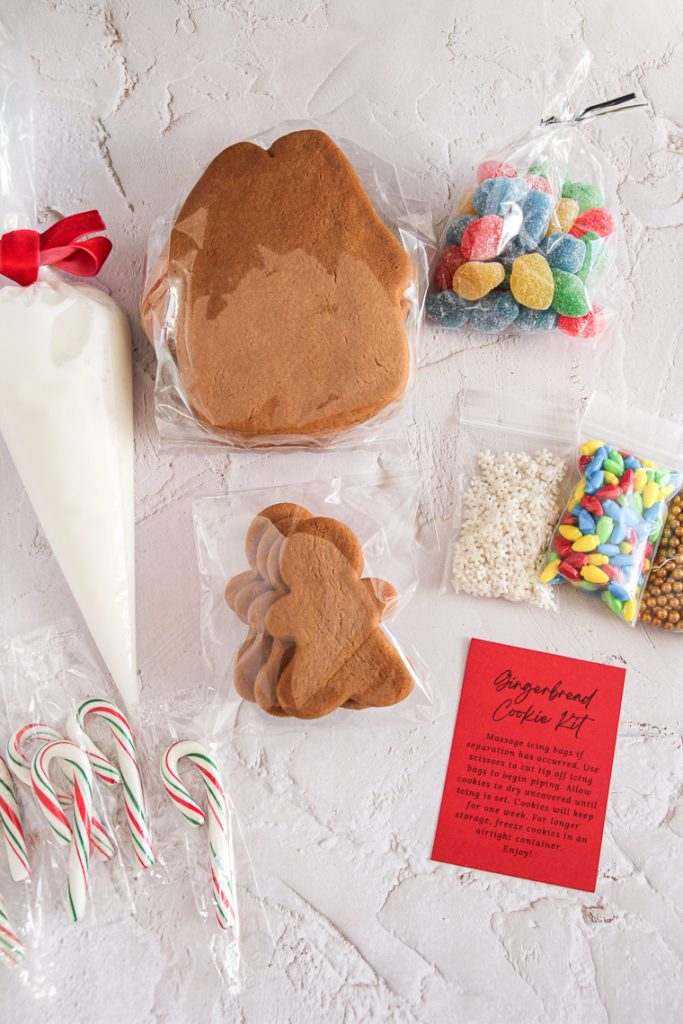
- Gingerbread Man Kit – include cutout gingerbread men and women with white icing, sprinkles, and candy eyes
- Gingerbread House Kit – include flat gingerbread house cookies, white icing, and miniature candies and sprinkles
- Christmas Tree Kit – include sugar cookie trees, green icing, and various sprinkles
- Classic Christmas Kit – include sugar cookie cutouts of classic Christmas shapes, like a reindeer, a tree, a candy cane, etc. and use classic Christmas colors for the icing and sprinkles
(If you want a snowflake theme like my kit, you might like these snowflake cutters. I don’t know where my cutters originally came from.)
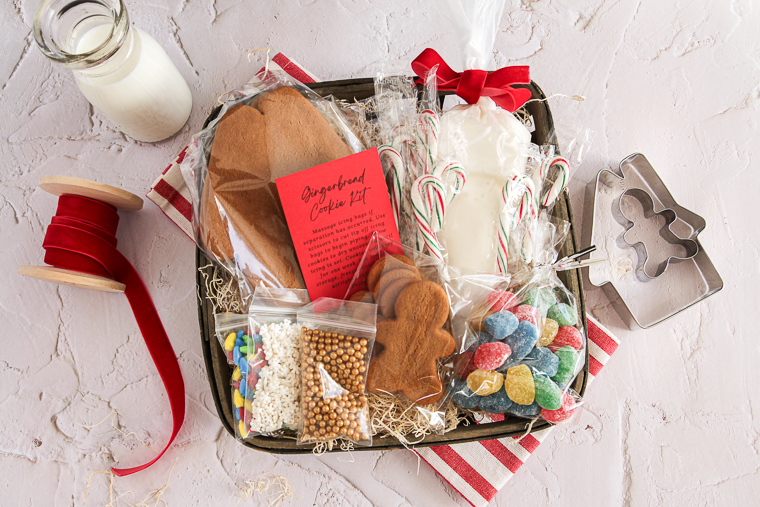
I bet you can think of more creative ideas or even use the same concept for other holiday kits. The sky’s the limit!
2. Choose a Container and Filler for a Christmas Cookie Decorating Kit
I found my wooden box with rope handles at Hobby Lobby for about $4. It’s approximately 11×7-inches and about 4 inches deep, to give you an idea of its size. I think something close to 10×10-inches would be good as well.
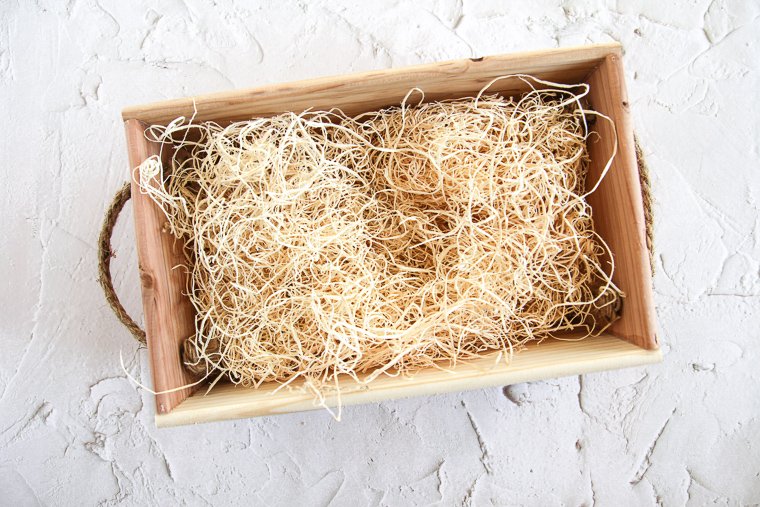
A craft or home décor store would be a great place to search for a suitable box or basket. You want it to be big enough to hold the pieces of the kit comfortably without too much extra room to spare. 2-1/2 to 4-inches deep is ideal to showcase the kit.
Alternatively, you could use an actual cookie or pie bakery box like these to hold your kit. These boxes might be a great option if you are making multiple kits to gift since they are inexpensive and easy to find.
Next you’ll want to add a filler to your box to hold everything in place. I used natural wood excelsior. You could also use crinkle cut paper shred filler for more color options.
3. Prepare Packaging
For each kit, you’ll need a treat bag to hold cookies, clear disposable pastry bags to hold icing, and small clear poly zip lock bags to hold sprinkles (plastic portion cups with lids would work well too).
My treat bags came with silver twist ties which worked perfectly to secure the piping bags as well.
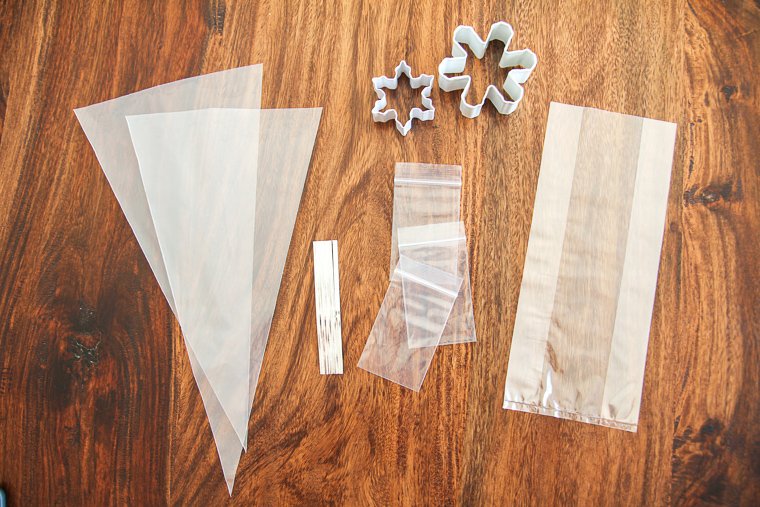
4. Bake and Package Sugar Cookies
Make your favorite sugar cookie dough (or gingerbread dough, if that matches your theme) and roll and cut it into shapes that would be appropriate for your kit. I made small cookies, but large ones would be fun as well.
Arrange the cookies in a treat bag after they have cooled completely. Twist the top closed and secure it with a silver twist tie.
You could also use ribbon to tie your bag closed. If your cookies are large, I would stack them neatly in the bag while it’s lying flat.
5. Make and Package Icing
I’m not too fond of royal icing myself, though you could make royal icing if you wish! I prefer the icing recipe below that has a softer bite, but still sets well.
I found 1-1/2 cups of icing to be a good amount to fill two piping bags for my box. To make about 1-1/2 cups of icing, simply weigh and whisk together:
- 520g (about 4 cups) powdered sugar
- 80g (a little over 5 tablespoons) water
- pinch of salt
The icing couldn’t be any more simple. I like to substitute a few grams of the water with a splash of almond extract for flavor. It’s the same flavoring in my sugar cookies and, as a plus, it doesn’t affect the color of the icing.
You want your icing to be the right consistency to pipe. If it is too stiff, little hands won’t be able to squeeze it out of the bags. If it’s too thin, it won’t stay in place on the cookies.
You’ll know it’s right when it’s just thin enough to ribbon off a spoon or whisk. It shouldn’t fall off the spoon too quickly, but it should fall in one continuous ribbon without breaking. You can always plop a spoonful in an extra piping bag to test it if you’re in doubt.
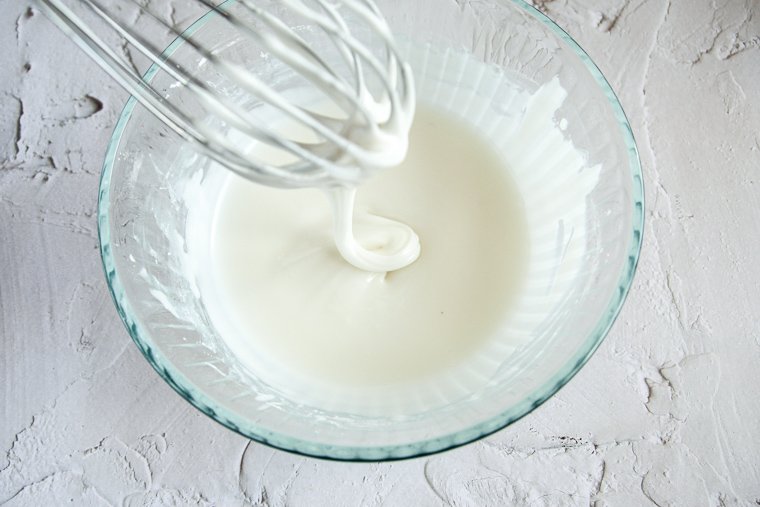
Once you are satisfied with the consistency, you can divide it into separate bowls before stirring in food coloring. I use gel food coloring. Start with one drop at a time, especially if you’re going for a light color.
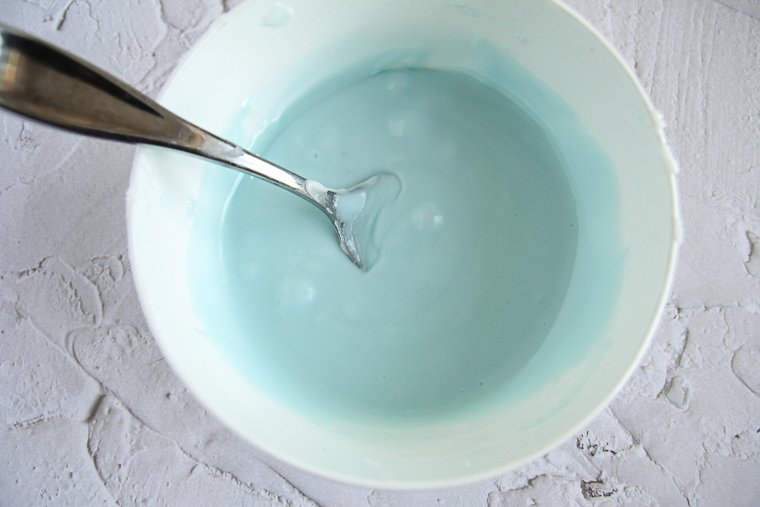
I included only two colors of icing in my kit, but you could do 3 or 4 colors in smaller amounts, if you wish.
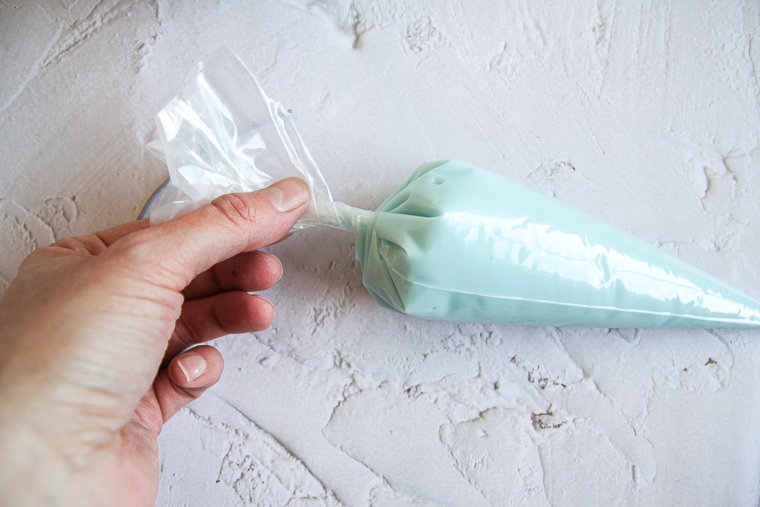
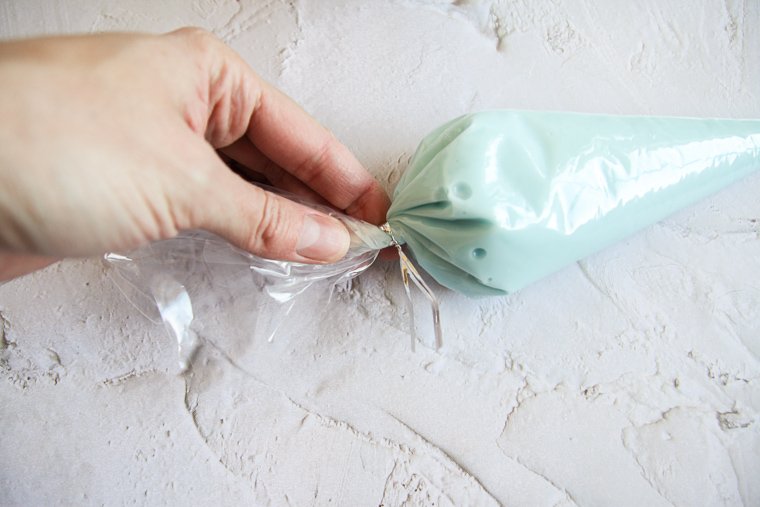
To fill piping bags without making a mess, I place a piping bag into a large drinking glass and fold the edges over the rim. Then it’s super easy to spoon the icing into the bag.
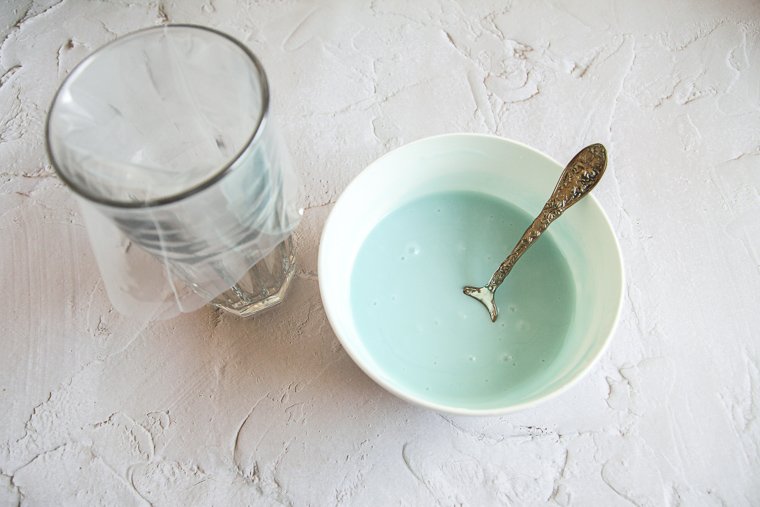
Twist your bags closed and then secure them with silver twist ties. You could also just tie a knot in the bags or use colored rubber bands to hold them tightly closed.
6. Package Sprinkles
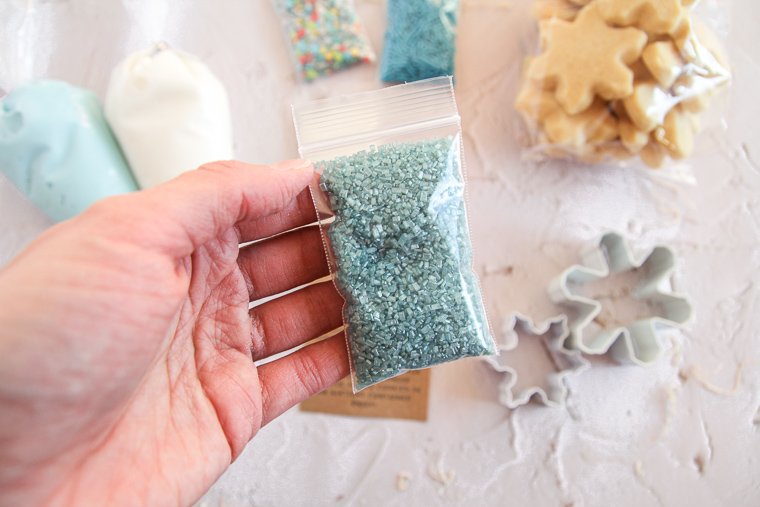
I found my sprinkles at both the grocery store and Hobby Lobby this year. My colored sprinkles were from a 6-cell bottle that I found (similar to this). The mix included the silver, red, green, and yellow quins sprinkle mix that adds a pop of color to my box. I also included a little baggie of white nonpareils.
Depending on the theme you choose for your box, you can get creative with sprinkles. You could add things like mini dehydrated marshmallows, shredded coconut, mini chocolate chips, candy eyes, etc. You could also make your own sprinkle mix by combining multiple colors or shapes of sprinkles in one bag.
A funnel came in handy as I was filling my little bags.
7. Print and Cut Free Printable Card
I made a printable card with instructions that you can download for your own personal use as well.
I printed mine on cardstock that looks like brown craft paper and cut it out with a paper cutter. You could also glue this to the front of a blank greeting card if you wanted more space to write a note inside.
Click to Download Cookie Kit Card
Click to Download Gingerbread Version Card
8. Arrange Christmas Cookie Decorating Kit
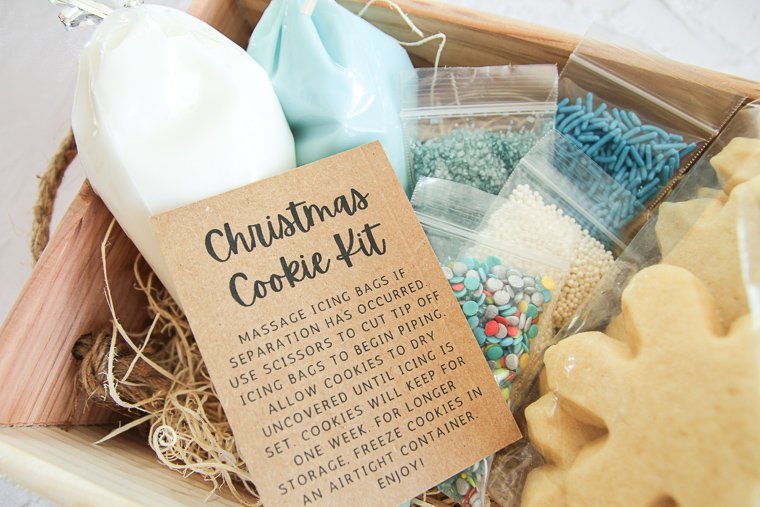
The last step is to arrange everything on top of your filler in your box or basket. Play around with the arrangement until you can see each element in the kit and it’s pleasing to the eyes.
Add the printed instruction card somewhere in the forefront to finish off the kit!
If you make this project and love it, I would greatly appreciate a star rating and review!
Tag your photo on Instagram @aberlehome to show me what you made!
Christmas Cookie Decorating Kit to Gift
A themed Christmas cookie decorating kit might just be the perfect homemade gift for some kids, seniors, or busy people in your life! They'll get to enjoy decorating delicious sugar cookies without the hassle of making anything themselves.
Materials
- Sugar cookie ingredients (or gingerbread)
- 4x9 clear treat bag to hold cookies
- Confectioners (powdered) sugar
- Almond extract to flavor icing (optional)
- Pinch of salt
- Food coloring
- Clear disposable piping bags
- Twist ties to fasten bags (mine came with the treat bags)
- Various sprinkles (or small candies depending on the theme you choose)
- 2x3-inch clear poly zipper lock bags or small plastic portion cups with lids to hold sprinkles
- Cardstock for printed card
- Box or basket (2-1/2 to 4 inches deep) or cardboard pasty box with window (something close to 11x7-inches or 10x10-inches is ideal)
- Excelsior or crinkle cut paper shred filler
Tools
- baking equipment for making cookies
- cookie cutters*
- funnel, if needed to fill sprinkle bags
- paper cutter
Instructions
- Bake and package cookies. Bake cookies that have been rolled and cut into desired shapes. Package cookies in the 4x9 treat bag once they have cooled completely. Stack cookies neatly if they are large so they won't break in the bag. Twist the top of the bag, and add a twist tie to secure the bag.
- Make and package icing. Whisk together 520g (about 4 cups) confectioners sugar and a pinch of salt with 80g (just over 5 tablespoons) water for about 1-1/2 cups icing. A small splash of almond extract can be used in place of a little of the water for flavor. Add a tiny bit more water or powdered sugar, if needed, to get the right consistency. Icing should just ribbon off a spoon without breaking. Divide icing into separate bowls to color. You can include 2-4 colors in your kit. Place piping bags in a large drinking glass with the edges folded over the top for easy filling. Tie the tops of the filled piping bags in tight knots or twist and secure well with a twist tie.
- Package sprinkles. Package 3 or more varieties of sprinkles in poly zipper bags or plastic portion cups. A funnel is helpful to fill bags without spilling.
- Print and cut out free printable card. Download the cards from the blog post and print on your choice of cardstock. Use a paper cutter to cut out a card.
- Arrange cookie decorating kit. Add excelsior or crinkle paper shred filler to cover the bottom of your box or basket. Arrange your bag of cookies, bags of icing, and bags of sprinkles in a way that every element can be seen and it looks pleasing to the eye. Add the printed card to finish the kit.
Notes
*Planning out a theme for your cookie kit ahead of time will guide you as you choose cookie cutters, sprinkles/smal candies, and food colorings.
Recommended Products
As an Amazon Associate and member of other affiliate programs, I earn from qualifying purchases.
-
 Ann Clark Cookie Cutters 5-Piece Snowflake Cookie Cutter Set with Recipe Booklet, 3.25", 3.5", 4", 4.25", 4.5"
 -
 15-Pack 10"x10"x3"Brown Bakery Boxes with PVC Window for Pie and Cookies Boxes Large Natural Craft Paper Box 10x10x3inch (Brown, 15)
 -
 100pcs Upgraded anti-burst piping bags, disposal pastry bags for cake and buttercream frosting, cupcake baking decorating icing bags, thick, non-slip for all size tips and couples,12 inch,Gexolenu
 -
 GPI Clear Plastic Reclosable Zip Poly Bags, Case of 100, 2-mil Thick, 2 Inch x 3 Inch, for Travel, Storage, Shipping
 -
 Wilton Clear Tall Treat Bags, 4 × 9


Hello!
About how many oz do you put in the icing bags?
Hi Daniela! I used 3/4 cup (300g) of icing for each piping bag pictured. That’s about 10.5 ounces.
I was wanting to mail a couple of kits.
Any ideas on how to with the frosting? Or do I just need to opt for sending recipe?
Hi Linda! I would guess that the icing would be fine unrefrigerated for up to 3 days–maybe longer? I’m sure it would work to send the recipe as an alternative. You could even measure out the powdered sugar ahead of time.
For the icing, does it need to be refrigerated? If we made it a couple days in advance would it still be good? Or is it something that needs to be made and used right away?
Hi Steph, the icing should be fine in the fridge for a couple of days. You can massage the icing bags if any separation occurs. You could also just leave it in covered bowls in the fridge so you can stir again right before filling the icing bags for gifting.