This post may contain affiliate links. See my full disclosure. As an Amazon Associate, I earn from qualifying purchases.
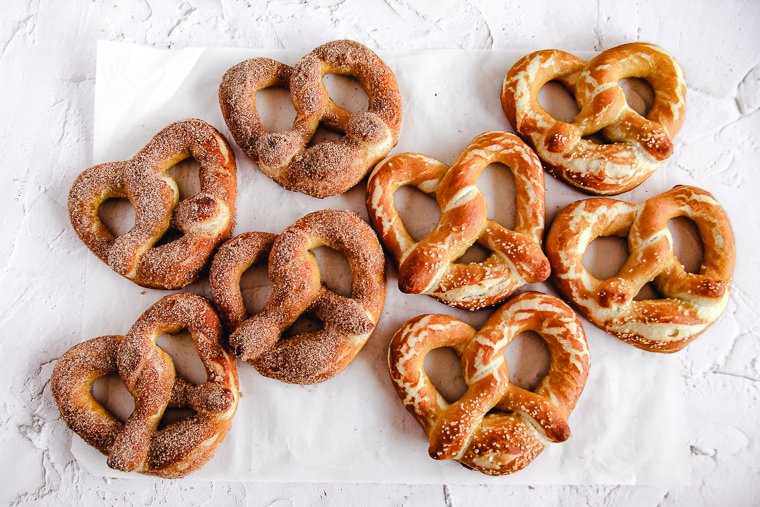
Sourdough soft pretzels are fun to make at home. They are chewy on the inside, lightly crisp on the outside, and deeply golden with that perfect pretzel flavor. Score and salt them for a savory treat, or top them with melted butter and cinnamon sugar to satisfy your sweet tooth.

We used to buy soft pretzels frozen… but not anymore. It turns out soft pretzels are not hard to make from scratch using a trusty sourdough starter. They taste even better and are better for you.
It took me some time to get this recipe right. After making pretzels that were too dense or too big and soft, I finally struck a good balance between the different textures that a fresh soft pretzel should have.

The dough is fairly stiff with the addition of bread flour to give the pretzels their chewy texture. It is fermented for 8 hours at room temperature before shaping and proofing. The pretzels then spend a stint in the refrigerator to help them keep their shape.
Then one of the most important steps: the homemade pretzels are boiled for 30 seconds in a baking soda and honey bath to give them their dark color and pretzel flavor.
Traditionally, pretzels take a dip in a lye solution before baking for an even deeper color and stronger pretzel flavor. I went the route of boiling with baking soda instead, since most home bakers have some around already. Baking soda is alkaline, similar to lye, and still gives decent results.

Sourdough Soft Pretzels Baking Schedule
I like to start these sourdough soft pretzels in the morning before 8am so I can have them ready the same evening around dinnertime.
You could choose to make the dough in the late evening and bulk ferment overnight in a cool area of your home. They can also be held in the fridge (shaped) longer than the recipe calls for before you boil and bake.
More Sourdough Recipes from Aberle Home:
Tips
- The recipe is in grams because weighing ingredients is more accurate than measuring.
- There are differences in flour brands, so make small adjustments to the amount of flour, if necessary. The dough should be tacky after kneading, but not at all sticky.
- If you don’t have bread flour, all-purpose flour will work. You’ll just have to add a little more than the recipe calls for so your dough isn’t too sticky to shape later. Your pretzels will have a slightly softer texture.
- Don’t use flour on your counter when dividing and shaping the pretzel dough. The dough shouldn’t stick to the surface, but it should grip against the surface to help with shaping.
- If you’re struggling to shape your pretzels and the dough is starting to resist being lengthened, let it rest covered for an additional 10 minutes. The dough will relax and you can try again.
Equipment Needed
- Digital kitchen scale
- Mixer fitted with a dough hook
- Lidded bowl
- Plastic wrap
- Parchment paper
- Two half-sheet baking pans
- Bench scraper
- Large pot (I use my enamel-coated Dutch oven)
- Spider strainer spoon
- Lame or razor blade for scoring dough
- Pastry brush
How to Make Sourdough Soft Pretzels
Step 1 – Make and Ferment the Sourdough Soft Pretzel Dough
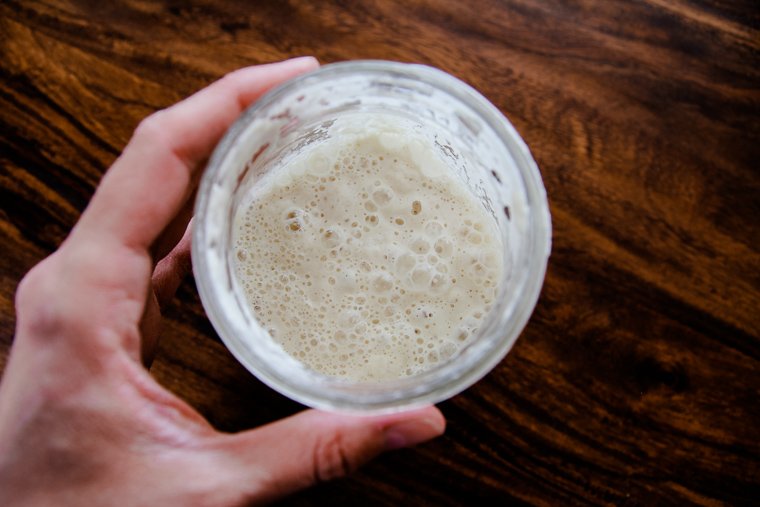
Make sure you feed your starter a few hours ahead of time (or the evening before) so it has the chance to double before you add it to the recipe. You’ll want to feed it with equal weights flour and water. It should be about the consistency of pancake batter.
The dough ingredients come together easily in a mixer. Simply knead the dough for about 6 minutes until it becomes nice and smooth. The dough will pull away from the sides and bottom of the mixer. If you don’t own a mixer, you can knead it by hand on a clean countertop.
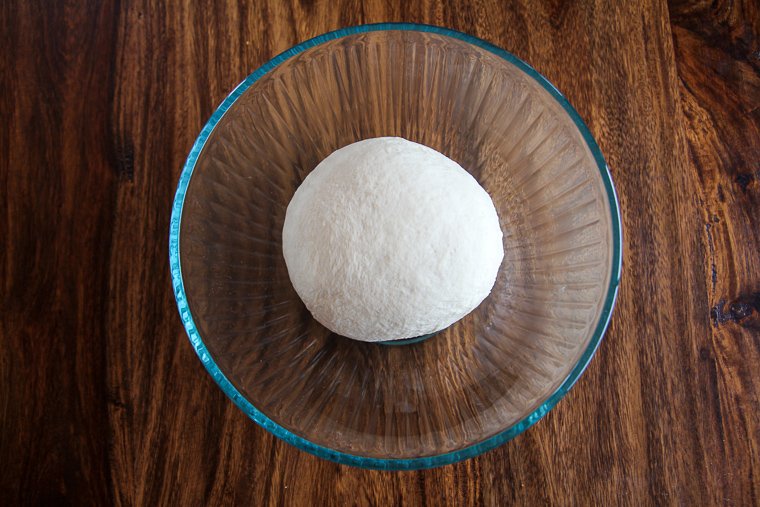
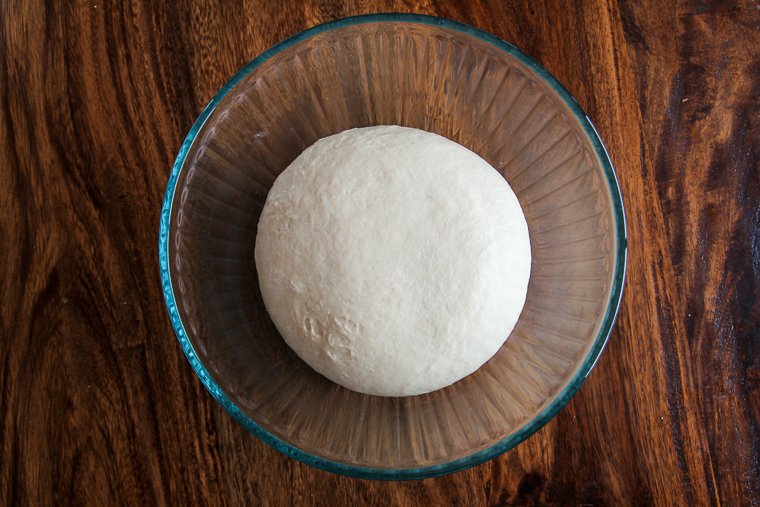
Form the dough into a smooth ball and place it in lightly oiled lidded bowl to bulk ferment for 6-8 hours at room temperature. It will take longer the cooler your kitchen is. Keep the lid propped on to prevent the dough from drying out.
You’re looking for your dough to have grown by the time bulk fermentation is done, but it doesn’t need to double.
Step 2 – Divide and Preshape
Turn out your dough and use a bench knife to divide it into eight pieces. I weigh my pieces on my kitchen scale to make sure they are the same size: 98 grams a piece. You won’t need to dust your counter with flour.
Preshaping the pieces first will help shaping go more smoothly later.
To preshape, flatten the first piece with your hand to remove any air bubbles (degas). Then begin to roll the flattened dough up into a little log. Use your fingers to press the dough down tightly with each turn until the piece is completely rolled up.
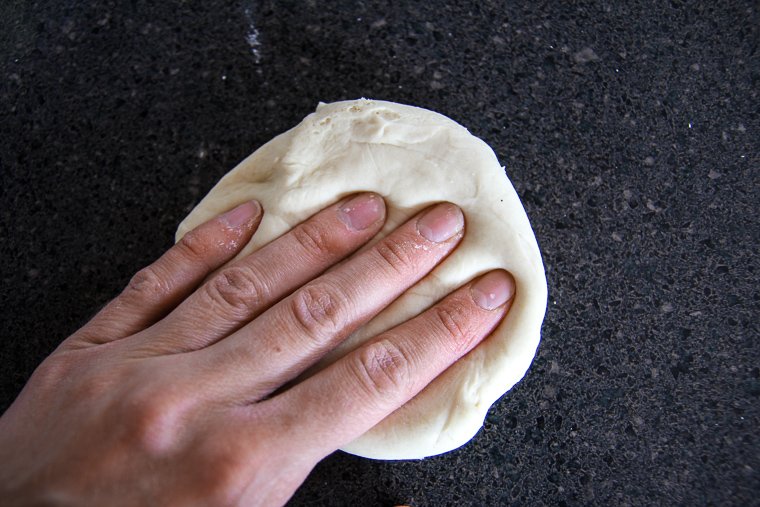
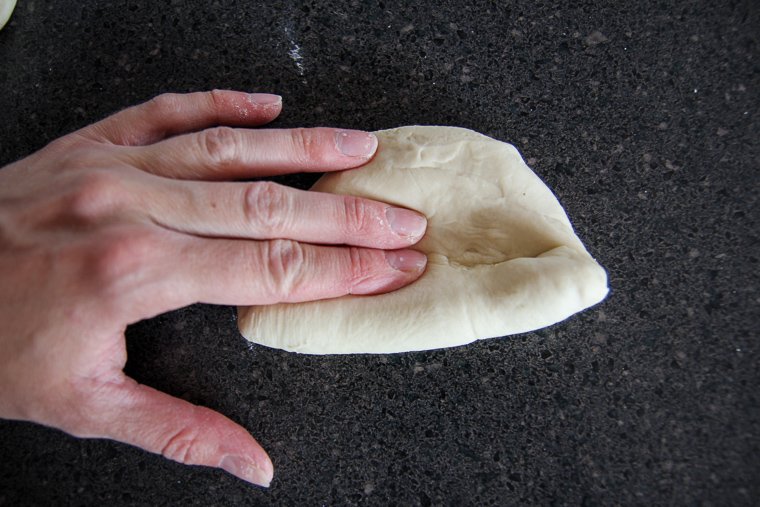
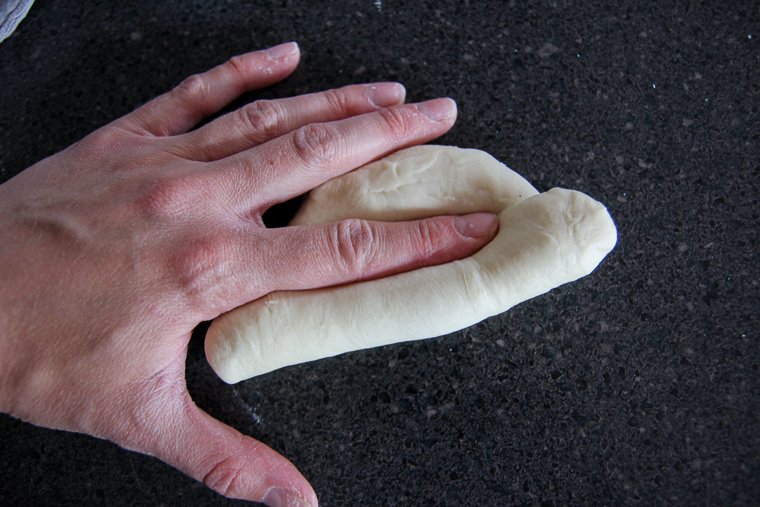
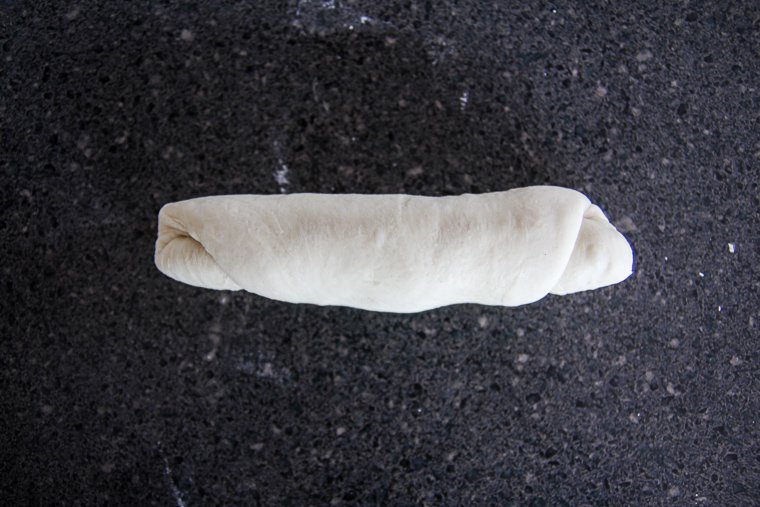
Set it aside under a length of plastic wrap and preshape the other pieces the same way. Allow them to rest covered for 15 minutes. This will give the gluten time to relax.
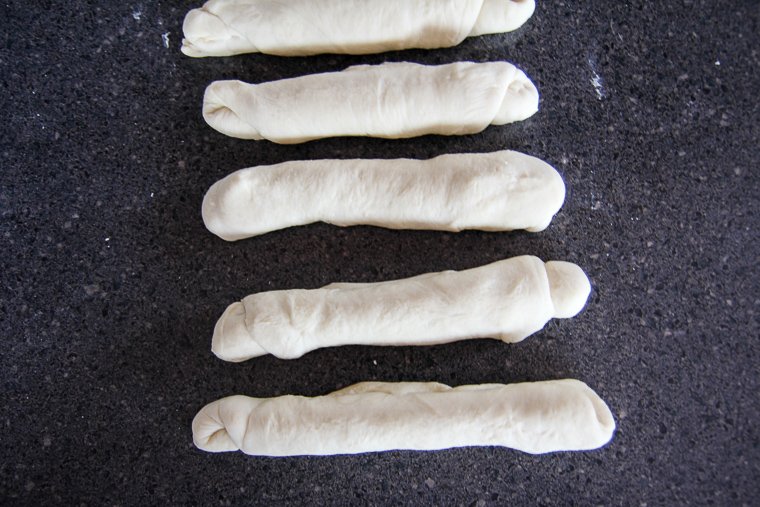
Step 3 – Shape Pretzels
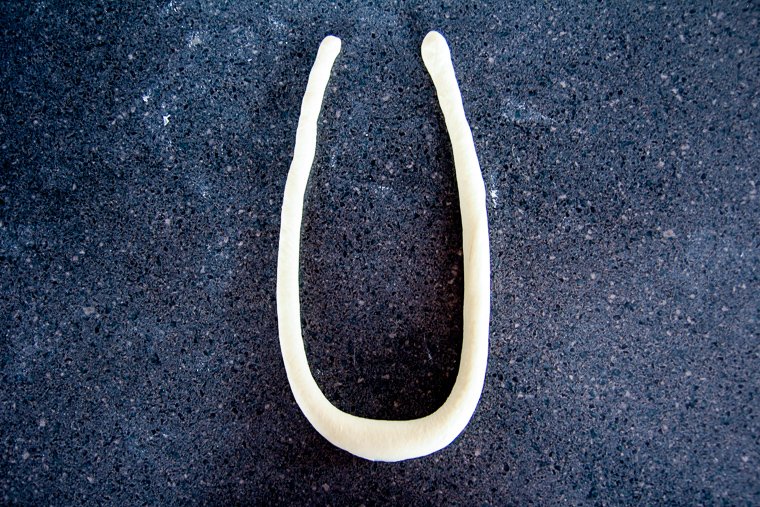
To shape a pretzel, take one of your little logs of dough and begin rolling it back and forth on the counter with both hands. Use even pressure to lengthen the dough into a long rope as you move your hands further apart. Leave the dough just slightly thicker in the very middle and work your way outwards until your rope is about 30 inches long. Leave little bulbs on the very ends.
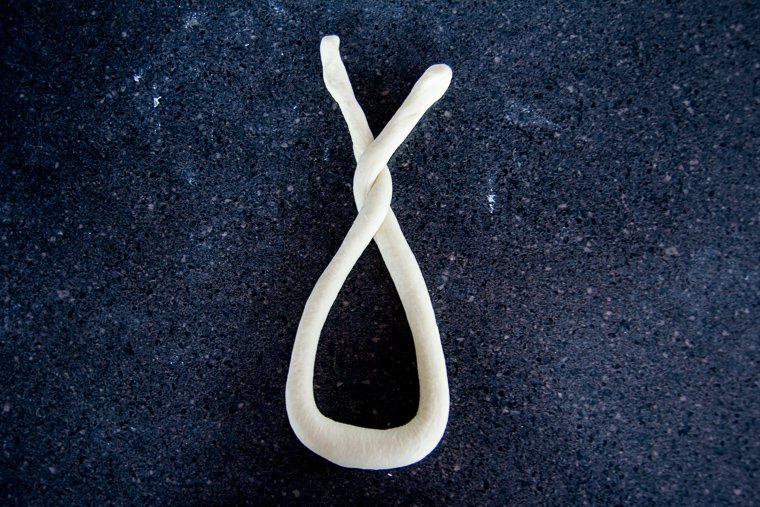
Lay the rope in a U shape. Cross the ends twice, and then bring the ends down to the bottom of your pretzel. Press them lightly so they stay in place and lay the pretzel on a parchment-lined half sheet pan. Cover the pretzel with plastic wrap so it doesn’t dry out while you shape the other pretzels in the same way.
You’ll use two parchment-lined pans, 4 pretzels to each pan.

Step 4 – Proof and Boil the Pretzels
While the pretzels are covered in plastic wrap, proof them at room temperature for about 1 hour. They should be only slightly more “poofy” by this point. If your house is really warm, it may not take quite this long.
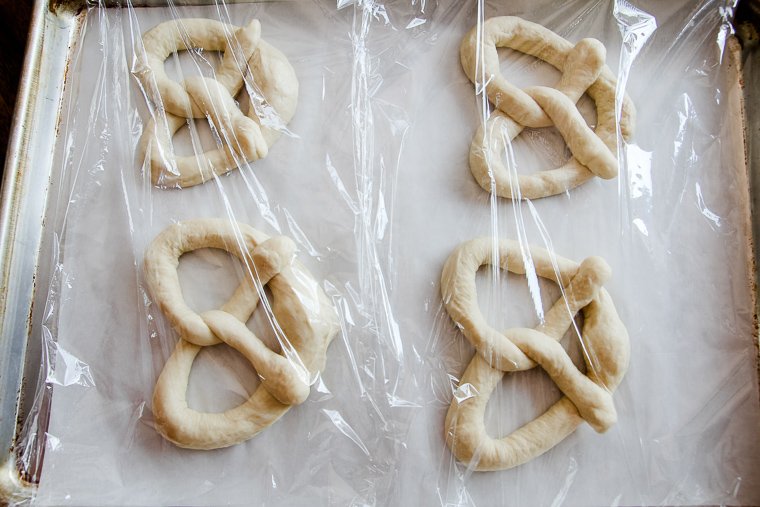
Transfer the pans to the refrigerator for 40 minutes to chill the pretzels through. This will help them keep their shape while you handle and boil them.
Before they are done chilling, prepare your boiling pot and preheat your oven. I like to add the baking soda and honey in before the water heats so I don’t risk my pot boiling over later. I am using my Dutch oven here.
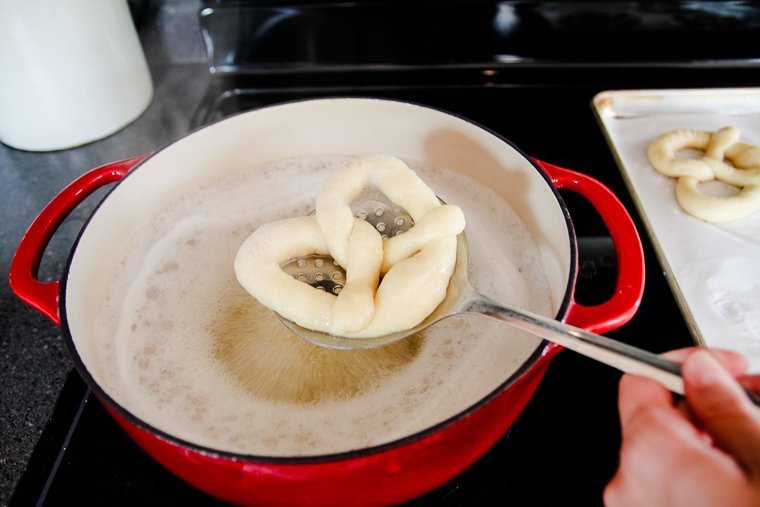
Drop the pretzels one at a time into the boiling pot for 30 seconds each. You can expect them to float after a few seconds. Use a spider strainer spoon to keep them submerged and then gently lift them out of the water when they are done.
Allow any excess water drip back into the pot before you place them back onto your baking sheet.
Step 5 – Slash, Salt and Bake the Sourdough Soft Pretzels
For salted pretzels, use a lame or a razor blade to slash each one on the top center of the bottom bulge.
Sprinkle the bottom third of the pretzel with coarse salt while the dough is still wet from boiling. You can use kosher salt, sea salt, or purchase pretzel salt if you like.
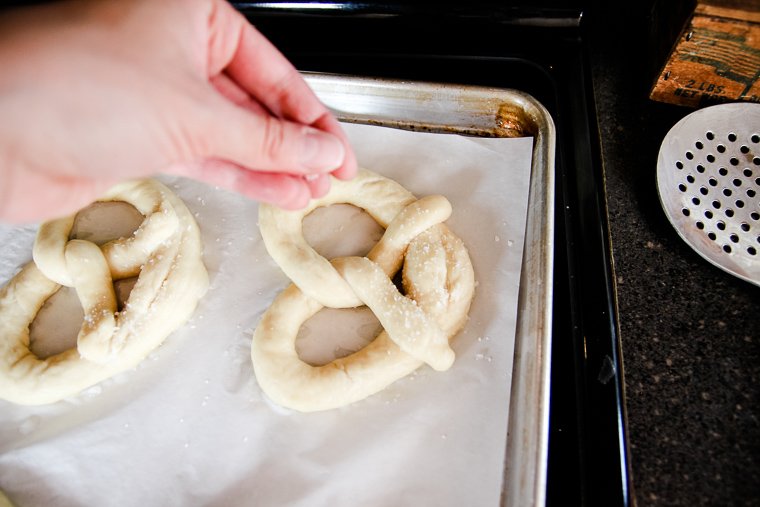
Bake them with the pans staggered on the center and bottom racks of your oven for about 20 minutes or until they are deeply golden brown. Rotate your pans halfway through baking if you notice they are not browning evenly.
For Cinnamon Sugar Soft Sourdough Pretzels
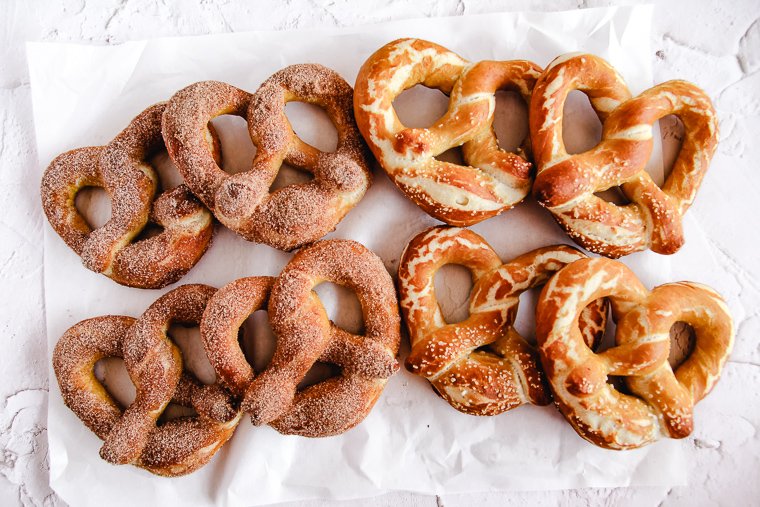
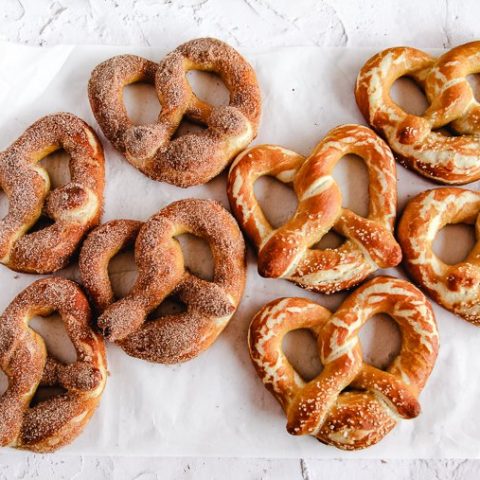
I made half my batch salty and half sweet which worked out very well!
To make the cinnamon sugar soft pretzels, simply skip the scoring and the coarse salt. Bake them straight out of the water bath.
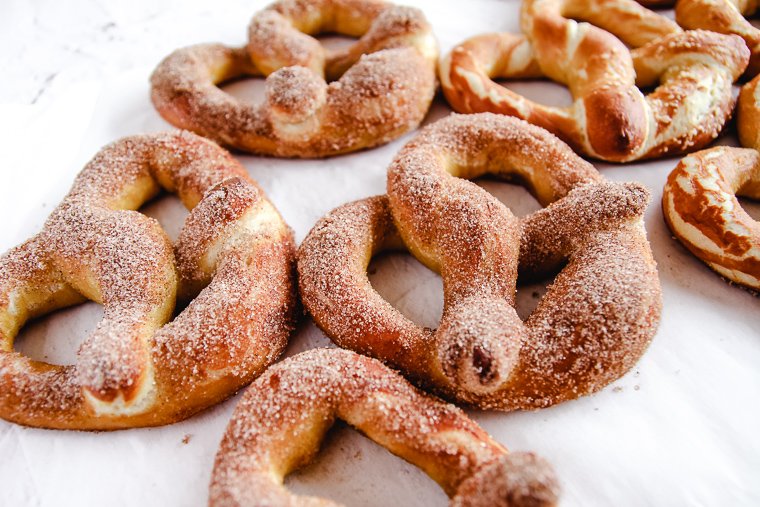
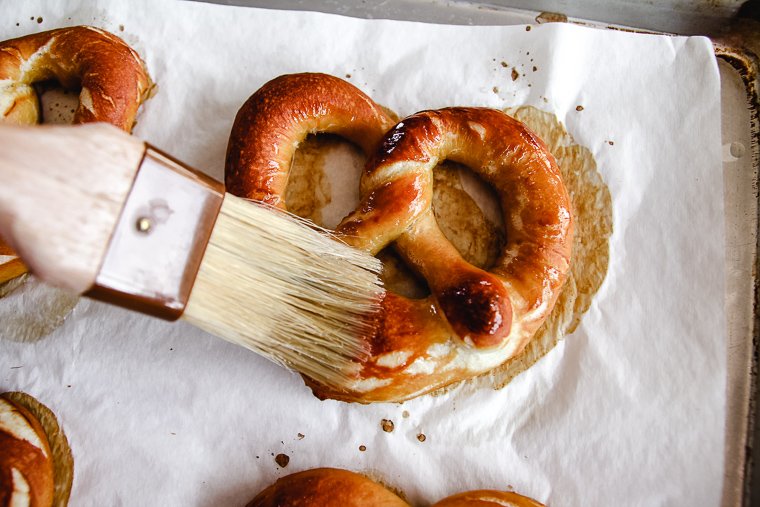
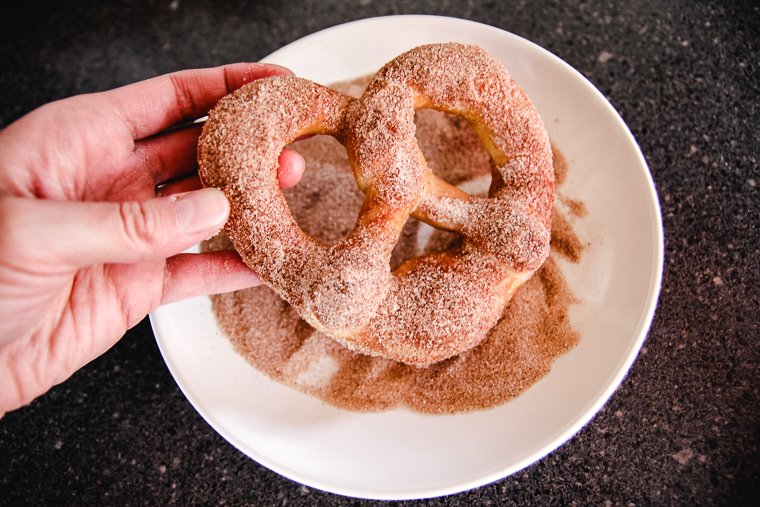
After they come out of the oven, brush them generously with melted butter before you give them a good dunk in a mixture of cinnamon, sugar, and salt. You can also spoon the mixture over the pretzel to coat every crevice.
Do this while the pretzels are still warm so the cinnamon sugar melts in to coat the surface thoroughly.
And that’s it! Enjoy them warm and fresh.
How to Store Sourdough Soft Pretzels
Sourdough soft pretzels are best eaten fresh the first day. If you do have leftovers, I suggest you freeze them in a gallon zipper freezer bag right after they cool completely. To thaw them, bake them uncovered at 400°F for about 5 minutes until they are warmed through.
I’m so grateful for your comments, reviews, and questions! Your star ratings help others discover my recipes, and your feedback helps me make improvements. Thank you for your support!
Sourdough Soft Pretzels - Two Ways
Sourdough soft pretzels are chewy on the inside, lightly crisp on the outside, and deeply golden with that perfect pretzel flavor. Score and salt them for a savory treat, or top them with melted butter and cinnamon sugar to satisfy your sweet tooth.
Ingredients
Pretzel Dough
- 60g active sourdough starter - 100% hydration
- 236g lukewarm water
- 18g granulated sugar
- 1½ teaspoons kosher salt
- 2 tablespoons salted butter, softened
- 150g unbleached all-purpose flour
- 312g high protein bread flour
Boiling Pot
- 8 cups water
- 1/4 cup baking soda
- 1 tablespoon honey
For Salted Pretzels
- coarse salt for sprinkling
For 8 Cinnamon Sugar Pretzels
- 2 tablespoons melted butter
- 1/2 cup granulated sugar
- 2 teaspoons ground cinnamon
- 1/4 teaspoon kosher salt
Instructions
- Dough: Add sourdough starter, water, sugar, kosher salt, softened butter, and flour to the bowl of a stand mixer fitted with a dough hook. Mix on low speed until the dough comes together. Continue to knead on low for about 6 minutes until the dough is smooth and elastic. (Knead by hand if you don't own a mixer.) The dough should have pulled away from the bottom and sides of the mixing bowl.
- Bulk ferment: Form the dough into a ball and transfer to a lightly buttered, lidded bowl. Allow to dough to sit with the lid propped on at room temperature for 6-8 hours or until the dough has come close to doubling.
- Preshape: Turn out dough. (Don't flour your surface.) Use a bench knife to divide the dough into 8 pieces (98g each if using a kitchen scale).
- Press the first piece flat to degas, then begin rolling it up lengthwise into a little log, pressing the end into the dough firmly with each roll. Repeat with remaining pieces. Cover your logs with plastic wrap and let them rest for 15 minutes.
- Shape: Line 2 half-sheet pans with parchment paper. Begin rolling your first little log back and forth on the counter with both hands. Start in the center of the dough and work your hands outward with even pressure to lengthen the dough to a 30-inch rope. Try to leave the very center of the rope slightly thicker and taper thinner from there with little bulbs on the ends.
- Lay your rope in the shape of a U. Cross the ends twice. Bring the ends down to the bottom of the U, and press them down gently to seal. Place your pretzel on the first pan, and cover it with plastic wrap while you shape the remaining pretzels. Arrange pretzels 4 to each pan.
- Keep pans covered with plastic wrap and allow the pretzels to proof at room temperature for 1 hour or until they look only slightly more "poofy." Refrigerate (still covered) for 40 more minutes until chilled through.
- Boiling pot: Add baking soda and honey to 8 cups of water in a large pot, then bring to a boil over high heat. Set out a dish of coarse salt (for salted pretzels). Preheat oven to 450°F.
- Gently drop the first chilled pretzel into the boiling pot. Use a spider strainer spoon to make sure the pretzel stays submerged for 30 seconds. Remove the pretzel with the spider spoon, allowing any excess water to drain back into the pot before placing the pretzel back onto your prepared sheet pan. Repeat with remaining pretzels, one pretzel at a time.
- For salted pretzels: While pretzels are still wet, sprinkle them with salt and score the bottoms with a lame or razor blade. Bake pretzels with trays staggered on the center and bottom racks for 15-20 minutes, or until deeply golden.
- For cinnamon sugar pretzels: Don't score or salt after boiling. Bake pretzels with trays staggered on the center and bottom racks for 15-20 minutes, or until deeply golden. Whisk together cinnamon, sugar, and salt in a shallow dish and set aside. Once pretzels are warm out of the oven, brush them generously with melted butter and then promptly dip them in the cinnamon sugar mixture. Spoon the mixture over the top of the pretzel, if necessary, to cover every crevice.
- Serve the pretzels warm. Allow leftovers to cool completely, then freeze in an airtight container for up to three months. Reheat in the oven on a baking tray (uncovered) for 5 minutes at 400°F.
Notes
Recommended Products
As an Amazon Associate and member of other affiliate programs, I earn from qualifying purchases.
-
 Set of 2 Pastry Brushes
 -
 Lodge Enameled Cast Iron Dutch Oven, 6 Quart, Red
 -
 Winware Stainless Steel Dough Scraper with Wood Handle
 -
 Pyrex 8-piece Glass Mixing Bowl Set
 -
 Hiware Spider Strainer Spoon
 -
 If You Care Parchment Paper
 -
 KitchenAid Artisan Stand Mixers, 5 quart, Pearl Metallic
 -
 GreaterGoods Digital Food Kitchen Scale, Multifunction Scale Measures in Grams and Ounces (Ash Grey)
 -
 Nordic Ware Natural Aluminum Commercial Baker's Half Sheet (2 Pack), Silver
Nutrition Information:
Yield: 8 Serving Size: 1Amount Per Serving: Calories: 352Total Fat: 7gSaturated Fat: 4gTrans Fat: 0gUnsaturated Fat: 2gCholesterol: 15mgSodium: 245mgCarbohydrates: 64gFiber: 3gSugar: 18gProtein: 9g
*Nutrition information is not always accurate.


These were so easy and SO delicious! My family devoured them. I had some happy starter and followed the recipe after that and had the best after school snack!
So happy to hear this, Mallory! Thank you for trying the recipe!
Thank you so much for this recipe, I made it for the first time today. I made two substitutions – brown rice syrup for honey and vegan buttery spread for butter. The salted pretzels turned out wonderfully. Can’t wait to use this recipe again in the future!
Thanks for trying the recipe and sharing your substitutions, Christie! I’m so glad to hear you liked them! 🙂
Hi, I found your website about an hour ago via Pinterest. I’m loving all of your recipes! I need to ferment as long as possible. I’m only a year into sourdough baking (mainly goodies and usually a goodie once or twice a month – so still kind of new). You say, “ They can also be held in the fridge (shaped) longer than the recipe calls for before you boil and bake.”. I’ve done this twice before using another recipe and they deflated shortly after refrigerating. Not sure what went wrong. Can you make any suggestions on how I can ferment as long as possible and if using the fridge is the best way, how? Thank you in advance
Hi Mel! You could try stretching the bulk ferment instead of the proof to prevent the pretzels from collapsing. You could try a 12-hour ferment instead of 6-8 hours. Of you could bulk ferment at room temperature first for 6-8 hours until the dough has almost doubled, then retard the dough in the refrigerator for an extra day or two before shaping. The pretzels might be easier to shape with the dough being cold, but they may take a little longer to proof before you chill and boil them. Let me know how it goes!