This post may contain affiliate links. See my full disclosure. As an Amazon Associate, I earn from qualifying purchases.
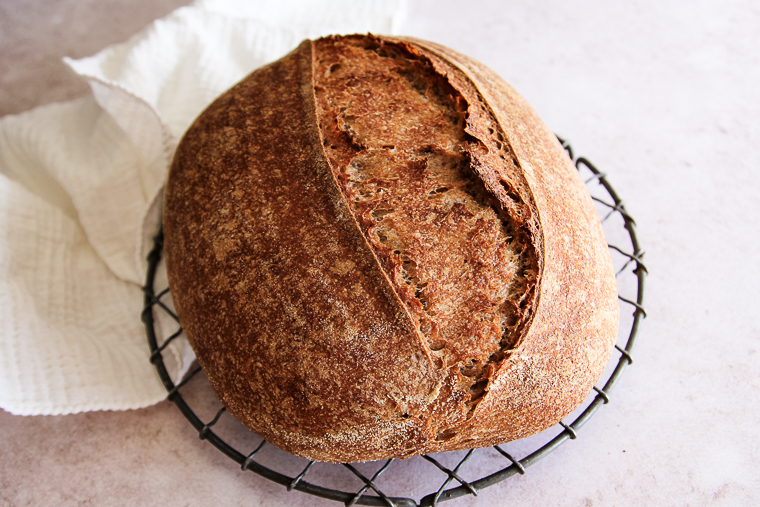
100% whole wheat sourdough bread lets fresh milled flour shine! This simple recipe comes together in a mixer for no stretch-and-folds!
Being naturally leavened and 100% whole grain, whole wheat (wholemeal) sourdough is a truly nutrient-dense bread!
Similar to classic white sourdough, it’s a beginner-friendly and cost-effective bread containing only flour, water, starter, and sea salt. It’s made without oil, sugar, eggs, and milk.

I like to use my Bosch mixer to knead the dough upfront for a hands-off bulk fermentation. As a busy mom, it’s not always practical for me to continually come back to the dough to stretch-and-fold. I can just let it go until it’s time for shaping.
The dough can be baked in one day or proofed in the fridge overnight (cold retarded) to bake the next day. The one-day schedule will be the most fool-proof for beginners!
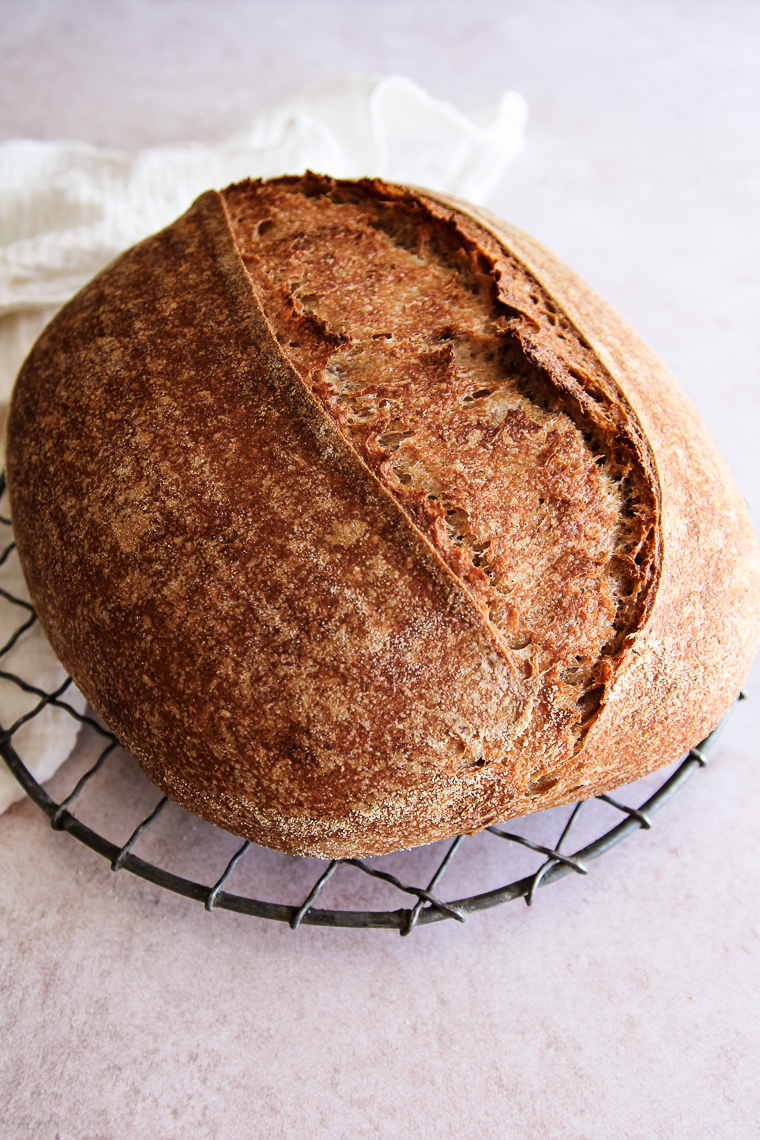
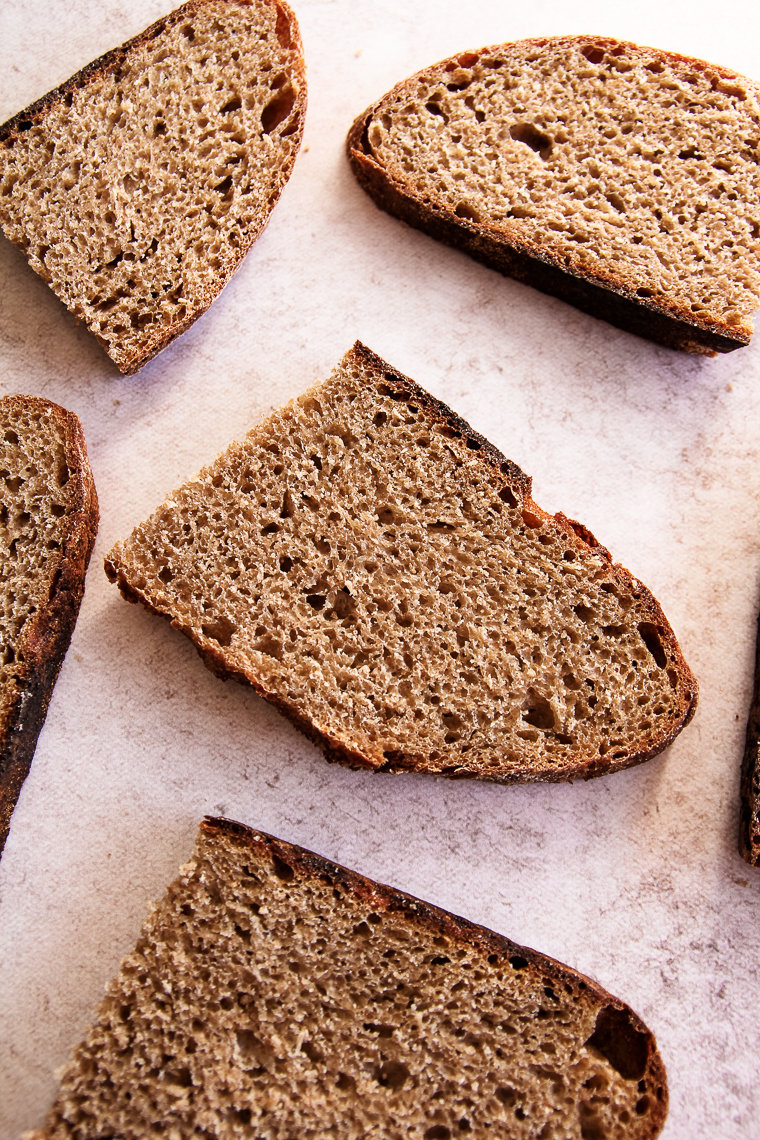
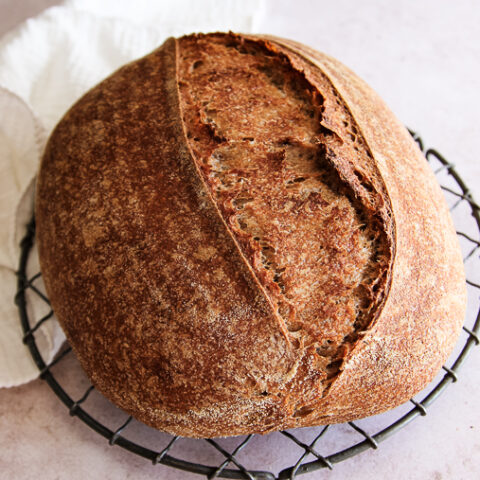
Whole grain sourdough can have a stigma of being dry, crumbly, and dense, but that isn’t the case here!
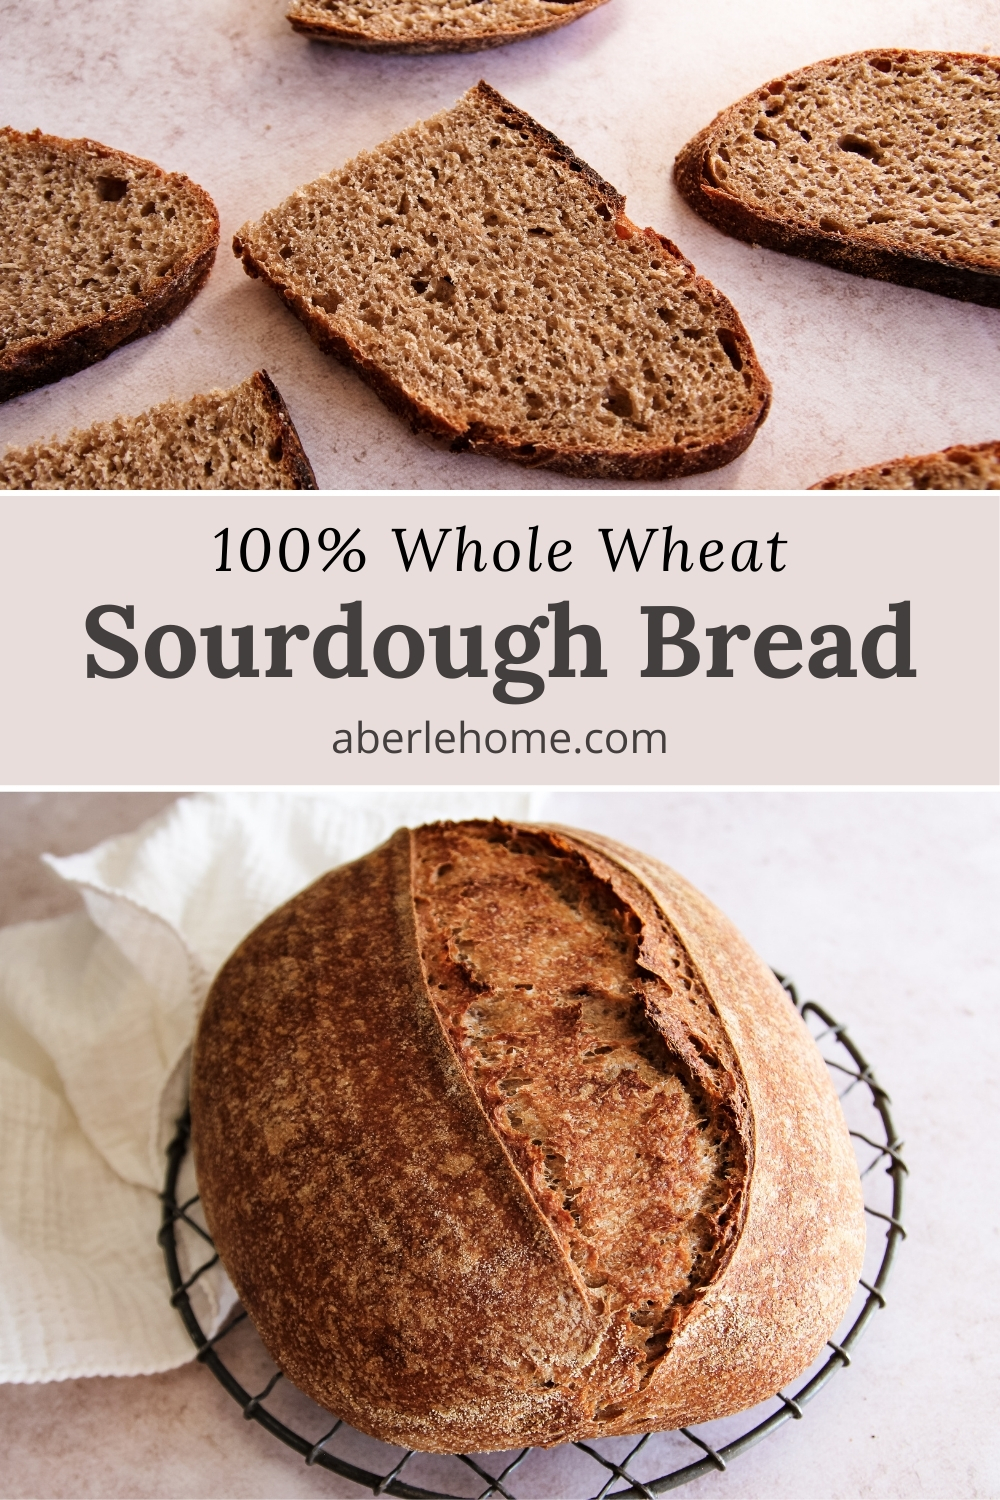
This is not meant to be a light and fluffy loaf with an open crumb, and yet, it has a pleasant texture. It’s will have a full nutty flavor depending, of course, on the variety of wheat that you’ve chosen to use.
We serve alongside dinner, with dipping oil, or toasted for breakfast or a sandwich. It’s absolutely delicious!
More Whole Wheat Sourdough Recipes from Aberle Home
- Leanna’s 100% Whole Wheat Sourdough Sandwich Bread
- Whole Wheat Sourdough Bagels
- Whole Wheat Sourdough English Muffins
- Maple Oat Sourdough Bread
- Whole Wheat Sourdough Pizza Crust
Why Bake Sourdough With Whole Wheat Flour
It’s been trendy since the sourdough craze began to bake the bread with mostly white all-purpose or bread flour.
But lately, more and more people are turning back to whole grains. Some people, like me, are even milling wheat right at home!
Let’s discuss the differences between refined white flour and whole wheat flour.
Stone milled or fresh milled flour is actually a whole food, containing all the parts of the wheat kernel (wheat berry) with nothing sifted away.
Whole wheat flour is packed with so much nutrition and flavor compared to white flour!
Take a look at the helpful display from Nutrimill below! You can see the bran, middlings, wheat germ, and wheat germ oil in whole grain wheat flour.
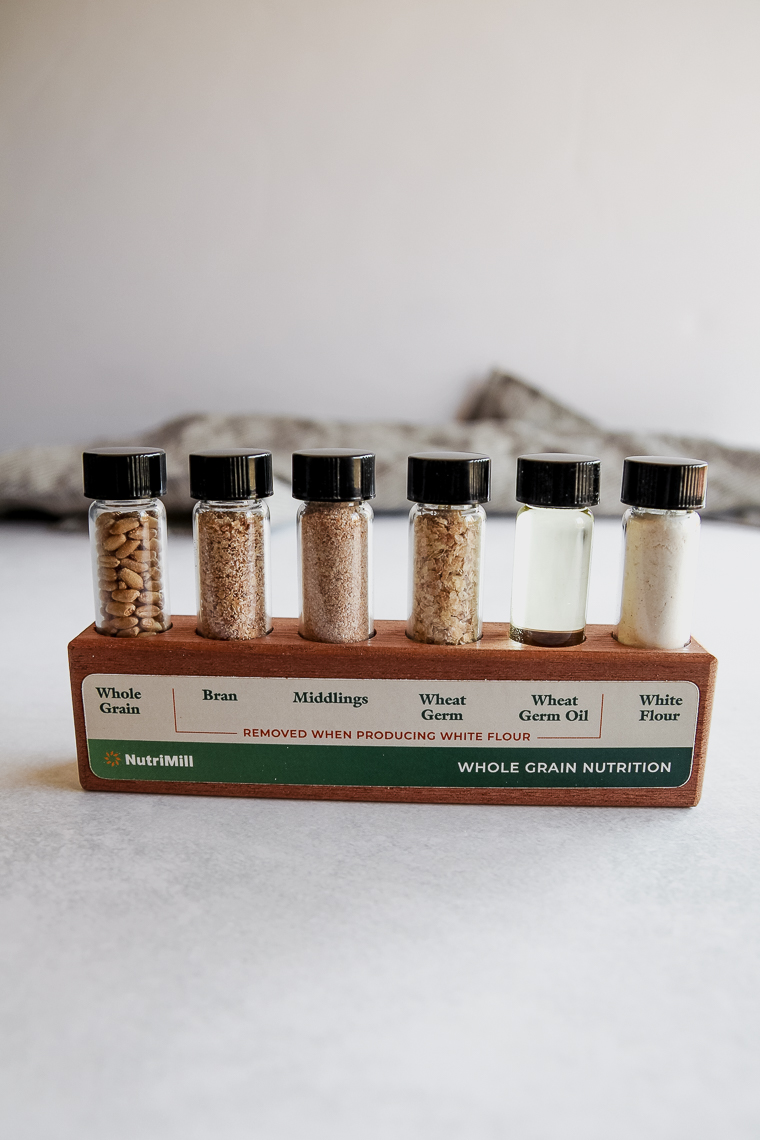
The added fiber and protein in the flour sustain energy longer to satisfy hunger. Fiber can support the gut and heart along with digestive regularity, and can help to regulate blood sugar.
And furthermore, whole wheat contains abundantly more antioxidants, vitamins, and minerals compared to refined white flour.
Our family has personally benefited from switching many of our homemade breads and baked goods to whole grain!
Choosing Whole Wheat Flour
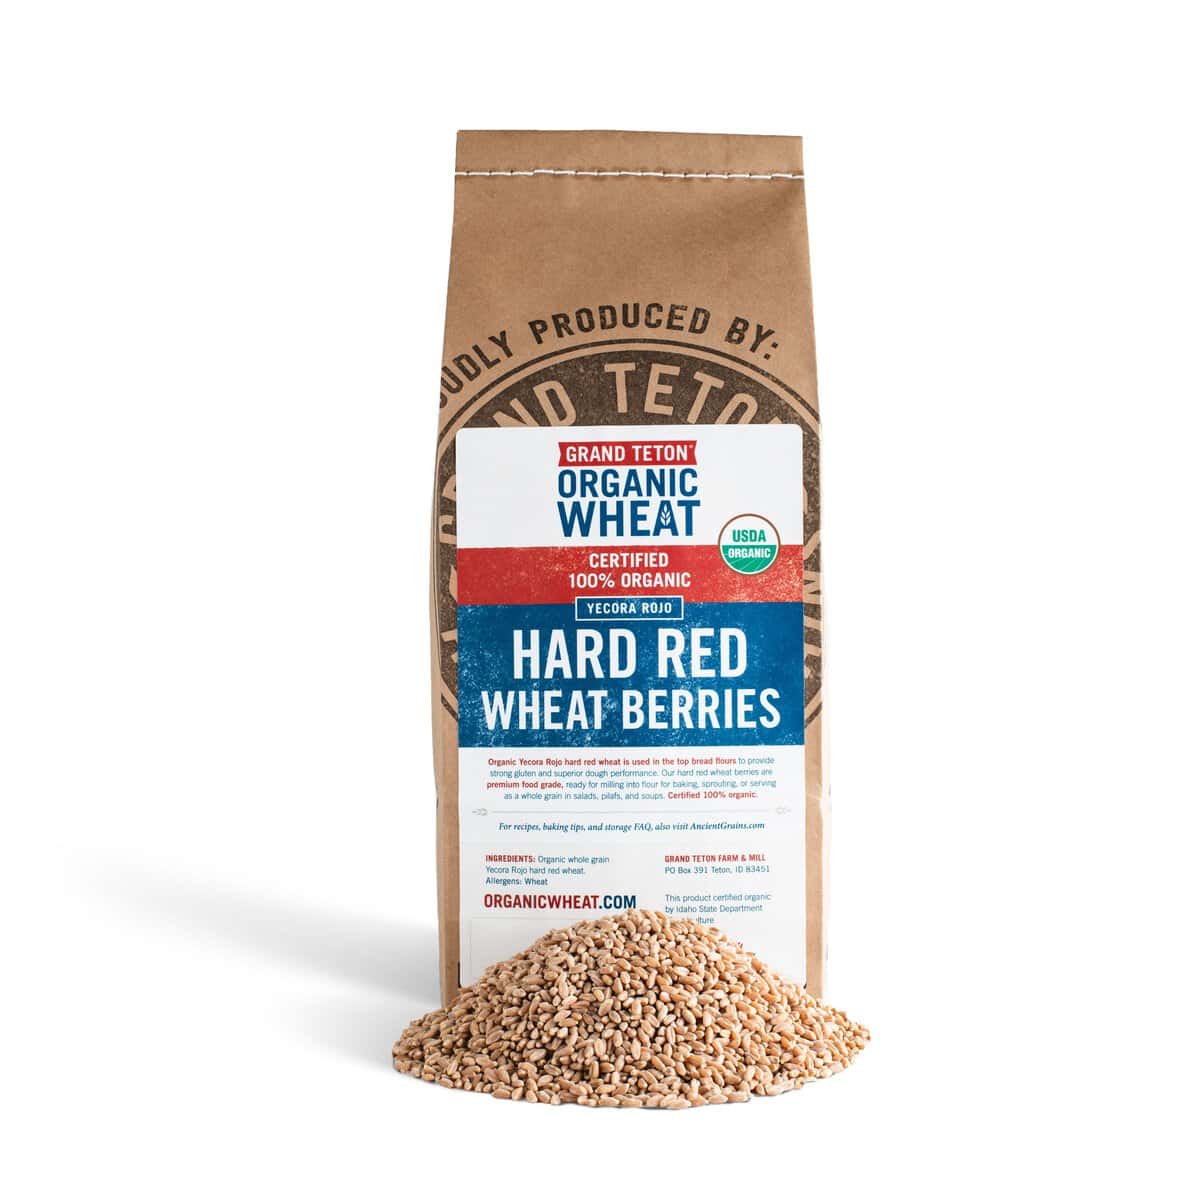
You can purchase stone milled hard whole wheat flour for this recipe or you can mill hard red or hard white wheat berries at home.
See my post Milling Flour at Home: A Beginner’s Guide if you want to learn about milling flour at home and find out where I purchase my wheat berries.
White whole wheat flour is still a whole grain, but has a lighter color and more mild flavor (closer to white flour). Red wheat has a deeper color and flavor that most people are familiar with when they think of whole wheat.
You can also do a combo of the two varities. Special heirloom varieties of hard wheat flours exist that can be really fun to test out.
Please note, this particular recipe is not formulated for soft wheats or ancient grains like spelt, einkorn, khorasan, or emmer.
Do I Have to Use Whole Wheat Sourdough Starter?
You’ll want to insure you are starting with a strong, ripe starter to properly leaven your bread!
For true 100% whole wheat bread, you would use a whole wheat sourdough starter, but this is not necessary.
You can use a white flour starter or feed a small portion of a white flour starter with whole wheat flour in preparation for this recipe.
Visit my Whole Wheat Starter: A Beginner’s Guide to learn to create and maintain a starter with whole wheat flour or my post Easy Sourdough Starter from Scratch to create a starter with white flour.
Keys to Baking Whole Wheat Sourdough Successfully
So how do we turn out decent bread with 100% whole wheat flour?
Hydration
Whole wheat or fresh milled flour can present some challenges. Differences in the protein content content of wheat berries or the fineness of the flour can affect how much water the dough can absorb.
For a good beginner recipe, the hydration cannot be too high to account for differences in wheat berries, and yet it must be high enough that the bread is not dry or weighed down.
Gluten Structure
The next key is sufficient gluten development. This is trickier with whole wheat because the bran in the flour cuts through the gluten structure.
A rest period after mixing the flour and water before adding in the starter and salt, called an autolyse, can help the gluten develop before any kneading is done. Then kneading in the mixer can develop the dough further.
I’ve had success skipping the autolyse when I’ve had particularly strong flour to work with. This depends entirely on the batch of wheat berries and how they behave.
A weak flour can be remedied with vital wheat gluten if necessary, though many people prefer to leave their flour as is.
Proofing
The third key is using a strong sourdough starter and bulk rising and proofing sufficiently. Both of these will give the loaves good rise and help to open up the crumb.
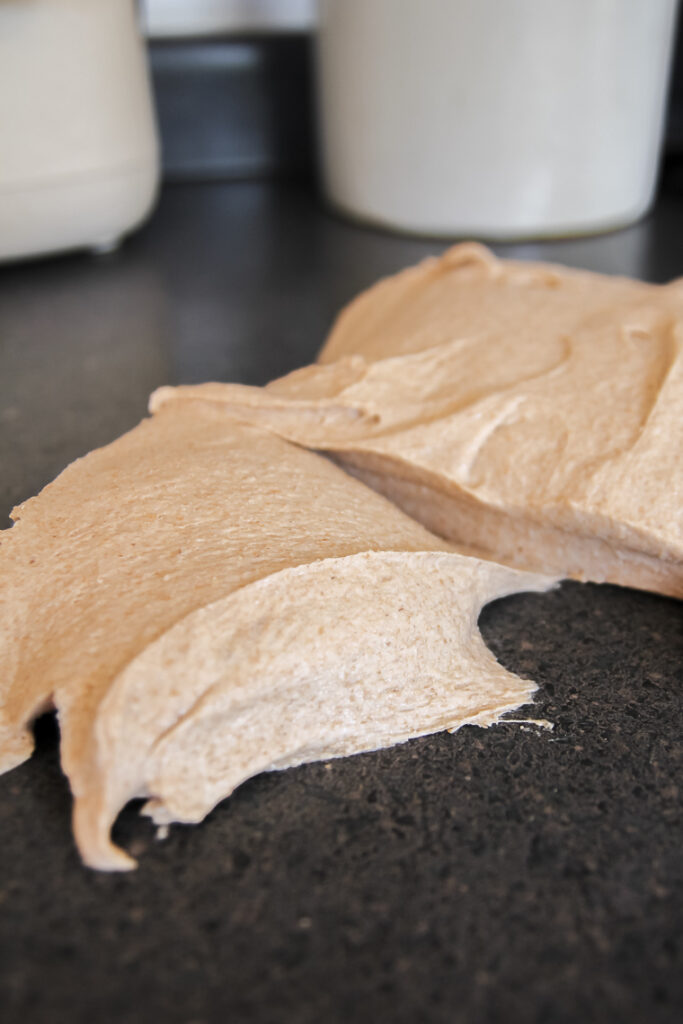
You can tell that the gluten is well-developed if the dough can be stretched thinly like a windowpane, but ALSO has good structure and elasticity, bouncing back to itself when mixed or pulled. When the dough is divided, it should hold its shape where cut to look like a “shelf.”
I would encourage you as you’re learning that your bread does not have to look perfect to be delicious and nourishing for your family! Have realistic expectations for the beautiful flour you are working with!
Baking Schedule
*The strength of your starter and the temperature of the dough will affect how long each step will take. I bulk fermented and proofed at a room temp of 70°F with a final dough temp of 80°F.
Approximate timing:
- Autolyse flour and water: 2 hours
- Mix and knead dough: 50 minutes (includes 30-minute rest in between)
- Warm bulk rise: about 4-6 hours (will depend on proofing option)
- Preshape and final shaping: 40 minutes
- Proof: overnight cold proof in fridge (12 hours+), or proof about 1 hour at room temp to bake same day
- Bake: 35 minutes
Tips for Baking 100% Whole Wheat Sourdough Bread
- Bulk ferment is shorter if cold proofing in the fridge overnight. This insures the dough won’t overproof in the fridge as it cools down. If your dough or house is much colder than mine, you might aim for a 50% or even greater to compensate before shaping. The one-day schedule will be even easier for beginners!
- A mixer with a strong motor is a must when kneading multiple wholegrain loaves at a time. I would not recommend a small Kitchen Aid mixer for this purpose. I use my Bosch mixer fitted with the dough hook attachment and dough hook extender. You can use my coupon code aberlehome at Nutrimill for $20 off this mixer. I will say that I’ve successfully multiplied the recipe to make 3 loaves at a time in the Bosch…I’ve yet to test if a 4-loaf batch is possible.
- Scaling the ingredients instead of measuring by cup insures accuracy. I prefer the large capacity and sensitivity of the My Weigh scale because I can place my Bosch mixer bowl directly on top of the scale to weigh in my ingredients.
How to Make Whole Wheat Sourdough Bread (Step-by-Step Instructions)
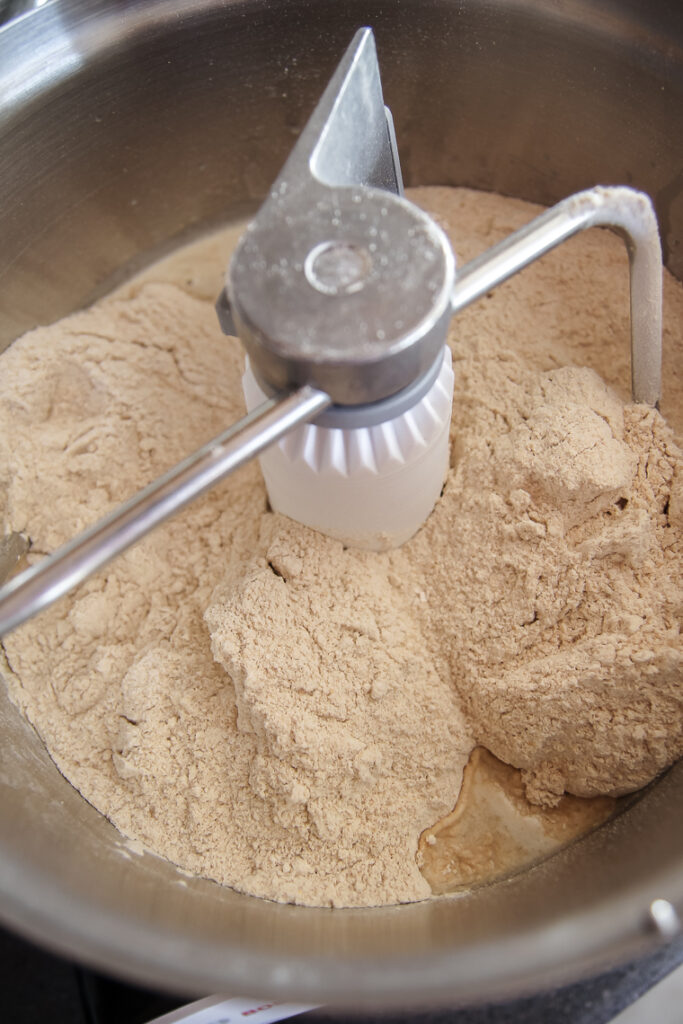
Step 1 – Autolyse Whole Wheat Flour and Water
You’ll want to time your starter so it will be ripe two hours into the recipe, or waiting recently fed and ripe in the refrigerator.
Start by adding the whole wheat flour and water to your mixer. I use a Bosch mixer with the dough hook and extender.
Mix on low until all the water is absorbed, then cover and allow to rest for 2 hours.
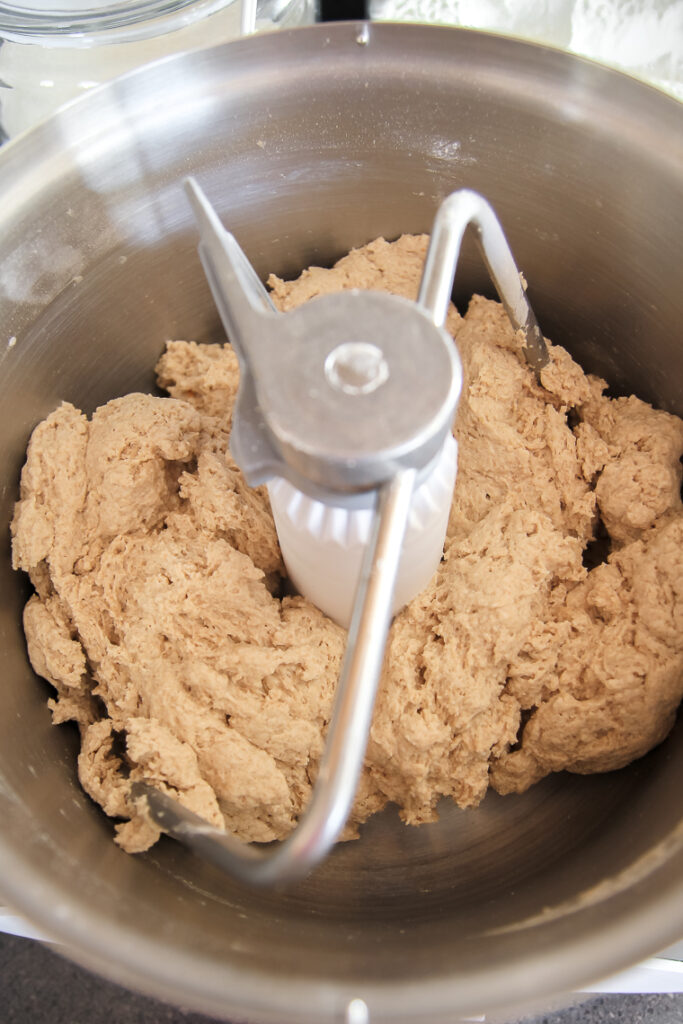
Step 2 – Add Starter and Salt & Knead in a Mixer
After the autolyse, you’ll see that the flour has already started to develop.
Add ripe sourdough starter and salt to the flour/water mixture, and mix to incorporate.
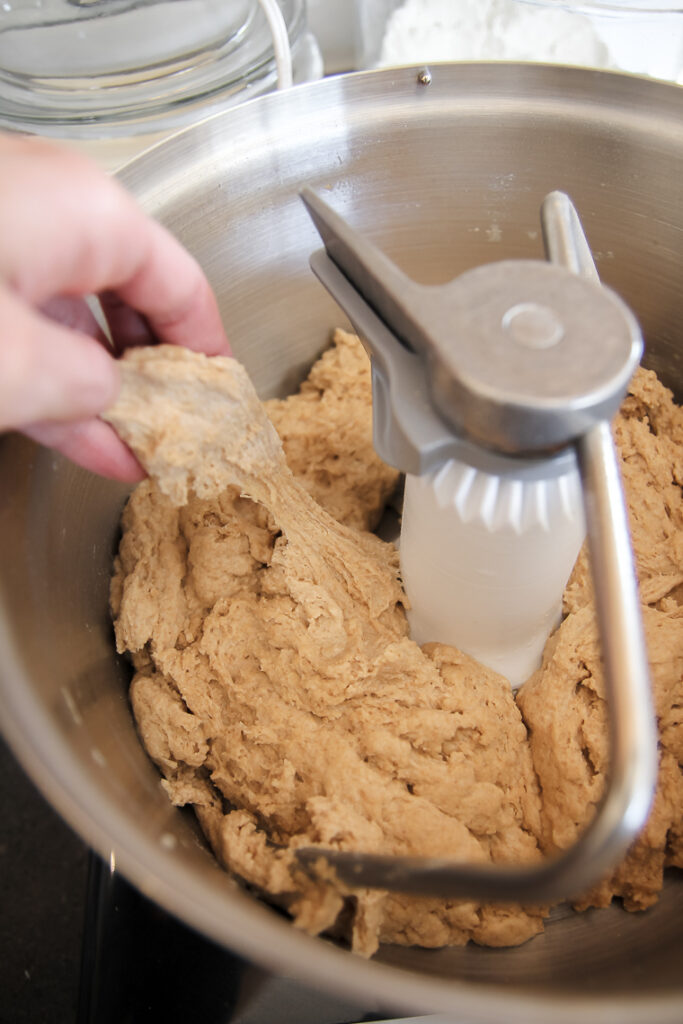
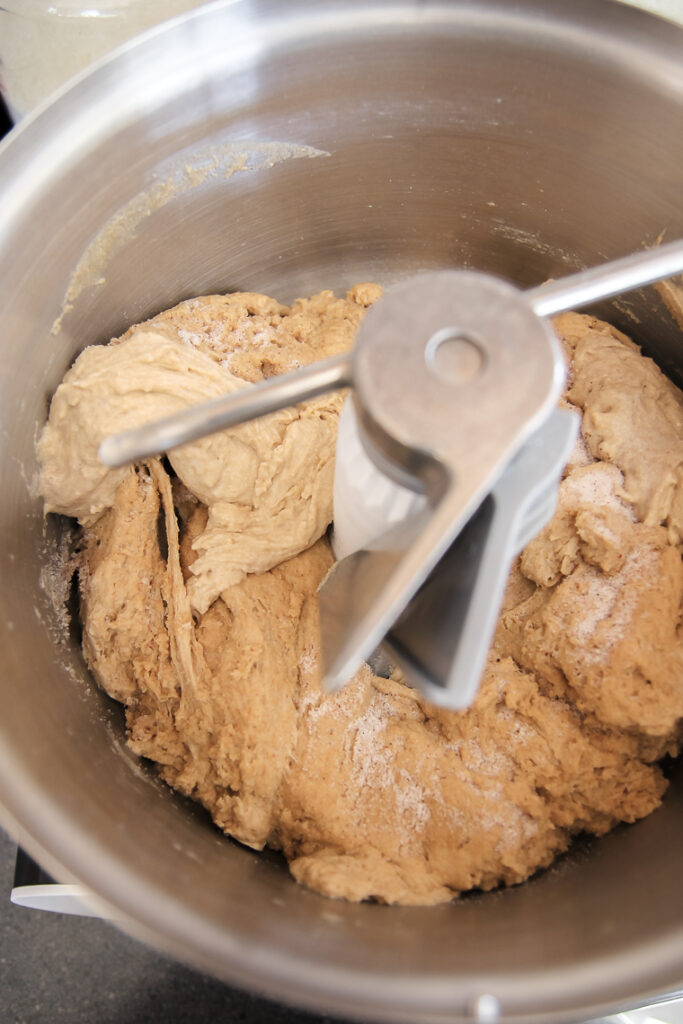
Knead the dough on the lowest possible speed setting for 10 minutes. You’ll see more gluten developmentat this point, but the dough will not have much elasticity or strength.

Cover the dough and allow it to rest for 30 minutes.
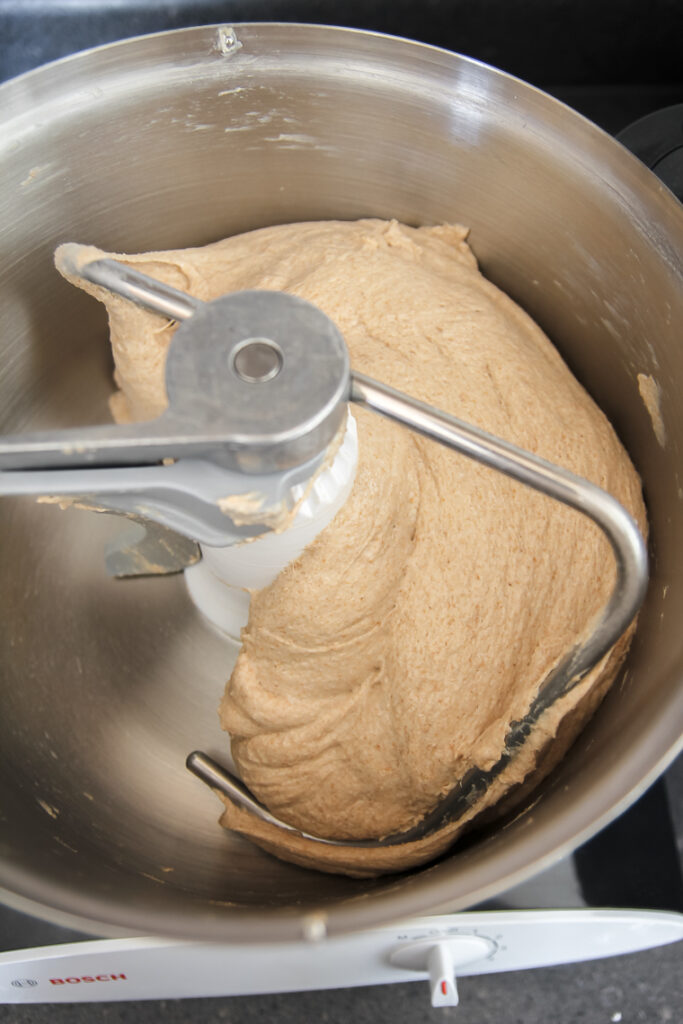
Knead one more time for an additional 10 minutes, or until the dough is smooth, strong and elastic.
As I said previously, the windowpane test is useful, but if the dough does not have sufficient elasticity to hold to itself, it’s not ready. Watch the dough near the end, though, because over-kneading will cause the dough to break apart.
The second photo below shows the necessary strength of the dough when divided for shaping (the “shelf” of gluten development).
Step 3 – Bulk Ferment Whole Wheat Sourdough Dough
Form the dough into a ball with damp hands and place in a straight-sided container to bulk rise. I like to use a Cambro container. Mark the starting point with a dry-erase marker (you’ll have about 2 quarts of dough at the start).
If baking with a two-day schedule near my temperatures, proof until the dough has increased by only 30% in volume (more if your house is chilly). It will measure about 2.6 quarts.
If baking with a one-day schedule, allow the dough to double for 100% rise in volume. It will measure 4 quarts when finished.
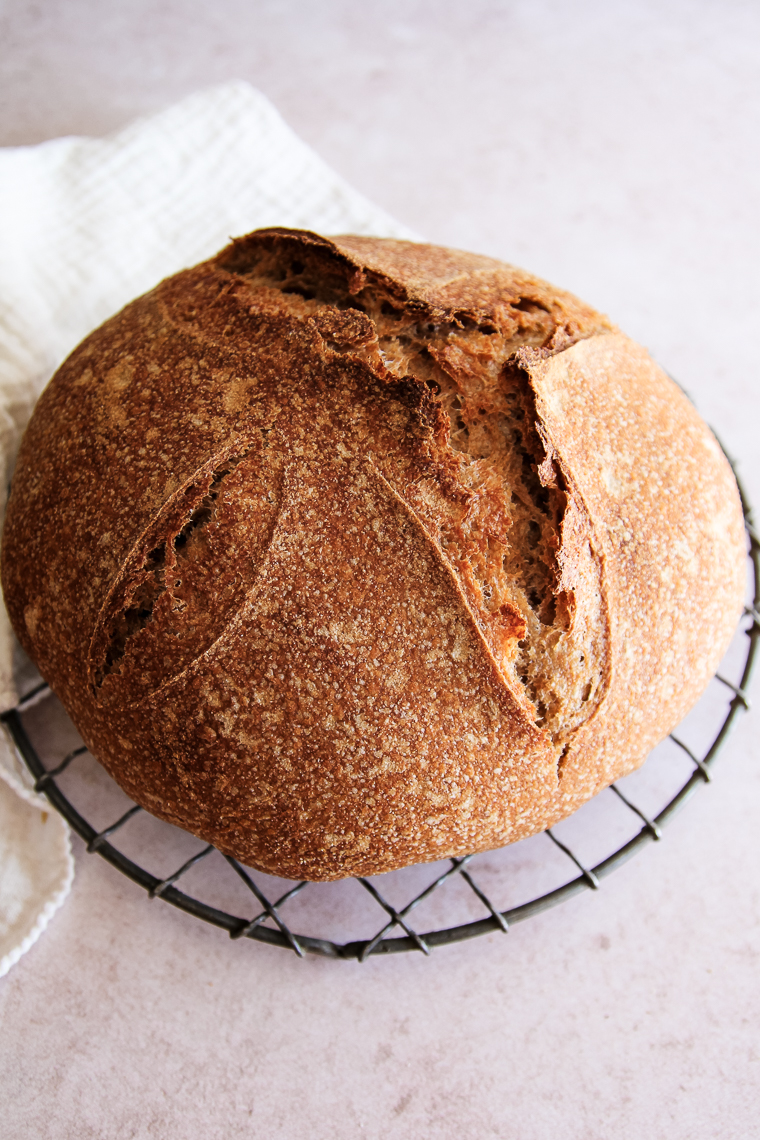
Step 4 – Shape Loaves into a Boule (Round Loaf) or Batard (Oval Loaf)
Preshape
Gently turn out the dough onto a clean counter using a flexible dough scraper, and divide into two equal pieces using a bench knife. Take care that you don’t degas the dough.
Use the bench scraper to scoot the dough against the counter to form it into a taught ball. (Dampening your free hand and the scraper will prevent sticking.) Leave the rounds uncovered to rest for 20-30 minutes until the top skin dries enough to be less sticky for shaping.
Final Shaping
Dust the top of the rounds lightly with flour, then use the bench knife to flip them top-side-down.
Then shape your loaves into either rounds (boule) or ovals (batard) depending on the shape of your proofing containers. Here is a video tutorial for shaping a round loaf from The Perfect Loaf, and here is a video tutorial for shaping a batard.
Invert the shaped loaves into proofing baskets, or tea-towel lined bowls dusted with a mixture of rice flour and wheat flour to prevent sticking. Dust the top with the flour mixture as well.
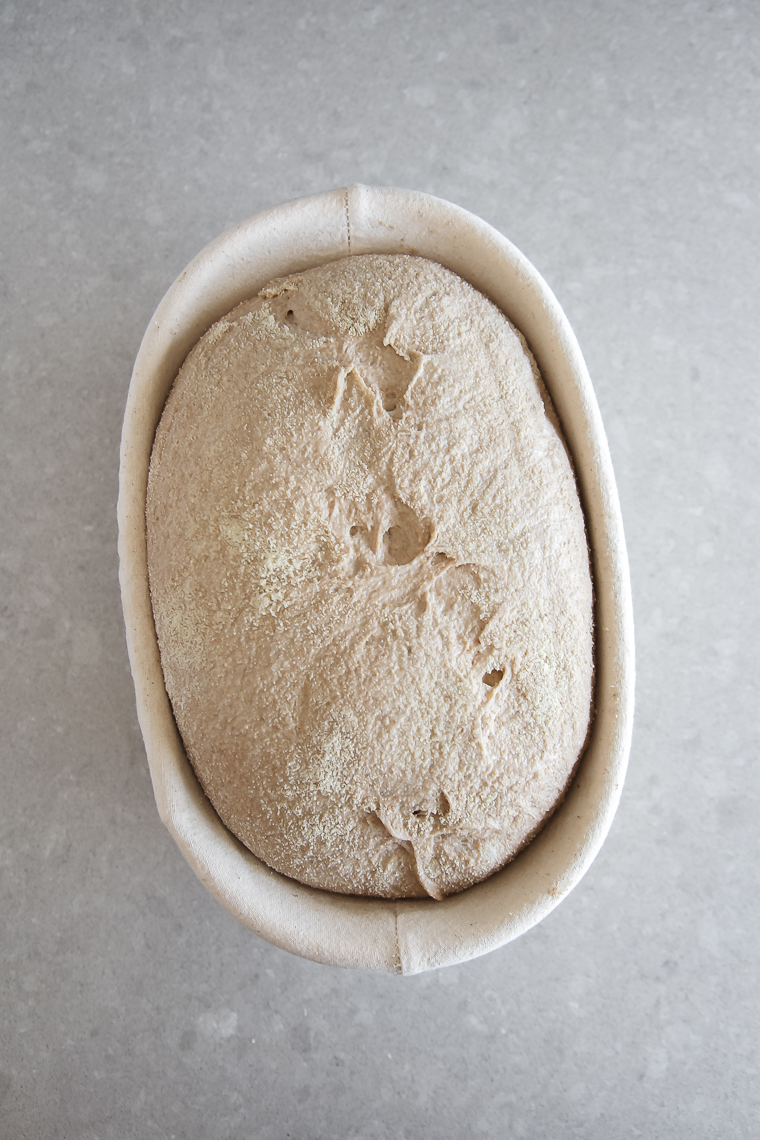
Step 5 – Proof Loaves
Place the proofing baskets into large plastic bread bags.
Proof one-day bread for about 1 hour, or until puffy. Otherwise, place the loaves into the refrigerator to cold proof overnight.
Step 6 – Bake Whole Wheat Sourdough Bread
Before the loaves are ready to bake, place two dutch ovens (or one to bake the loaves one at a time) side-by-side in a cold oven, and preheat the oven to 475°F.
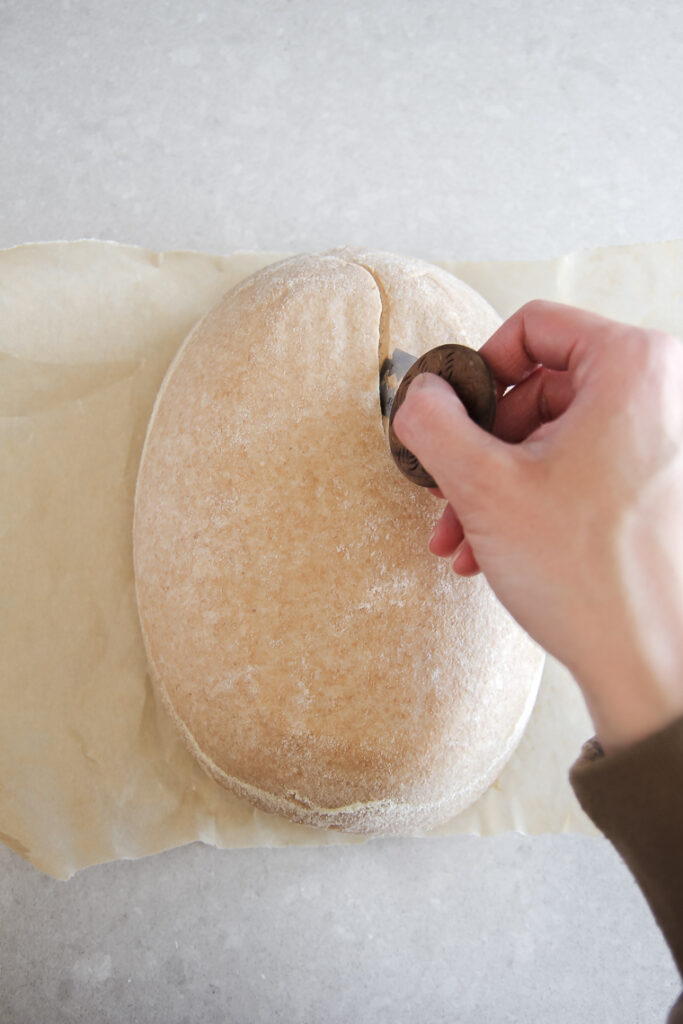
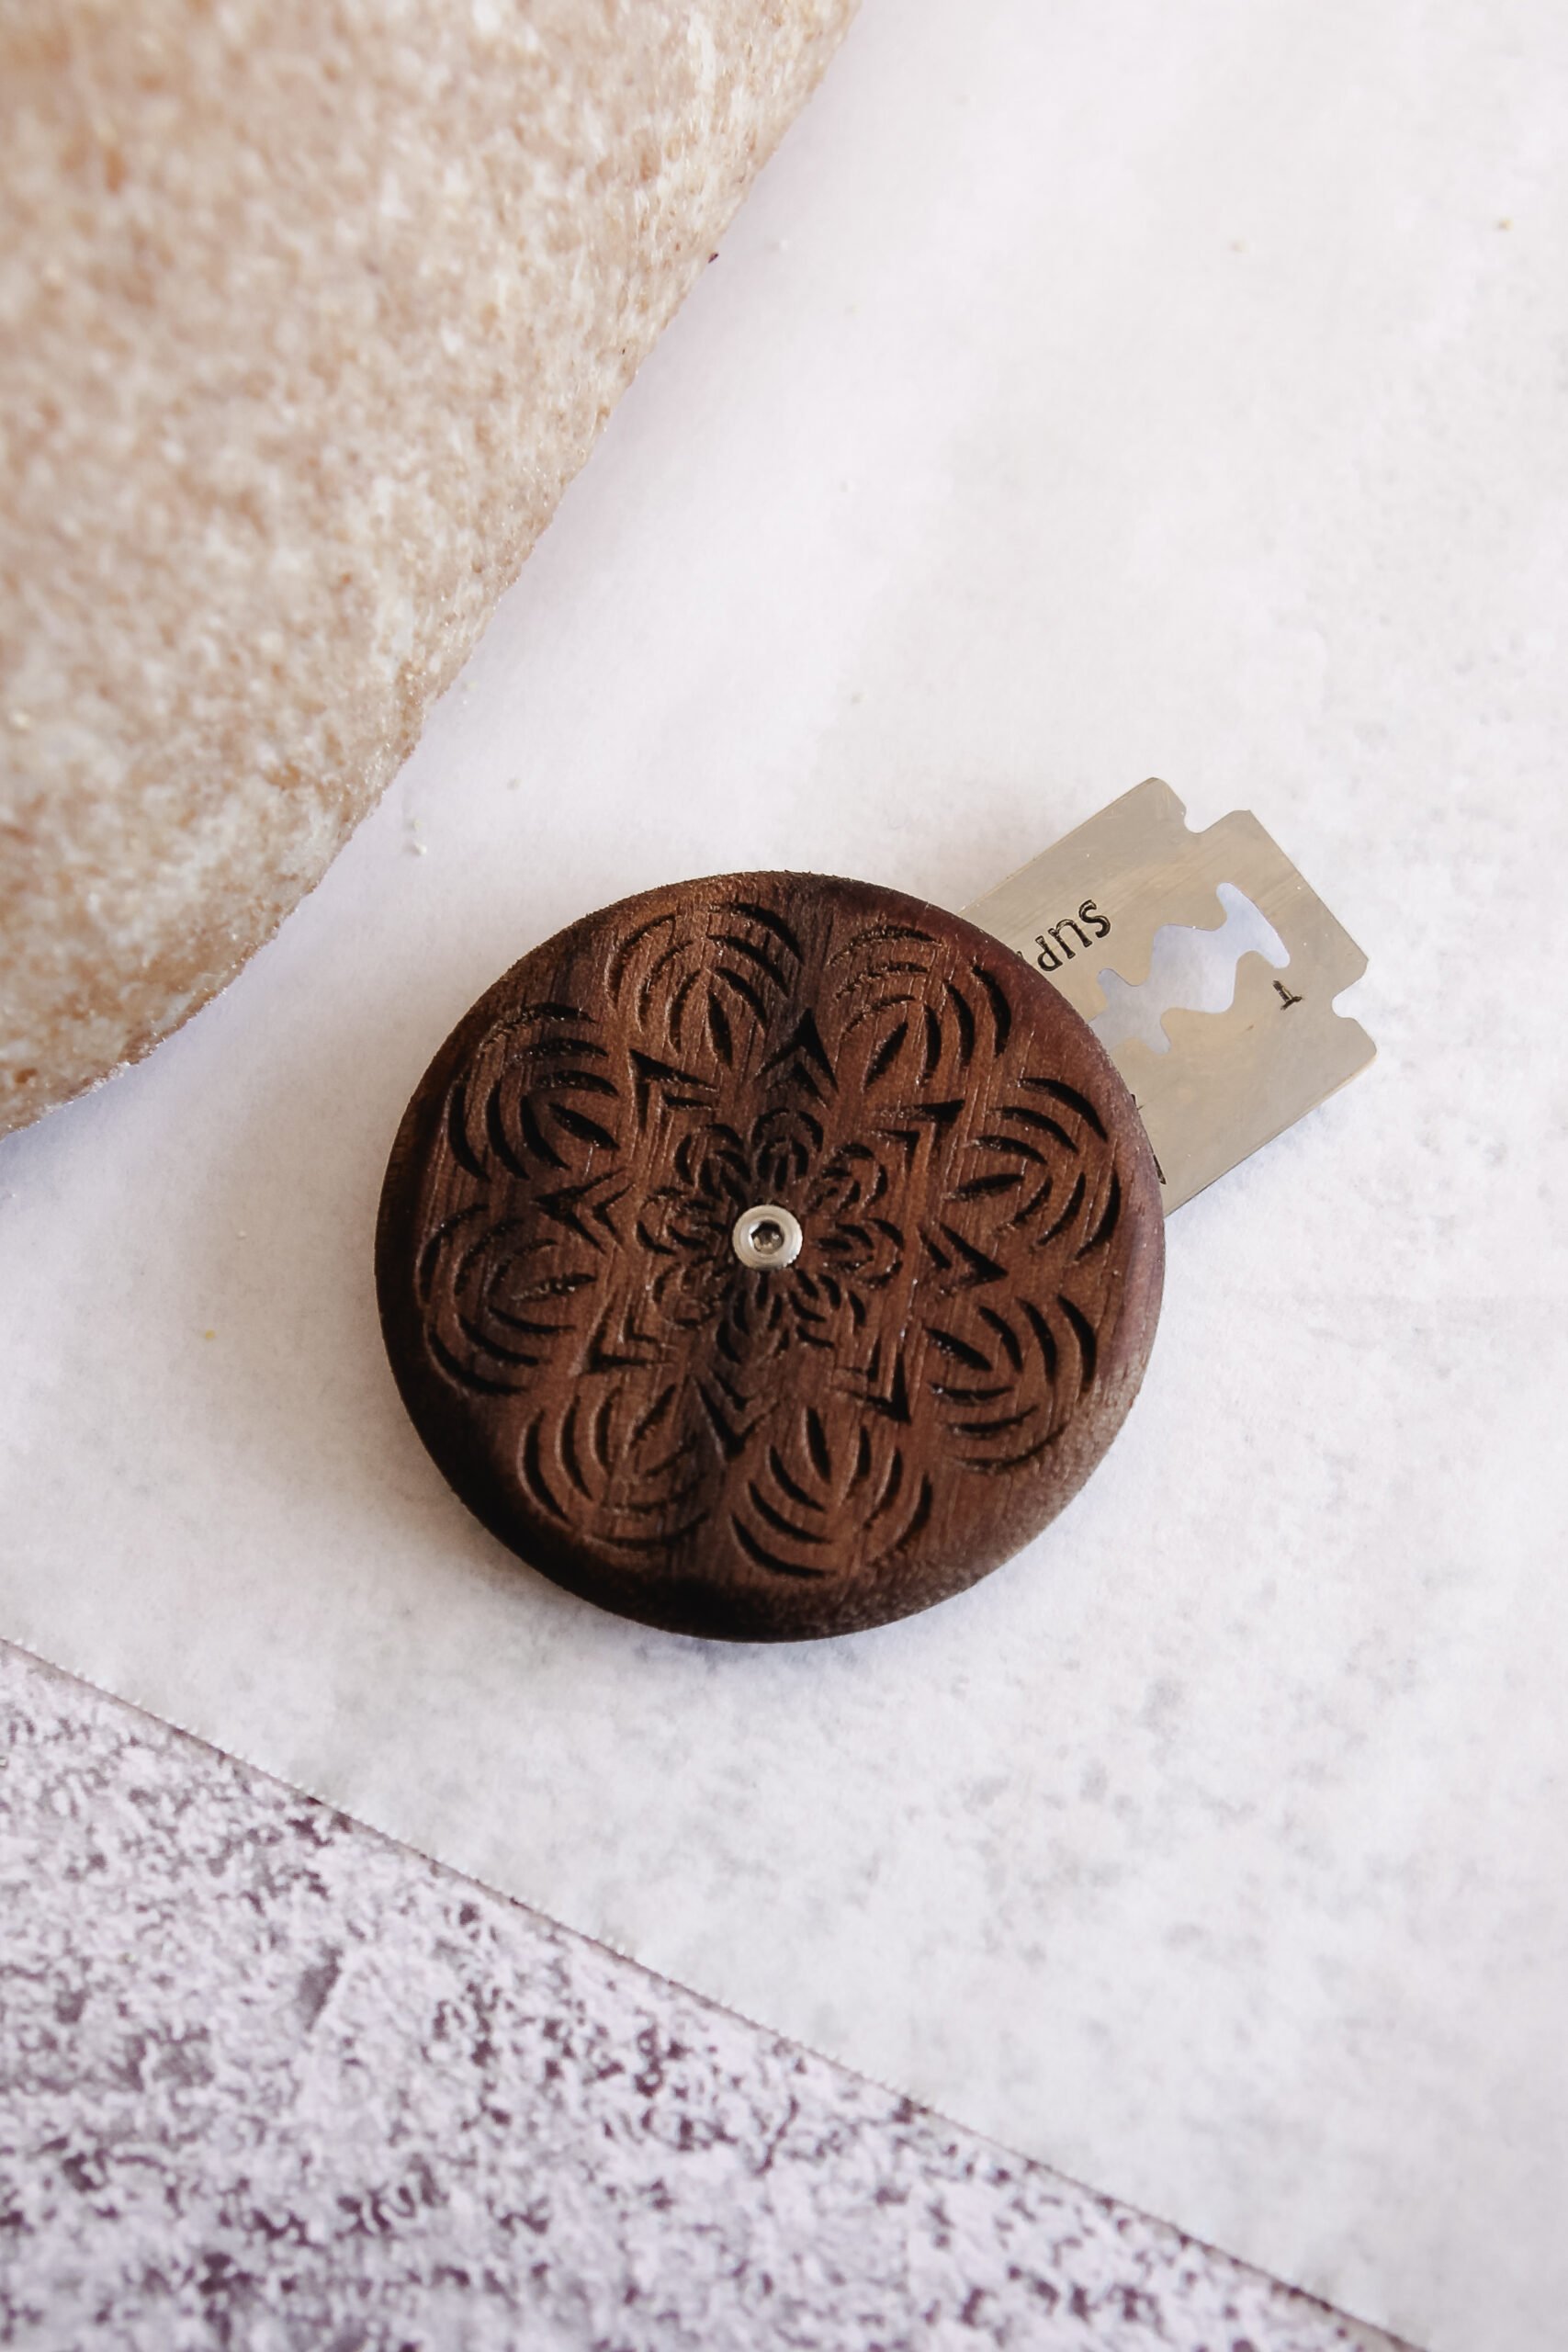
When the oven is fully preheated, gently turn out the loaves onto parchment paper and score the tops at a 45° angle. For a round loaf, you can alternately make 4 scores in the top.

Remove the Dutch ovens from the oven, and carefully place the loaves inside by the parchment paper. Bake covered for 20 minutes, then reduce oven temperature to 450°F, remove lids, and continue baking for 15-20 minutes until loaves are browned to your liking.
Remove from Dutch ovens and place on a cooling rack to cool completely before slicing or storing.
How to Store Whole Wheat Sourdough Bread
Store in an airtight container or bag once the bread has cooled completely.
A linen bread bag works wonderfully if the loaf isn’t yet sliced (or if the sliced ends can be butted together) to maintain the crisp crust longer than an airtight container.
Toasting goes a long way to revive bread that has begun to dry out.
If not consuming the bread within the next 2-3 days, it’s best to freeze (you can slice it first, if you like). Leave at room temperature to thaw.
To reheat a whole pre-baked loaf, quickly run the crust under water to moisten it. Bake in a 400°F oven on a sheet pan or on the rack for 10-15 minutes, or until the crust is crisp and the loaf is warm.
I’m so grateful for your comments, reviews, and questions! Your star ratings help others discover my recipes, and your feedback helps me make improvements. Thank you for your support!
100% Whole Wheat Sourdough Bread (Mixer Recipe)
100% whole wheat sourdough bread lets fresh milled flour shine! This simple recipe comes together in a mixer for no stretch-and-folds! Use a one or two day schedule.
Ingredients
- 1000g stone ground whole wheat flour (or use fresh milled hard wheat), plus additional flour for dusting
- 750g water, lukewarm (or cold if using fresh milled wheat)
- 200g ripe whole wheat sourdough starter (see notes)
- 20g fine sea salt
- Rice flour for dusting
Instructions
- Autolyse: Into a mixer fitted with a dough hook (I use a Bosch Universal plus mixer with the dough hook and dough hook extender), add flour and water. Mix to combine, then cover and allow to rest for 2 hours.
- Mix, knead and rest: Add ripe starter and salt. Mix for a couple of minutes until well combined. Knead for 10 minutes on the lowest possible speed. Cover and allow to rest for 30 minutes.
- Knead for a second time: Knead for 10 more minutes or until dough is fully developed. It should be smooth, shiny, and taught.
- Bulk fermentation: Using damp hands, form dough into a ball and place in a straight-sided container. Press the top of the dough flat with damp fingers, then mark the starting level of the dough on the outside of the container with a dry erase marker. Cover with a lid, and allow dough to rise in a warm place until it has risen by 30% volume (if bulk fermenting in refrigerator overnight) or 100% volume (doubled) if baking the same day (likely 4-6 hours assuming a room temperature of 70°F and a final dough temperature of 80°F).
- Preshape: Turn out dough onto a clean countertop, divide into two pieces, and preshape into rounds using a damp bench scraper. Bench rest uncovered for 20-30 minutes or until rounds become less sticky for shaping.
- Final shape: Prepare banneton baskets with a dusting of rice flour mixed with wheat flour, and set aside. Final shape the rounds of dough into either round or oval loaves (see blog post for instructional video links, if you're a beginner). Place loaves top-sides-down in prepared bannetons.
- Proof: Place bannetons with loaves into large plastic bread bags, and either place in the refrigerator to cold proof until the next day, or proof at room temperature for about 1 hour or until dough is very soft to the touch, but not deflating when pressed. The next day when ready to bake or while dough is proofing, preheat oven (together with a 6-quart or larger enamel-coated Dutch oven inside) to 475°F. I preheat with two Dutch ovens to bake both loaves at a time.
- Bake: Once oven is preheated, invert proofed loaf from banneton onto a piece of parchment paper, score the top of the loaf at a 45° angle with a dampened lame or razor blade (see blog post for details). Use the parchment paper to transfer the loaf into the hot Dutch oven. Bake covered for 20 minutes. Then reduce oven temperature to 450°F and bake uncovered for an additional 10-15 minutes or until the crust is browned to your liking. Repeat to bake second loaf.
- Cool: Place loaf on a cooling rack and allow to cool completely before slicing or storing.
Notes
Starter Notes: I use whole wheat starter for true 100% whole wheat sourdough. Here are my instructions to create and maintain a whole wheat flour starter from scratch. However, you can use a white flour starter or feed a small amount of white starter with whole wheat flour in preparation for the recipe.
Flour Notes: Do not use an ancient grain flour (spelt, emmer, khorasn, etc.) or whole wheat pastry flour for this recipe. If milling your own flour at home, choose either a hard red wheat, a hard white wheat, or a combo of the two. Learn how to mill flour at home and purchase wheat berries here.
Optional Remedy for Weak Flour: Add 20g vital wheat gluten to the flour.
How to Store Bread: Store bread in an airtight container or bag at room temperature for up to 2-3 days. A linen bread bag will work as long as the loaf has not been sliced or the ends are butted together after cutting. Freeze bread on the first day after cooling for longer storage. Thaw at room temperature before warming and serving.
To Reheat a Whole Pre-Baked Loaf (Thawed): Quickly run the crust under water to moisten it. Bake in a 400°F oven on a sheet pan or on the rack for 10-15 minutes, or until the crust is crisp and the loaf is warm.
Recommended Products
As an Amazon Associate and member of other affiliate programs, I earn from qualifying purchases.
-
 Grand Teton Flours and Grains
 -
Azure Standard, Organic Hard White Wheat Berries (Code New15)
-
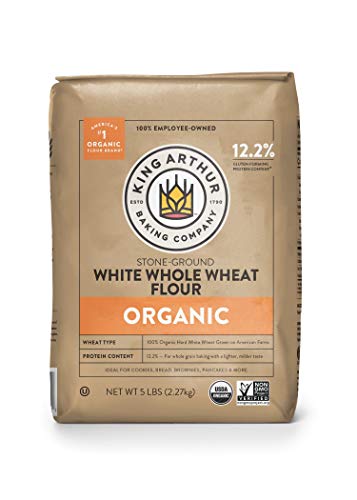
King Arthur, Organic White Whole Wheat Flour
-
LANON Liquid Silicon Oven Gloves (Use code ABERLEHOME for 10% off)
-
9 Inch Banneton Proofing Basket
-
OXO Good Grips Stainless Steel Scraper
-
Flexible Dough Scrapers
-
Heavy Duty Bread Bags with Ties
-
White Universal Plus Mixer (Use code ABERLEHOME for $20 off)
-
Cambro 4 qt Lid
-
Cambro 4 qt Container
-
Lodge Enameled Cast Iron Dutch Oven, 6 Quart, Red
-
If You Care Parchment Paper
-
Wire Monkey UFO Bread Lame (10% off through my link)
-
Bakers Math Kitchen Scale - KD8000
-
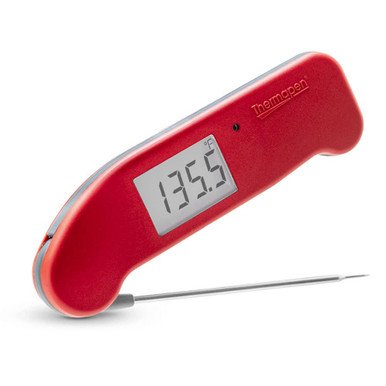
Thermapen ONE Instant Read Thermometer


Nutrition Information:
Yield: 28 Serving Size: 1Amount Per Serving: Calories: 137Total Fat: 1gSaturated Fat: 0gUnsaturated Fat: 1gSodium: 303mgCarbohydrates: 29gFiber: 4gSugar: 0gProtein: 5g
*Nutrition information is not always accurate.