
This post may contain affiliate links. See my full disclosure. As an Amazon Associate, I earn from qualifying purchases.
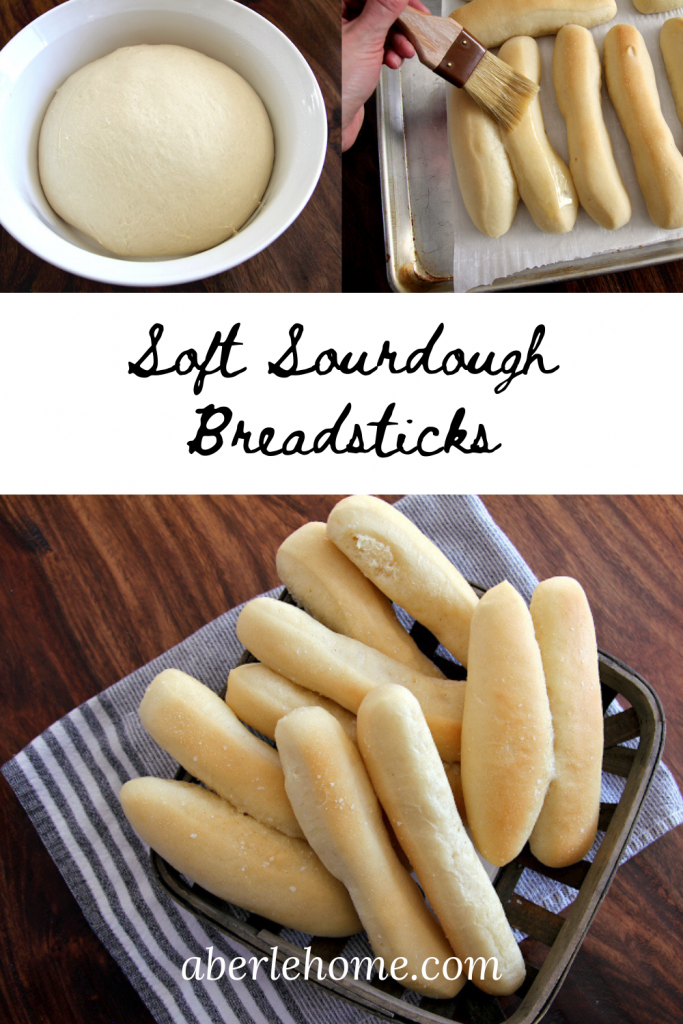
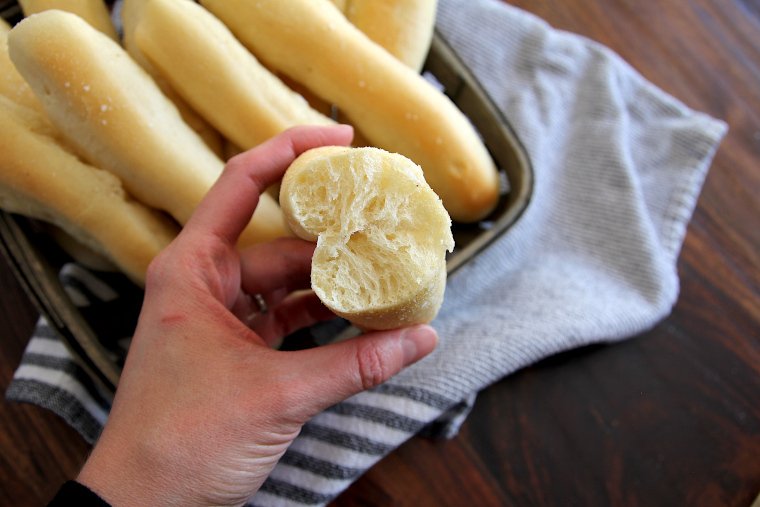
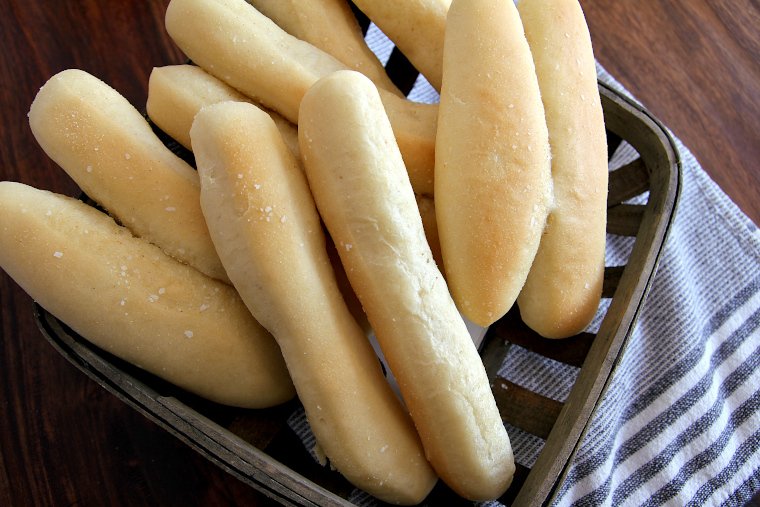
These soft sourdough breadsticks are a special treat—buttery with coarse salt and garlic on the outside and perfectly tender on the inside. They are easy to make, and there is nothing like these sourdough breadsticks when they are fresh out of the oven.
*This recipe was updated on 3/27/23 to gram weights for consistency (the recipe has not changed). The original recipe can be found in the recipe card notes.
Sourdough Guides for Beginners
- How to Feed and Maintain a Sourdough Starter (Easy Refrigerator Method)
- Sourdough Baking Terms for Beginners
- Essential Sourdough Bread Making Tools
We usually serve these soft sourdough breadsticks for special occasions alongside spaghetti or linguine with shrimp scampi. My husband loves these homemade breadsticks…
And I have to cut him off after three or four.
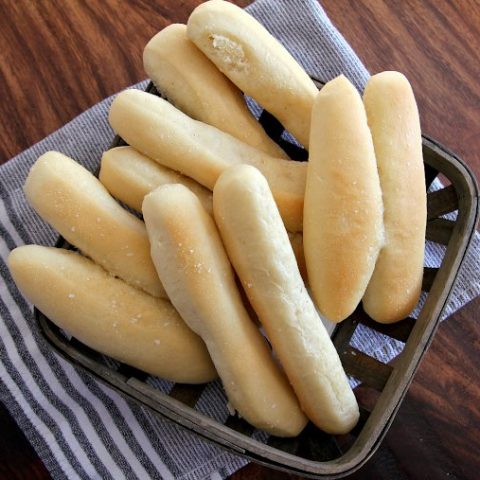
Let’s just say they really are worth making from scratch so they can be eaten warm and fresh!
They are super simple to shape by rolling the dough into a rectangle and slicing into sticks with a pizza cutter.
The baking schedule offers some flexibility. You can start the dough in the morning to bake the same evening, or you can make the dough in advance, letting it ferment in the refrigerator until you’re ready to proof and bake.

Why Make Breadsticks with Sourdough Starter Instead of Yeast?
Traditionally, bread was always made from a wild yeast (or sourdough) starter. The long ferment time improves the digestibility of the bread, reduces the gluten content, and increases the nutritive properties.
Commercial yeast, then, is more like the “fast food” of the bread world. For most people, sourdough is the healthiest way to enjoy eating bread.
I use my starter all the time in my kitchen! I make Sourdough Soft Pretzels, Sourdough Croissants, Soft Sourdough Potato Rolls, and more!
I would still consider these breadsticks as more of a treat than a health food, but I’m happy that they are probably more nourishing for my family than the same breadsticks would be made with commercial yeast.
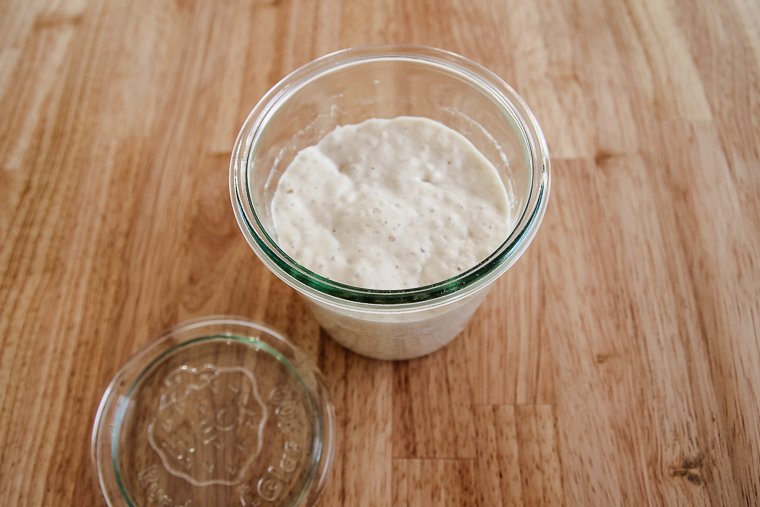
This recipe calls for active starter at 100% hydration. This just means it’s been fed with equal weights flour and water. You should plan to feed it a few hours before you plan to mix your dough so it’s nice and bubbly.
If you don’t have your own starter yet, you can learn how to make one in about 7 days here: Easy Sourdough Starter from Scratch
Tips for Making Soft Sourdough Breadsticks
- Start with active, bubbly sourdough starter.
- Make sure to knead your dough properly. It takes about 8 minutes on low speed in a stand mixer until the dough becomes smooth and elastic (or you can do it by hand).
- Finally, don’t skimp on time. Allow enough time for the dough to ferment and later proof before baking. If your house is chilly, try proofing in a turned-off oven with the oven light on for more warmth. Pale breadsticks that won’t brown in the oven likely indicate under-proofed or under-fermented dough.
Recommended Equipment
- Kitchen scale (this one is my favorite)
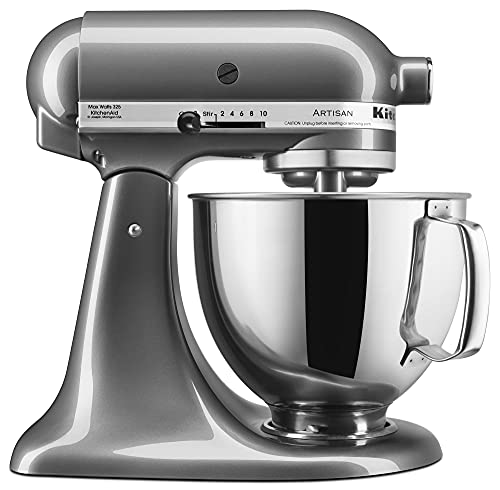
- Mixer (optional)
- Large lidded glass bowl
- Half sheet baking pan
- Parchment paper
- Rolling pin
- Cutting board
- Pizza cutter
- Pastry brush
How to Make Soft Sourdough Breadsticks
Step 1- Make and Ferment the Sourdough Breadstick Dough
Add sourdough starter, water, sugar, salt, softened butter and flour to the bowl of a mixer fitted with a dough hook. Mix until a smooth dough forms.
You can also knead the dough by hand if you don’t have a mixer.
Continue kneading on low speed for 8 minutes. The dough should be smooth and elastic.
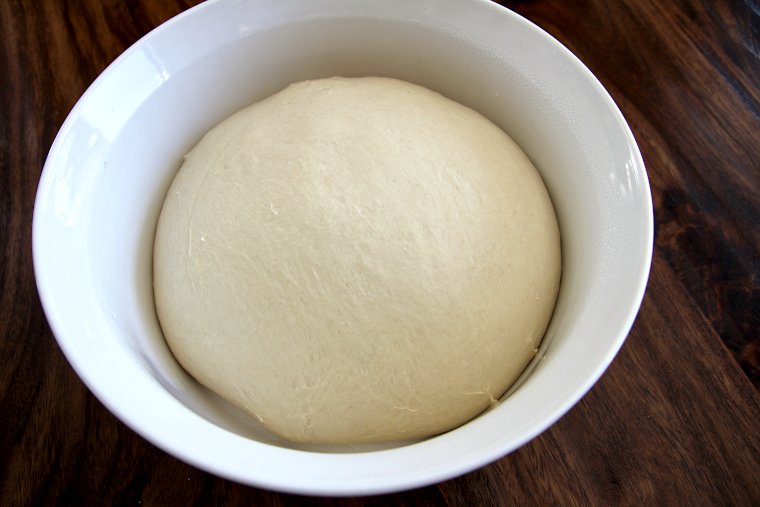
Form the dough into a smooth ball. Transfer to a bowl that is big enough to allow it to double in size and cover. Now you have two options depending on your schedule:
1. Allow the dough to ferment at room temperature until it has doubled in size. This could take 8-12 hours or less if your kitchen is warm. Roll, cut and proof right away.
2. Let the dough nearly double, then cover tightly and refrigerate for 24 hours and up to 2 days before baking your breadsticks. You can roll and cut them while the dough is cold, they will just take longer to proof.
Step 2 – Cutting and Proofing the Sourdough Breadsticks
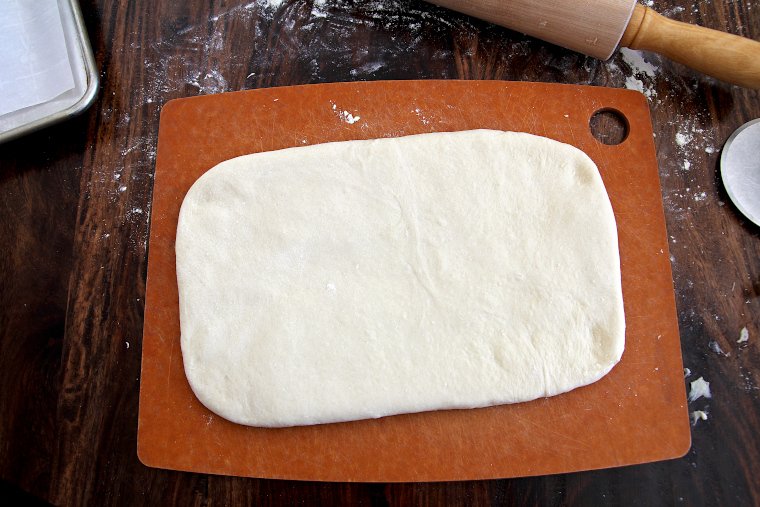
When you’re ready to form your breadsticks, turn out your dough onto a large, lightly floured cutting board.
Roll the dough to a 12×7-inch rectangle.
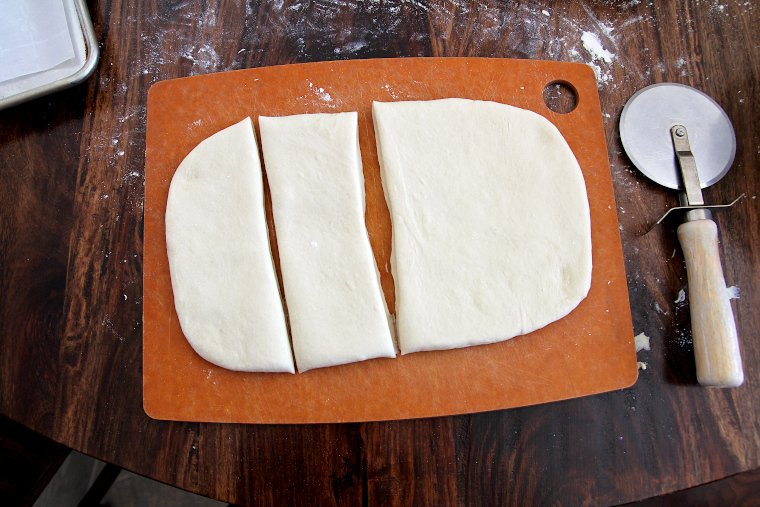
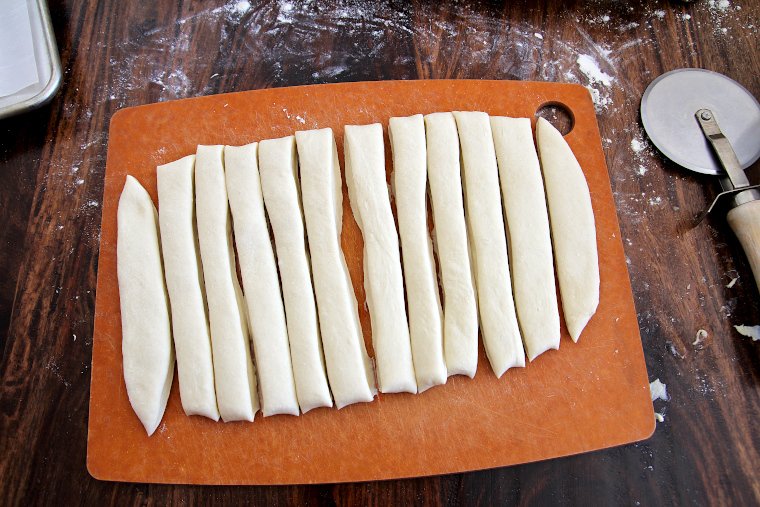
Use a pizza cutter to slice the rectangle into 12 even breadsticks. I like to cut it in half first, then into quarters…
And then it’s easier to cut them evenly. Cutting the bread sticks is so much quicker than hand rolling the dough into snakes.
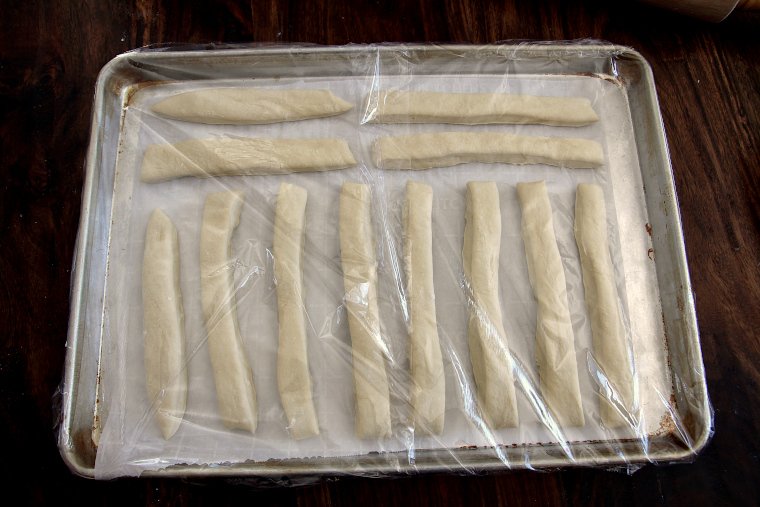
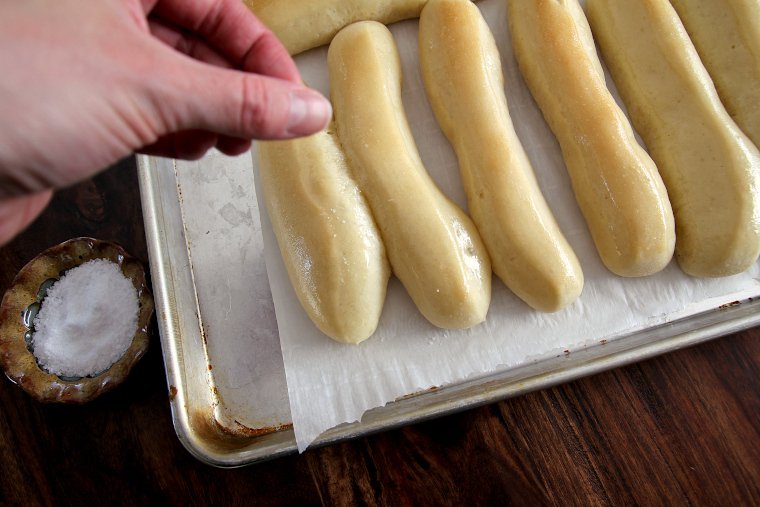
Transfer the breadsticks to a parchment-lined half sheet pan, leaving space between each one.
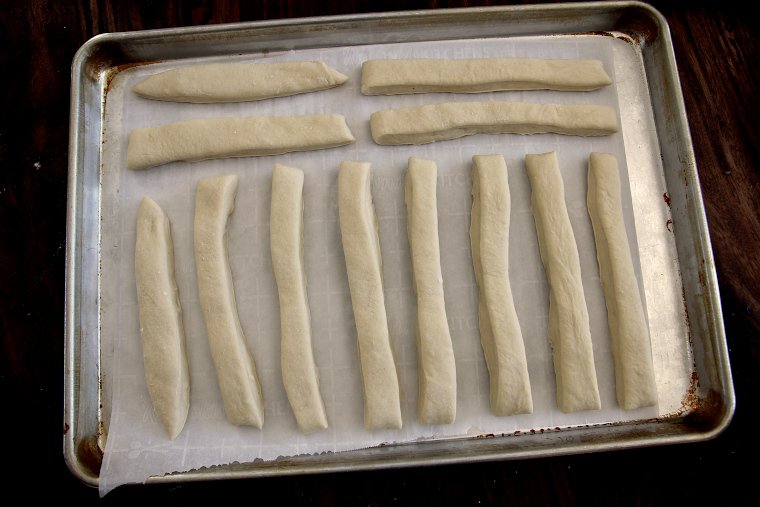
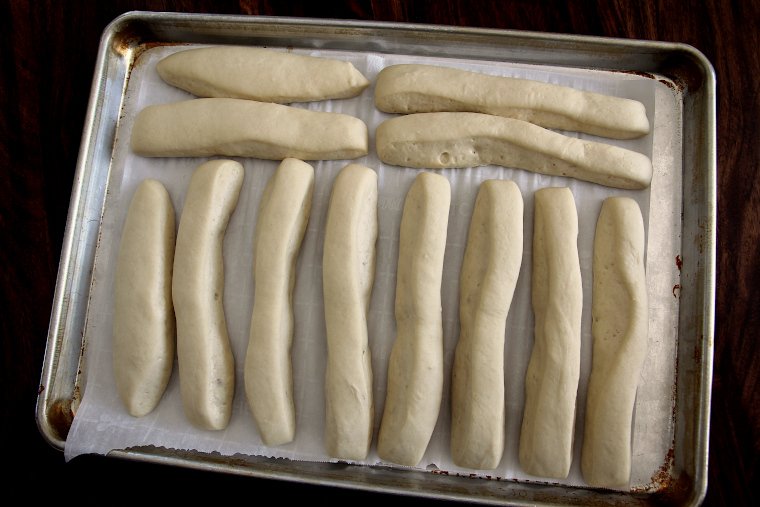
Then cover the pan with plastic wrap (not too tightly) and allow the breadsticks to proof in a warm place for 1-2 hours, or until they look “poofy.” When my house is cool, I set the pan in my turned-off oven with the light on for extra warmth.
Meanwhile, preheat your oven to 400°F (remove the pan if it’s proofing in there!).
Step 3 – Baking and Seasoning the Soft Sourdough Breadsticks
Remove the plastic wrap from pan, and bake the sourdough breadsticks on the center rack of your oven for 10 minutes or until they take on some color.
You can even bake them darker than mine if that is your preference.
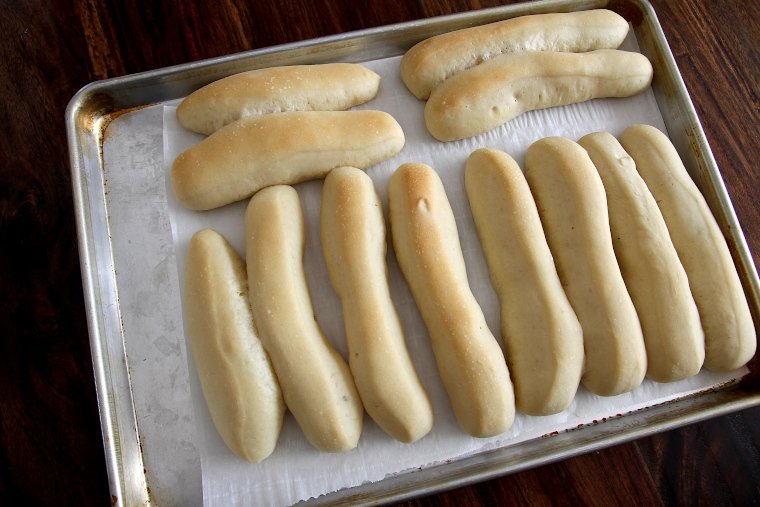
Perfectly imperfect, right?
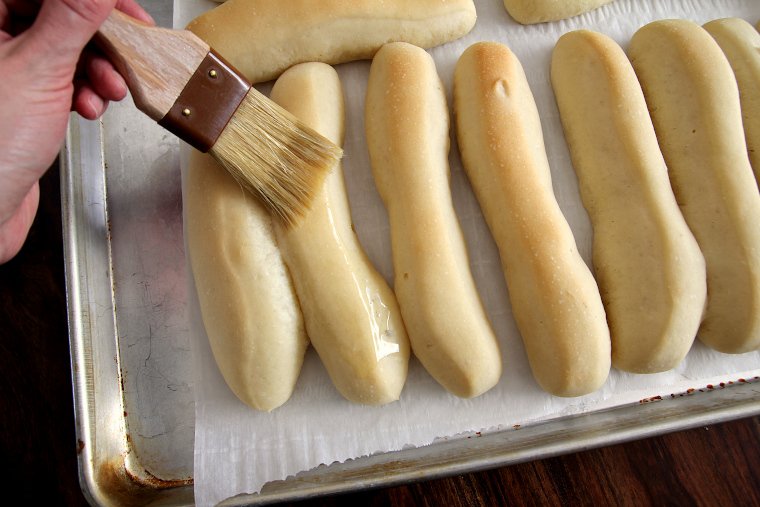
Use a pastry brush to brush the hot breadsticks with the 1½ tablespoons of melted butter. Immediately sprinkle them with coarse salt and a bit of garlic powder to taste.
And that’s all there is to it! I guarantee you they won’t last very long!
Do Sourdough Breadsticks Freeze Well?
Yes! Leftover breadsticks will keep better in the freezer, in fact, than if you store them on the counter.
Allow them to cool completely before freezing them in an airtight container. Simply microwave them to thaw and warm them for another meal later.

I’m so grateful for your comments, reviews, and questions! Your star ratings help others discover my recipes, and your feedback helps me make improvements. Thank you for your support!
Soft Sourdough Breadsticks
These sourdough breadsticks are a special treat---buttery with coarse salt and garlic on the outside and perfectly tender on the inside. They are easy to make, and there is nothing like these sourdough breadsticks when they are fresh out of the oven.
Ingredients
- 100g ripe sourdough starter (100% hydration)
- 175g water, lukewarm
- 23g granulated sugar (or honey)
- 10g kosher salt
- 57g (1/4 cup) salted butter, softened
- 340g unbleached all-purpose flour (my flour is 11.5% protein)
- 1½ tablespoons butter, melted (for brushing)
- coarse salt and garlic powder (for sprinkling)
Instructions
- Add sourdough starter, water, sugar, salt, softened butter and flour to the bowl of a stand mixer fitted with a dough hook (alternately you can knead by hand). Mix until a smooth dough forms.
- Continue kneading on low speed for 8 minutes. The dough should be smooth and elastic.
- Form the dough into a smooth ball and transfer to a large bowl. Cover loosely and allow to ferment at room temperature for 8-12 hours, or until it has doubled in size. (Alternately, let the dough ferment at room temperature until nearly doubled, then cover tightly and refrigerate for 24 hours and up to 2 days before proofing and baking. You can roll and cut them straight from the fridge, they will just take longer to proof.)
- Turn out your dough onto a large, lightly floured cutting board. Roll to a 12x7-inch rectangle.
- Use a pizza cutter to slice the rectangle into 12 even breadsticks. Transfer breadsticks to a parchment-lined half sheet pan, leaving space between each one.
- Cover pan with plastic wrap and allow breadsticks to proof in a warm place (75°-80°F) for 1-2 hours, or until they look "poofy." Meanwhile, preheat oven to 400°F.
- Remove plastic wrap from pan, and bake breadsticks on the center rack for 10-12 minutes or until lightly golden.
- Use a pastry brush to brush hot breadsticks with the 1½ tablespoons melted butter. Immediately sprinkle with coarse salt and garlic powder to taste.
- Serve breadsticks warm, or allow to cool completely before freezing in an airtight container.
Notes
- I like to proof in my oven (not heated) with the oven light on for a little extra warmth. Just be sure to removed your pan from the oven before preheating if you do this.
- Make sure you are using active, bubbly starter for the best results. If your breadsticks won't brown in the oven, this could be an indication that your dough didn't have enough time to ferment sufficiently.
*This recipe was updated to gram weights on 3/27/23 to help you achieve a more consistent result. The original recipe was as follows: 1/2 cup active, bubbly starter, 3/4 cup water, 1-1/2 tbls sugar or honey, 1-1/2 tsp salt, 1/4 cup softened butter, 2-1/2 cups flour (plus more as needed), 1-1/2 tbls butter (for brushing), coarse salt and garlic powder (for sprinkling)
Recommended Products
As an Amazon Associate and member of other affiliate programs, I earn from qualifying purchases.


Nutrition Information:
Yield: 12 Serving Size: 1Amount Per Serving: Calories: 148Total Fat: 3gSaturated Fat: 2gTrans Fat: 0gUnsaturated Fat: 1gCholesterol: 6mgSodium: 392mgCarbohydrates: 27gFiber: 1gSugar: 2gProtein: 4g
*Nutrition information is not always accurate.
These were great! I had a happy accident when making them others might find useful: when transferring them to the baking sheet my dough was too soft and started to stretch too much. So I let each section double in length, folded in half and twisted them. Came out more uniform than expected!
Oo, I bet they were pretty twisted! Thanks for trying the recipe, Tina!
Omg! I see some cheese added in my future of making these…..num
Sounds delicious!
Thanks for sharing! Does it keep long?
This looks so good! What a great versatile side to have on hand!
These were really great, thank you! I even messed up the dough, forgetting the butter, and had to knead extra time. Still turned out wonderful.
So glad to hear, Tara!
What are the directions for making the same day. Thanks. Julia
Hi Julia! You can just follow the instructions as they are written in the recipe card at the bottom of the post for the 1-day schedule. You’ll want to start the dough in the morning, leaving enough time for an 8-hour bulk ferment, and another 2 hours for proofing if you want them ready in time for dinner.
I don’t think ever left a bad review on a recipe, but sadly I feel like I must on this one 😔
I made these for the first time 2 years ago, when the ingredients were still by volume vs weight, and they never rose and were very flat & dense. I chocked it up to being newish to bread making, and never revisited the recipe until yesterday. With two years more of bread making under my belt, surely they’d turn out great right? Sadly, wrong. I followed the weight measurements to a tee, and the result was extremely thin dough that never would have come together… so I kept adding flour just until it was at least able to form a ball. The sticks still turned out awful today 😔 Very dense, no softness. It’s not my starter because I started multiple loaves of bread yesterday also, and they turned out beautifully… so I’m afraid it’s just this recipe.
Hopefully this keeps others from wasting ingredients on this!
I’m so sorry your breadsticks didn’t turn out, Coco! Something must have happened when scaling the ingredients, because this dough is definitely not supposed to be very sticky!
They sound yummy. Am I able to freeze the dough?
I haven’t tried, but I imagine it would work!
I had to use 2 cups flour when your measurement said 1 cup in grams but came out good.
I want to try and make these but, I do not have a stand mixer. Would by hand method work just as well?
Yes, kneading by hand would work just fine!
Can I use bread flour? I ordered a forty pound bag instead of twenty by accident…lol
Haha, yes you can use bread flour! You may not need quite as much of it, so hold a little back at first.
Just make sure you use the weight rather than the measuring……this is a prime example why the scale works best.
These breadsticks are awesome! My kids and husband request them over garlic bread everytime I make any sort of pasta now. I did them without the vital wheat gluten and they are still delicious and poofy. Thanks for the awesome recipes!
Thanks, friend!!
So delicious! I love these! Thank you for your recipe💜 I love all things sourdough (because it’s the only bread my tummy will tolerate!). Oh, and I so enjoyed homeschooling my 5 children! Such a treat!
Thank you for your sweet comment, Priscilla!