This post may contain affiliate links. See my full disclosure. As an Amazon Associate, I earn from qualifying purchases.
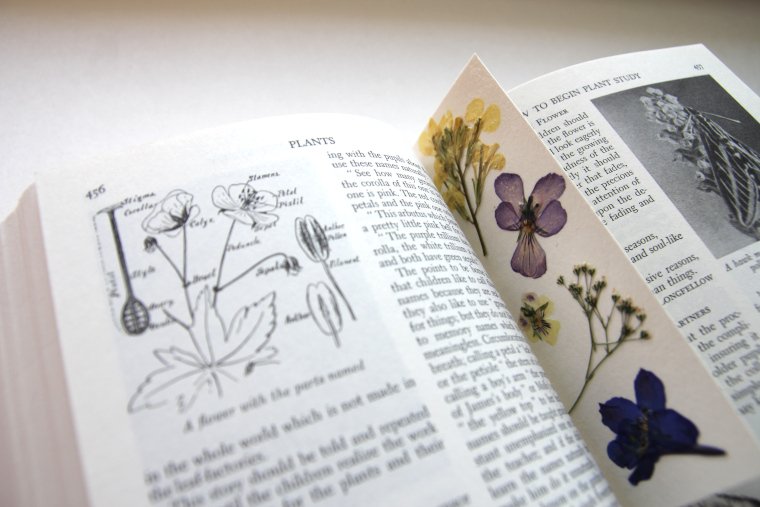
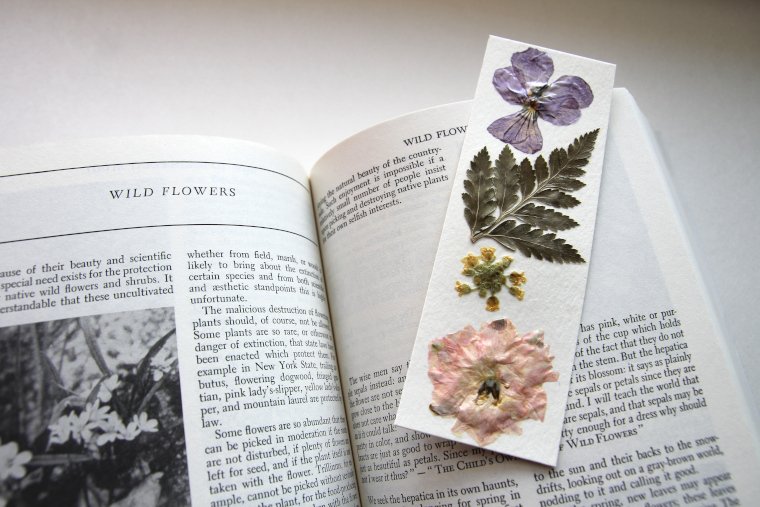
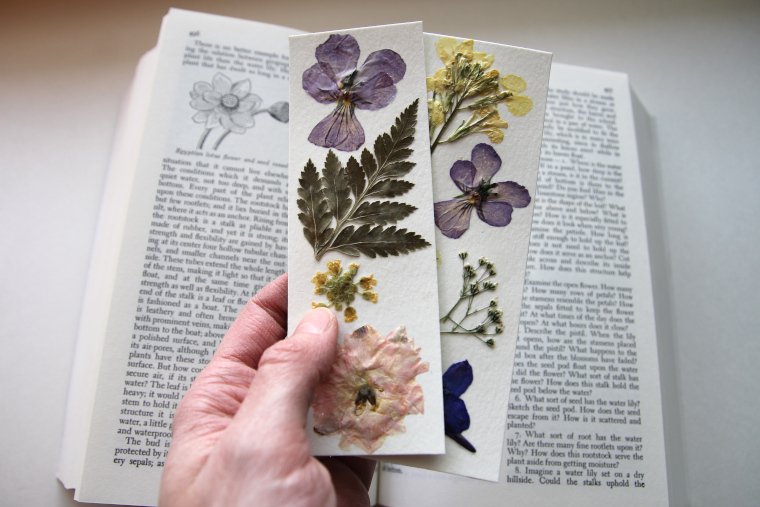
These pressed flower bookmarks are a simple nature craft to make, and they are absolutely lovely! We are always looking for ways to use the flowers we collect and press in the spring and summertime.
These bookmarks are finished with Mod Podge, and I love how the Mod Podge preserves the flowers while bringing out their vibrant colors!
If you love this craft, you’ll want to check out our Hammered Flower Greeting Cards!
You might also like to try another version of these bookmarks with autumn leaves: Pressed Leaf Bookmarks for Fall
I’ve included a printable how-to card at the end of this post for your convenience!
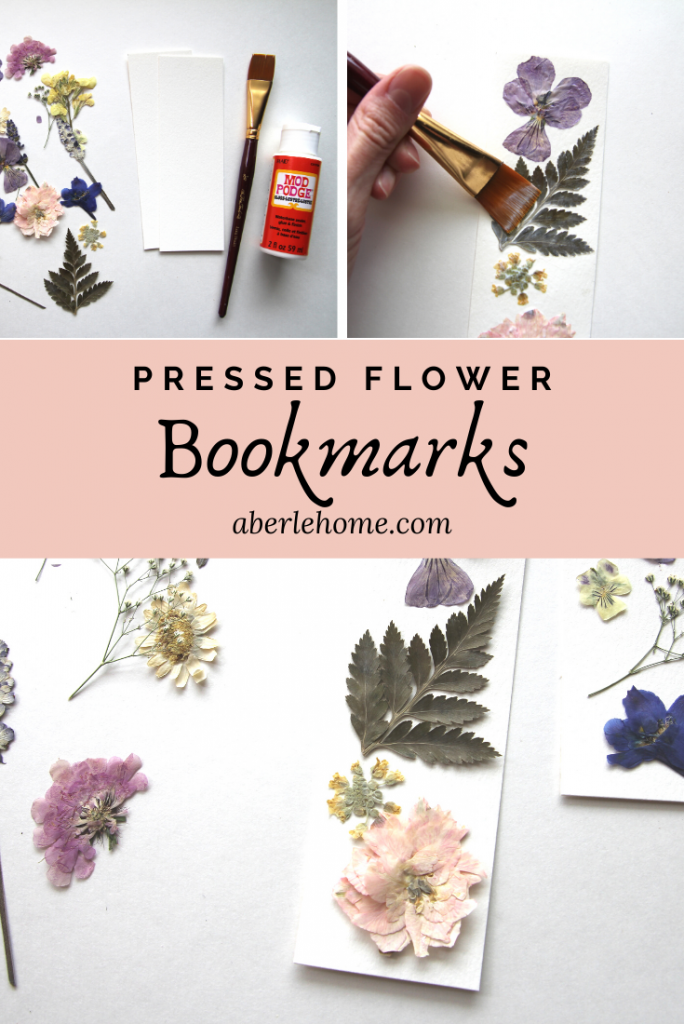
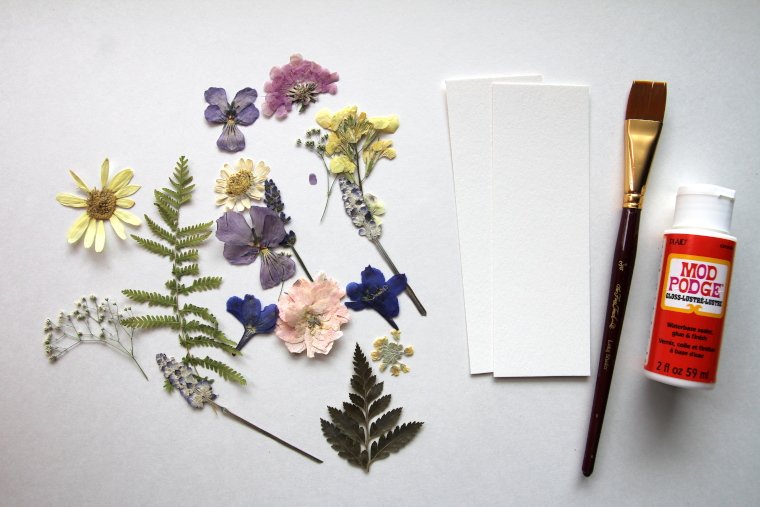
Supplies Needed
- Flowers and leaves for pressing
- Flower press or heavy book with parchment paper
- 140 lb watercolor paper cut to a 2″ x 6″ rectangle (this weight is important so your finished bookmark doesn’t wrinkle)
- Clear Mod Podge Sealer
- White school glue, if needed
- Flat paint brush
- Toothpick
- Tweezers, if needed
How to Make Pressed Flower Bookmarks
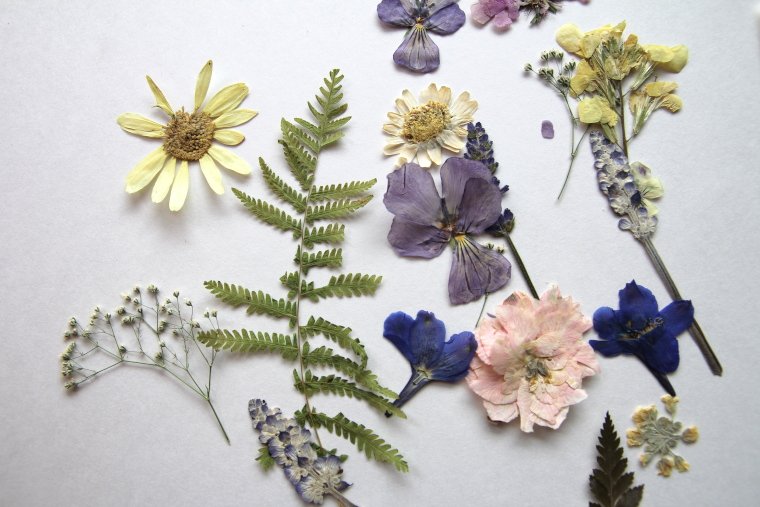
Step 1 – Press Flowers
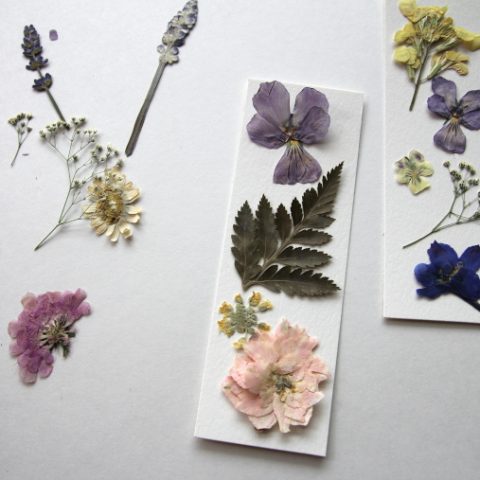
Choose flowers for your project that will be able to press flat. Lavender, pansies, violets, daisies, fern leaves, rose petals, and baby’s breath blooms all work really well.
Make sure the flowers are in good condition and not moist. Remove stamens if needed so pollen doesn’t stain the petals or your project.
Press your flowers in a single layer, face down, between sheets of parchment paper in a heavy book or in a flower press.
Flower Presses to Purchase:


Allow them to press for 7-10 days until they are completely dry and preserved.
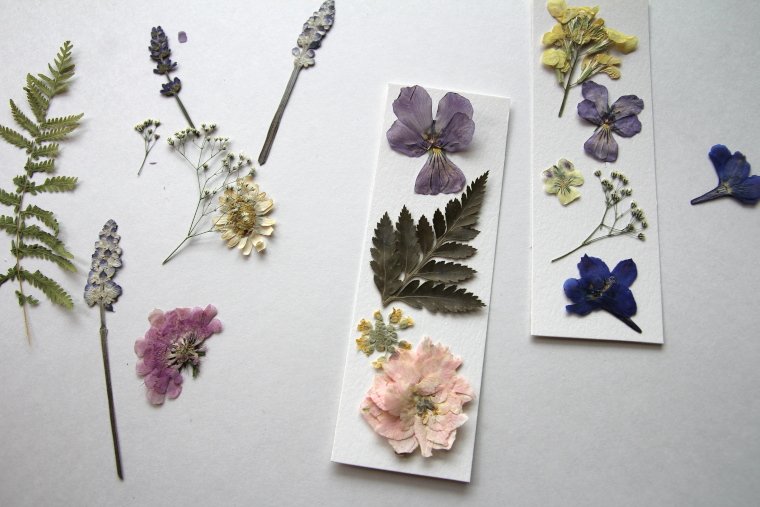
Step 2 – Arrange Flowers as Desired
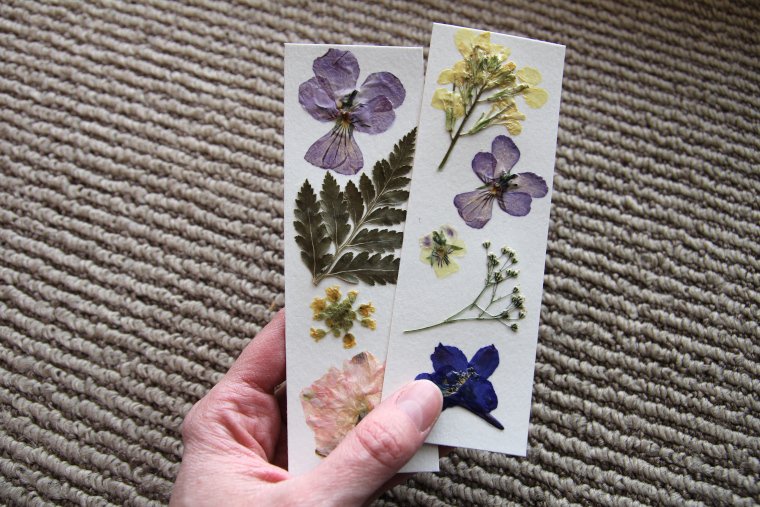
Arrange your pressed flowers and leaves on your watercolor paper rectangle until you are pleased with the arrangement.
The flowers are delicate, so handle them carefully! Try using a pair of tweezers if you are having trouble.
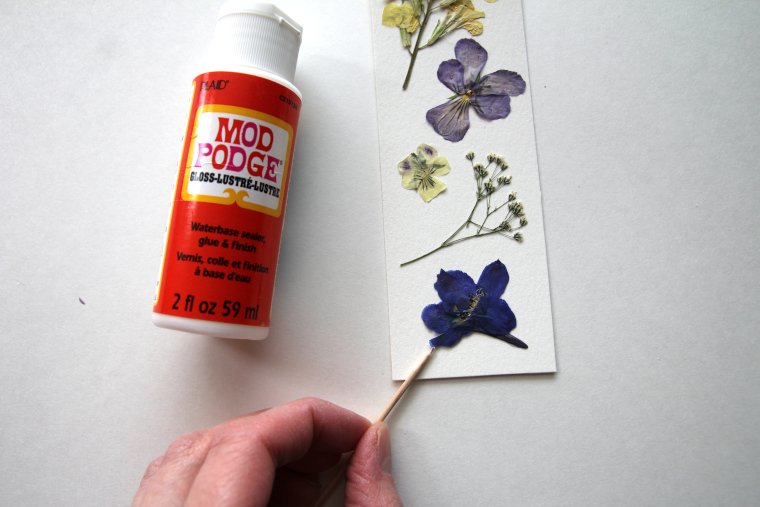
Step 3 – Mod Podge
Now use your Mod Podge to glue your flowers in place on your bookmark.
I like to apply the Mod Podge to the backs of the flowers gently with my paintbrush and stick the flowers in place.
I then use my toothpick to sneak Mod Podge under any flower corners left unglued so they aren’t sticking up. Feel free to employ some dots of white school glue if the Mod Podge isn’t quite doing the job.
Now use your paintbrush to apply Mod Podge gently over the top of each flower to seal it in place on the bookmark.
Go from the center of your flower outward to avoid bending/crushing the petals.
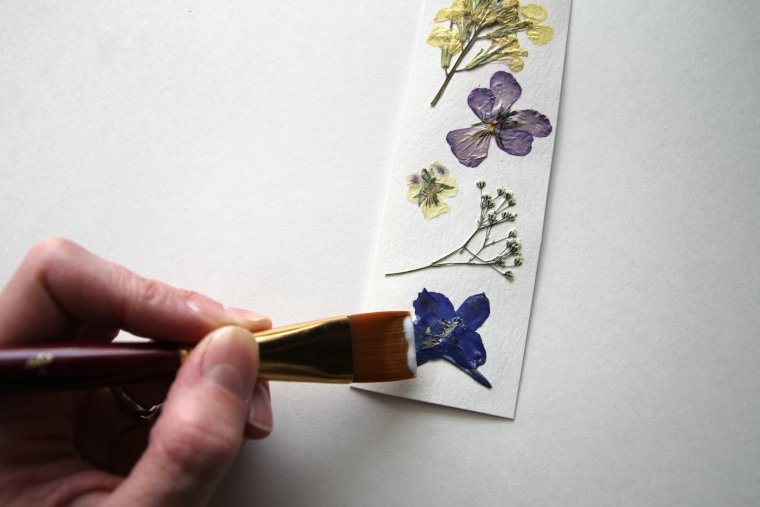
Wait until the Mod Podge is tacky, and then repeat with one more coat over each flower.
After your second coat is tacky, apply a third coat of Mod Podge, this time over the entire face of your bookmark.

Allow your bookmark to dry completely, and it’s done!
If you make this project and love it, I would greatly appreciate a star rating and review!
Tag your photo on Instagram @aberlehome to show me what you made!
Pressed Flower Bookmarks
A simple nature craft to use and enjoy flowers you press in the spring and summertime. Great for all ages!
Materials
- Flowers and leaves for pressing
- 140 lb watercolor paper cut to a 2" x 6" rectangle
- Mod Podge
- School glue, if needed
Tools
- Flower press or heavy book with parchment paper
- Flat paint brush
- Toothpick
- Tweezers, if needed
Instructions
- Choose suitable flowers and leaves that will be able to press flat. They should be fresh and not moist with dew. Remove stamens, if needed, so pollen won't stain the petals or your project. Press the flowers in a single layer, face down, between sheets of parchment paper in a heavy book or in a flower press for 7-10 days until they are completely dry and preserved.
- Arrange your flowers on your watercolor paper rectangle until you are pleased with the layout. Handle the flowers carefully, and use tweezers, if necessary.
- Use your paintbrush to apply Mod Podge to the back of each flower and stick the flowers in place on the bookmark. Use school glue, if needed. Use a toothpick to sneak glue or Mod Podge under any corners left unglued so nothing is sticking up.
- Apply Mod Podge gently over the top of each flower from the center outward to seal it in place on the bookmark. Wait until the Mod Podge is tacky and repeat with another coat. After your second coat is tacky, apply a third coat over the entire surface of your bookmark with long, even strokes. Allow your bookmark to dry completely.
Notes
If you do this project over a paper towel to protect your table from Mod Podge, don't forget to move the bookmark while it dries so it doesn't stick to the paper towel.
Loved the project. I already had flowers on the press drying so I was ready. Since I live in a tropical climate my flowers are bold in color and large.
Oo, that sounds beautiful, Mari!
Does this only work on watercolor paper?
Hi Cindy, I think it would work on any paper that’s thick enough to not wrinkle when the Mod Podge is applied!
The modge podge dried white instead of clear. Mine looked like it was covered in elmers glue.
Sorry that happened! You’ll want to make sure you purchase the Mod Podge “Waterbase Sealer, Glue & Decoupage Finish” in either matte or gloss, as those will dry clear. I know there are other varieties of Mod Podge that dry white.
Could you laminate these after for them to last longer?
I believe they will hold up well because of the Mod Podge finish. However, if you would rather laminate them, just skip the Mod Podge altogether. I’ve done that before as well, and it works great. 🙂
These turned out great! I literally have flowers pressing right now for this same project–I can’t wait to try it!
Thank you! I hope you have fun making yours! 🙂
Will definitely try this. Just need to get some flowers. Thanks!
Thanks so much for reading, Lisa!