This post may contain affiliate links. See my full disclosure. As an Amazon Associate, I earn from qualifying purchases.
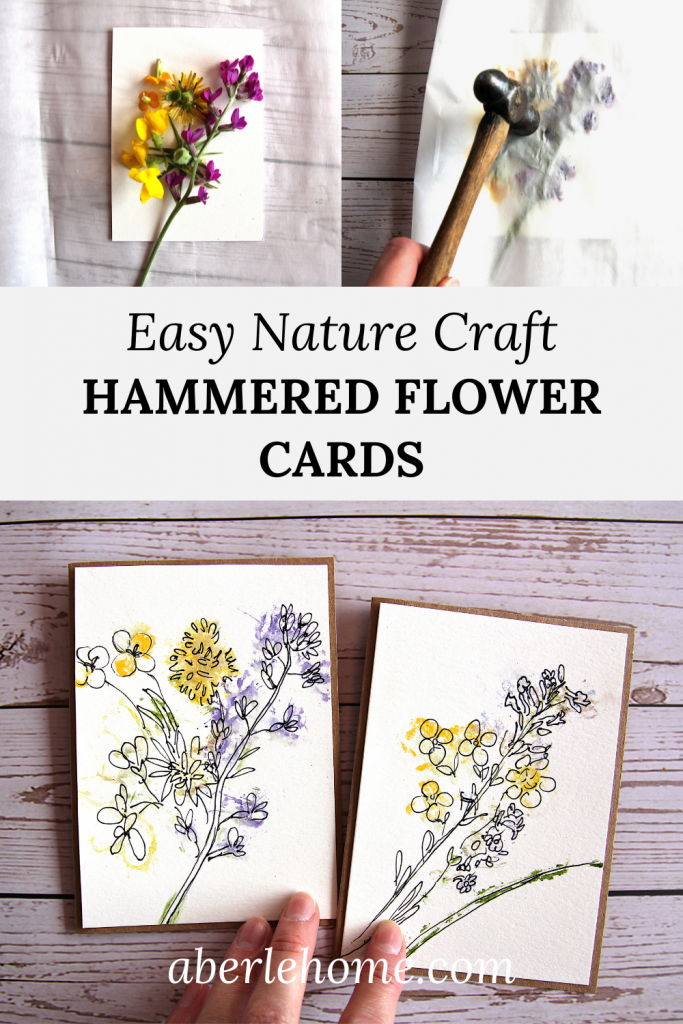
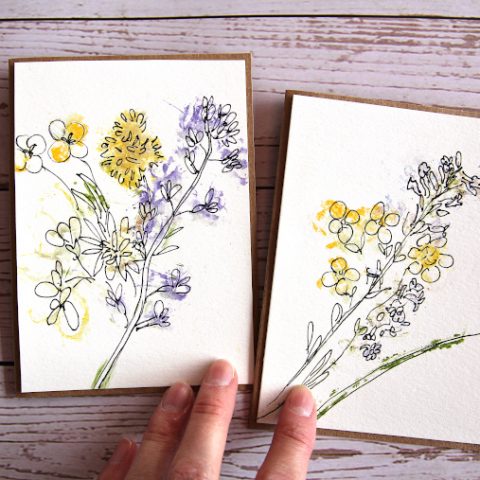
Today I’m sharing an easy nature craft for the spring or summer: hammered flower greeting cards. This is a perfect nature craft for kids as well since precision isn’t required to end up with a beautiful final result. You probably have all the materials you need right at home.
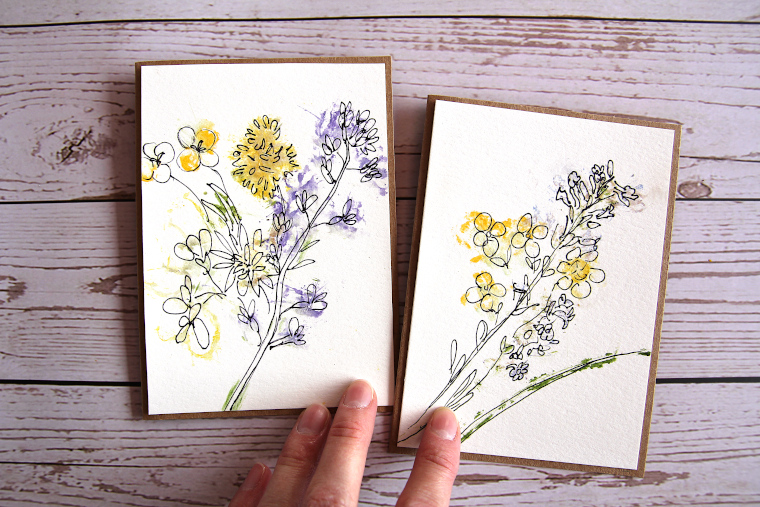
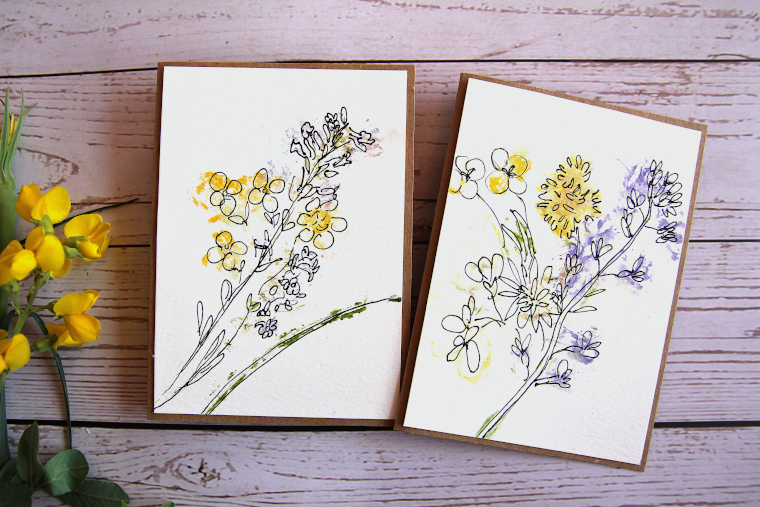
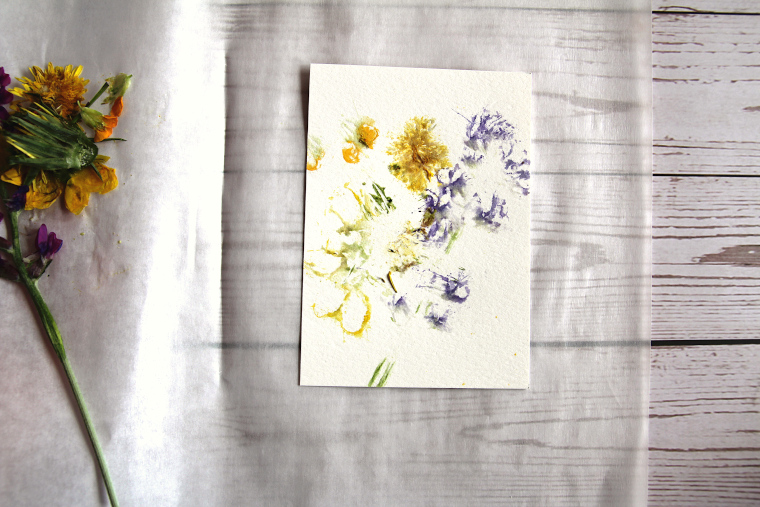
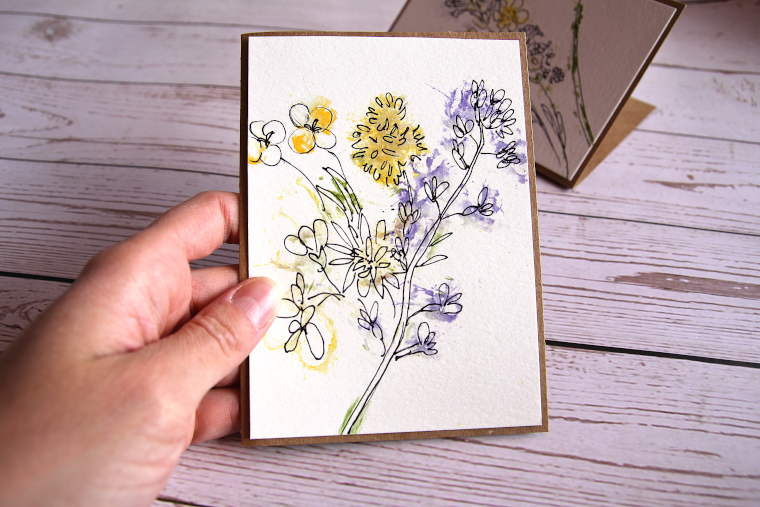
You can actually hammer flowers to transfer their pigment right onto paper or fabric. This is also known as flower pounding. The result looks almost like an abstract watercolor painting, and makes for beautiful greeting cards.
We live in the mountains of Colorado, so we have lovely wildflowers growing right on our property. I loved getting to use these flowers for a craft to preserve their beauty in some form.
This nature craft could pair quite well with your homeschool nature study or a botany unit study.
Since many of the fine details don’t transfer over with the flower pounding, I like to draw in some details afterward with a fine-tipped black marker. I’ll show you exactly the process I used.
If you like this nature craft, you will also want to check out these Pressed Flower Bookmarks!
Materials Needed
- Blank greeting card in your choice of color (you can cut and fold your own from cardstock or use a pre-made card)*
- Watercolor paper pre-cut to the size and shape you want for the front of your card
- Fresh flowers (even dandelions will work)
- Parchment paper
*alternately, you could just score and fold pieces of the watercolor paper into cards to use
Tools Needed
- Paper cutter
- Hammer
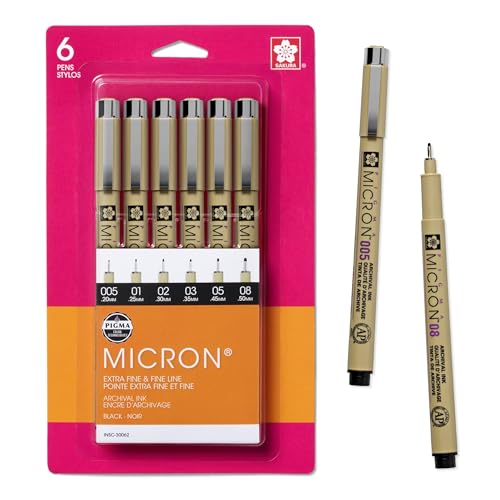
- Ultra fine point black Sharpie marker or an archival ink pen
- Glue stick
Tips for Making this Nature Craft
- Snap pictures of your flowers before and after you arrange them for hammering. That way you can refer back to the photos while you’re drawing in details on your flower print later.
Hammered Flower Greeting Card Directions
Step 1 – Choose and Arrange Flowers
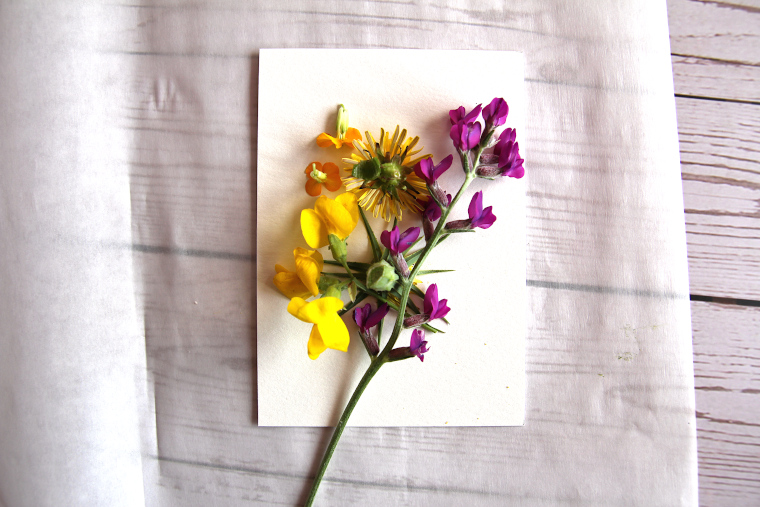
Flowers with bold pigment that don’t carry a lot of excess water tend to work best. You can always test some different flowers on scrap paper to know which ones might work the best for your project.
Pull off any buds, stems, or leaves that you don’t want as part of your print, and arrange the flowers face down (or side down for flowers like sweat peas). Work on a surface you can safely pound on.
Step 2 – Hammer Flowers
Carefully cover your arranged flowers with a sheet of parchment paper.
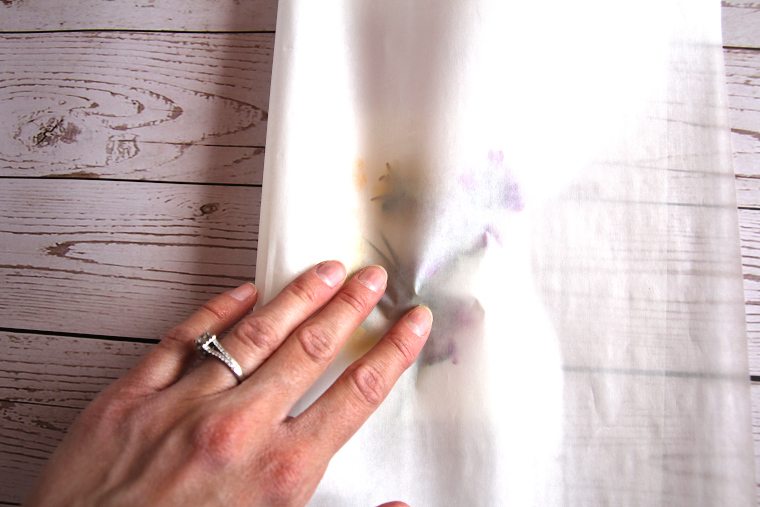
Now you can start hammering on top of the parchment as you hold it in place with one hand.
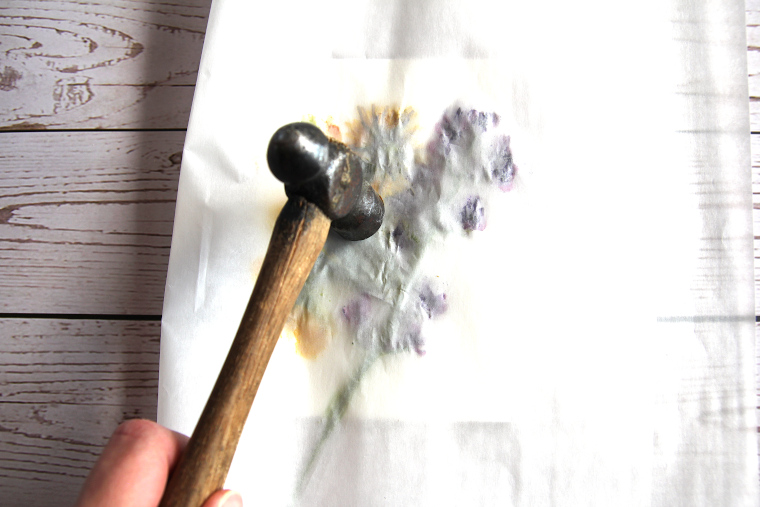
Start with a light hand, but you may need to pound harder over the pedal areas.
You’ll be able to see through the parchment paper to make sure you pound each flower, stem, and leaf in your design.
You can carefully lift the parchment and peek under some of the flowers to make sure the pigment is transferring over well.
When you’re finished hammering, carefully peel away the flower pieces from your watercolor paper and discard them. Use your hand to brush away any remaining bits. Allow the print to dry completely.
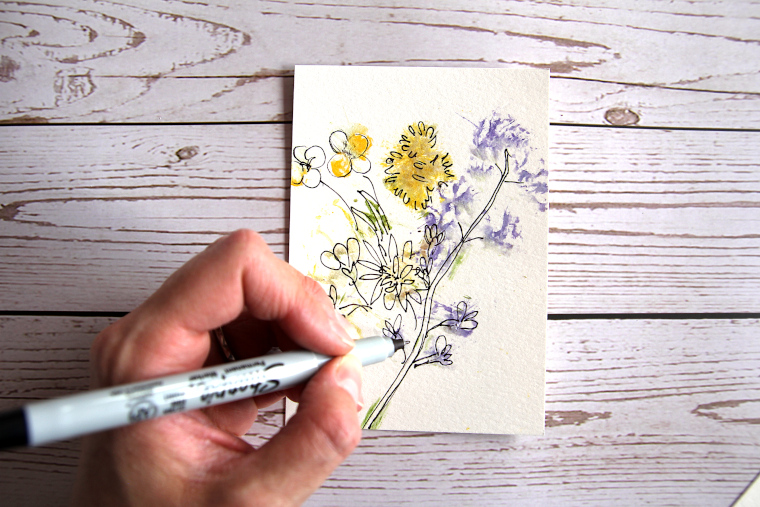
Step 3 – Draw in Details
Using a fine-tipped black marker, draw in some details on your design.
I draw quickly in an almost abstract manner, but if you are more of a artist, you can take your time and make your artwork as realistic as you like. Young kids could even skip this step altogether.
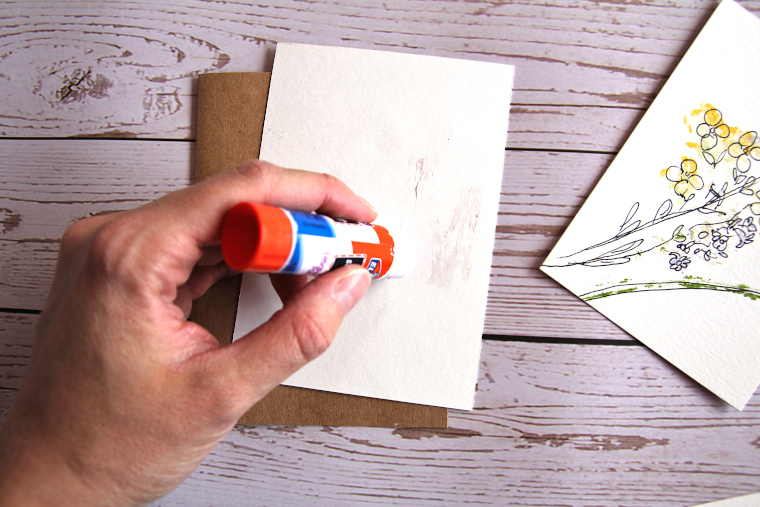
Step 4 – Glue Card Together
The last step is to use a glue stick to attach your hammered flower artwork onto the front of your greeting card.
Write a note on the inside and mail it to a friend. Ta da!
If you make this project and love it, I would greatly appreciate a star rating and review!
Tag your photo on Instagram @aberlehome to show me what you made!
Hammered Flower Greeting Cards
Hammered flower greeting cards are an easy nature craft for the spring or summer. This flower craft is even suitable for kids, as you don't have to be all that precise to end up with a beautiful final result.
Materials
- Blank greeting card in your choice of color (you can cut and fold your own from cardstock or use a pre-made one)*
- Watercolor paper pre-cut to the size you want for the front of your card
- Fresh flowers
- Parchment paper
Tools
- Paper cutter
- Hammer
- Ultra fine point black Sharpie marker or an archival ink pen
- Glue stick
Instructions
- Choose fresh flowers that are boldly pigmented. Remove any stems, leaves, or buds that you don't want in your design, and arrange the flowers face down (or side down for flowers like sweat peas) on your watercolor paper until you're happy with the arrangement.
- Carefully place a piece of parchment paper over the flowers and hold it in place with one hand as you begin pounding with a hammer. Use a light hand at first, and pound harder only if necessary. Since you can see through the parchment paper, you can make sure to hammer each part of every flower, stem, and leaf. Peak under the parchment to see if the flowers are transferring over the way you want. Keep pounding until you're happy with the result.
- Peel up the flowers and brush away any bits with your hand. Allow your print to dry completely.
- Use your marker to draw details on your design. You can be as abstract or realistic as you want (or skip this step altogether).
- Glue your artwork onto the front of your greeting card with a glue stick. Write a note on the inside, and mail to a friend!
Notes
*alternately, you could just score and fold a piece of 40lb watercolor paper into a card to use
You can snap pictures of your wildflowers before and after you arrange them to refer back to when you're drawing in details later.
Recommended Products
As an Amazon Associate and member of other affiliate programs, I earn from qualifying purchases.
-
 Fiskars 152490-1004 SureCut Deluxe Craft Paper Trimmer, 12 Inch
 -
48 Pack Blank Flat Notecard with Envelopes for DIY Greeting Cards, Wedding Invitation, Kraft Brown
-
UCreate Watercolor Paper, White, Package, 140 lb., 9" x 12", 50 Sheets
-
Sakura Pigma 30062 Micron Blister Card Ink Pen Set, Black, Ass't Point Sizes 6CT Set