This post may contain affiliate links. See my full disclosure. As an Amazon Associate, I earn from qualifying purchases.
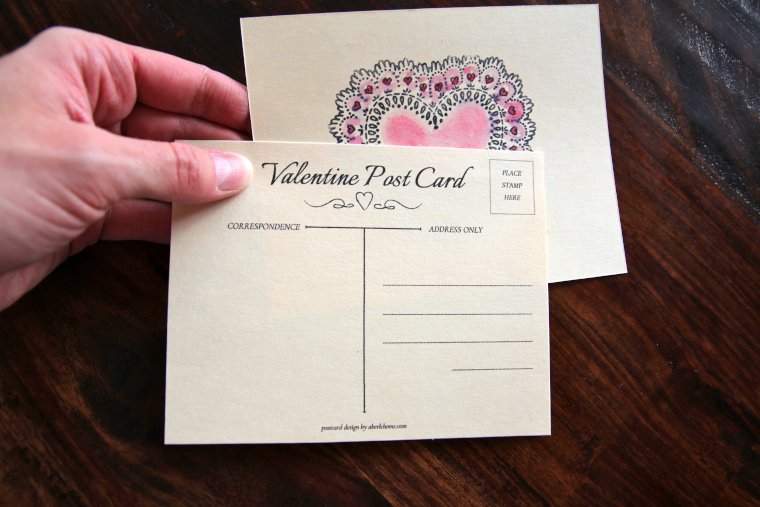
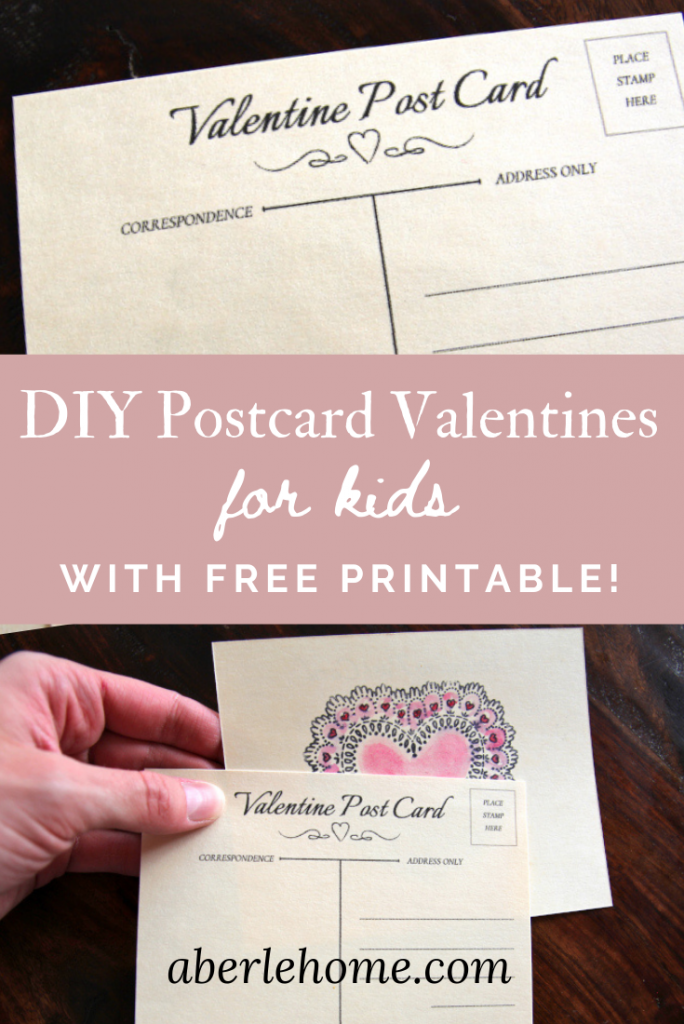
If you are looking for valentines for your kids to DIY this year, these valentine postcards are simple and perfect to slip in the mail for family and friends! These postcards have vintage appeal and leave room for your child to add their own creative touch as they decorate the backside of the postcards any way they wish.
These make for such a cute valentine craft for kids.
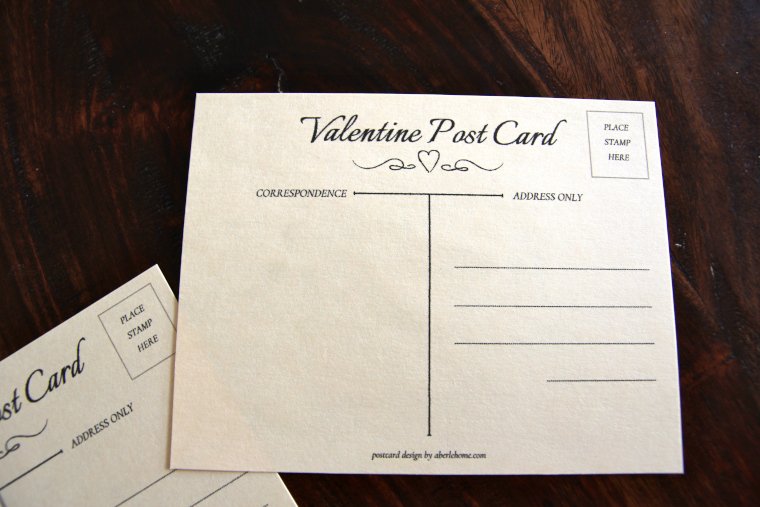
They are standard size US postcards, and I have them as a free download for you (see below). For your convenience, there is a printable how-to card near the end of the post with instructions for this project!
You may also love our Punny Playdough Valentines for Kids!
Supplies
- 110 lb cardstock or a manila folder cut to 8.5×11 inches (These are thick enough for a postcard, but still able to go through your home printer.)
- Paper cutter
- Rubber stamps, stickers, markers, paints, or whatever art supplies you want to decorate the back of your postcards
- Pen
- Postage

Directions
- The PDF download for these postcards is free. Simply fill out the form below to join our email list and receive the download:
2. Download the PDF file and print your postcards on heavy cardstock or a manila folder cut to size. Cut out the postcards with a paper cutter.
(We used a manila folder for some of our postcards because we liked the color and we always have these folders around the house.)

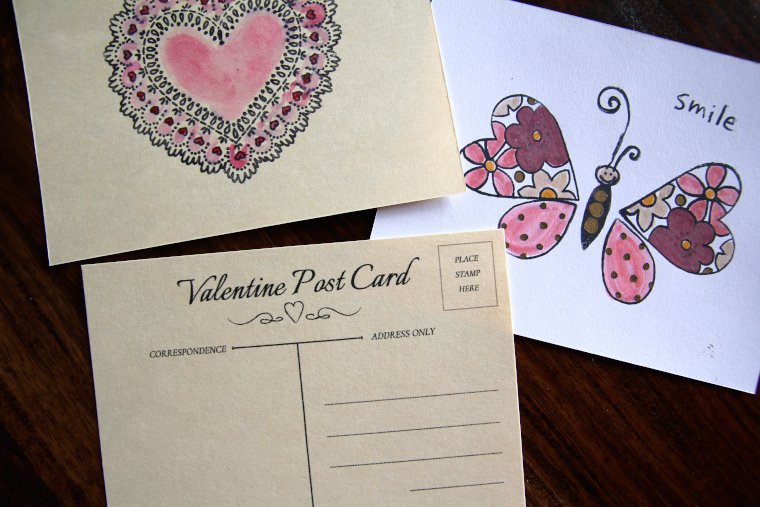
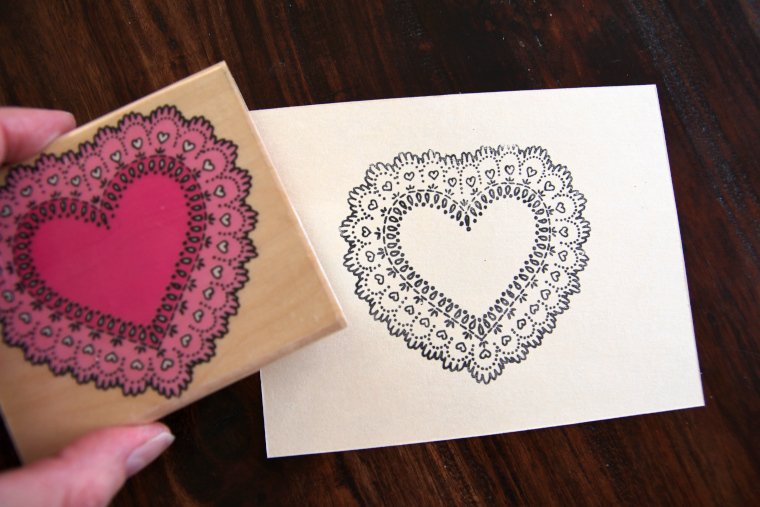
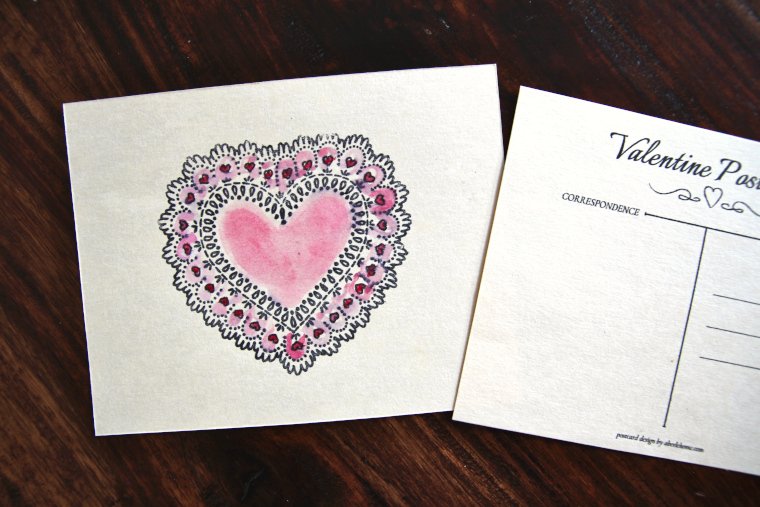
3. Allow your child to decorate the back of the valentine postcards with rubber stamps, heart stickers, paints, markers, or whatever!
I would not suggest gluing anything on the back, however, to avoid adding any bulk to the postcards.
We used stamps and colored the designs with watercolor paints.
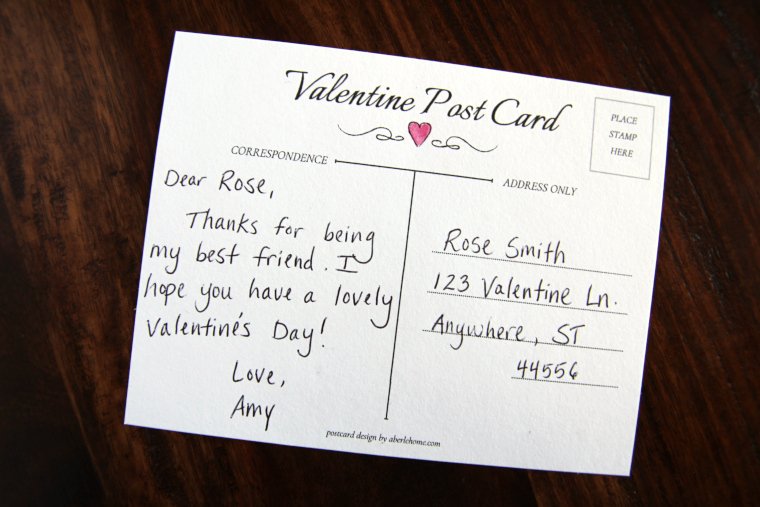
4. Help your child fill out the correspondence portion and address their postcards correctly (a great learning opportunity for younger students!).
If your child does not yet write, you can write the correspondence as your child dictates to you and fill in the address for them as well.
5. Affix the appropriate postage and mail to family and friends!
If you make this project and love it, I would greatly appreciate a star rating and review!
Tag your photo on Instagram @aberlehome to show me what you made!

DIY Vintage Postcard Valentines for Kids
Looking for a DIY valentine craft for your kids? Download these free valentine postcards. Your child can decorate the back any way they wish!
Materials
- 110 lb cardstock or a manila folder cut to 8.5x11 inches (These are thick enough for a postcard, but still able to go through your home printer.)
- Rubber stamps, stickers, markers, paints, or whatever art supplies you want to decorate the back of your postcards
- Postage
Tools
- Paper cutter
- Pen
Instructions
- Download the PDF file and print your postcards on heavy cardstock or a manila folder cut to size. Cut the postcards out with a paper cutter.
- Allow your child to decorate the back of the valentine postcards with rubber stamps, heart stickers, paints, markers, or whatever! I would not suggest gluing anything on the back, however, to avoid adding any bulk to the postcards.
- Help your child fill out the correspondence portion and address the postcards correctly.
- Affix the appropriate postage and mail to family and friends!