This post may contain affiliate links. See my full disclosure. As an Amazon Associate, I earn from qualifying purchases.
My husband and I just purchased our 1970s mountain fixer-upper, and we have entered into this process with many repair and home improvement projects on our to-do list. Our first priority, though, (even before moving any of our belongings inside) was to remove the cigarette smoke smell.
Our house was previously a rental.
When we would walk through the door, we were met with a heavy waft of cigarette smoke, dirty-big-dogs smell, and old cooking grease. We aren’t sure how long people smoked inside our house.
The main level smelled the worst with all the wooden paneling in the living room and the oak cabinets that have been soaking up smells for years, but the basement was only slightly better.

The view makes up for all that, though, right?!
The smell made our new house feel uncomfortable and downright dirty (okay, it was actually downright dirty too).
We didn’t want to hire out the odor removal with all the other fixes we have on our list.
But thankfully, after doing our research, we were able to find some solutions for actually removing the smells ourselves instead of just masking them (and we probably saved a couple thousand dollars at the same time!)
Although it is difficult to achieve perfect results when you’re dealing with years of stuck-in smells, we are pleased with the results we have attained through cleaning, ozone treatment, and our next and final step: odor blocking primer before we repaint!
Our house feels more like a home already.
If you want to know how to deal with odor issues in your own home in true DIY fashion, I’ll show you the steps we followed.
Just be sure to do your own research for your particular situation before deciding how you will treat your home!
Step 1 – Thoroughly Clean all Hard Surfaces with a Vinegar Solution
Remodeling is not in the budget yet, so we started with a very thorough cleaning. It took some elbow grease!
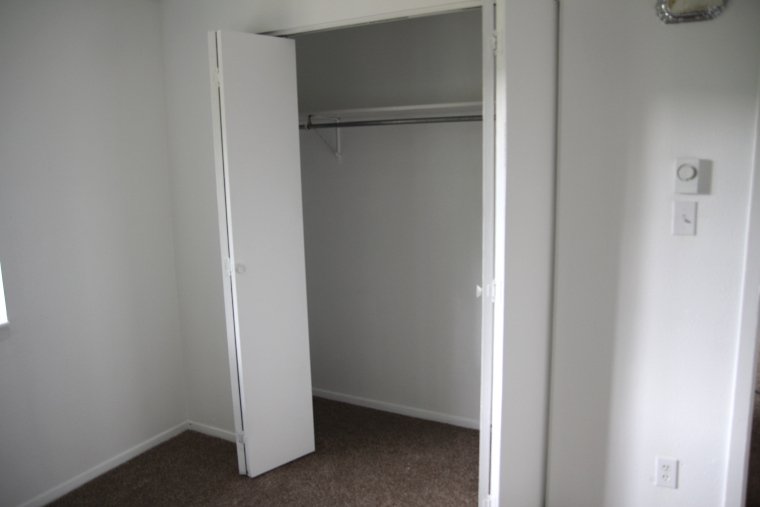
Thankfully our house has new carpet and we started out with no window treatments or upholstered items that have absorbed smells. We would have wanted to replace or wash these types of items, if we had any.
I made a 1:1 ratio of vinegar and water in a spray bottle and used that as my cleaning solution.
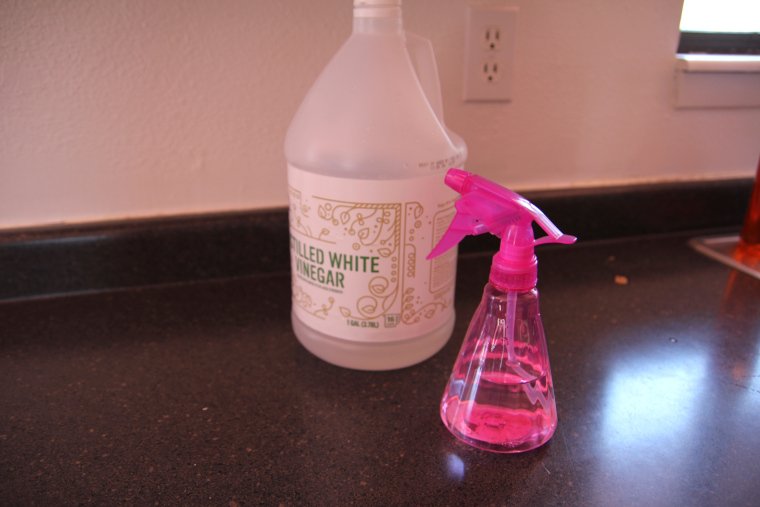
Vinegar reacts with smells on a molecular level to eliminate them while also dissolving grease, grime, and any film left on the surfaces from tobacco smoke.
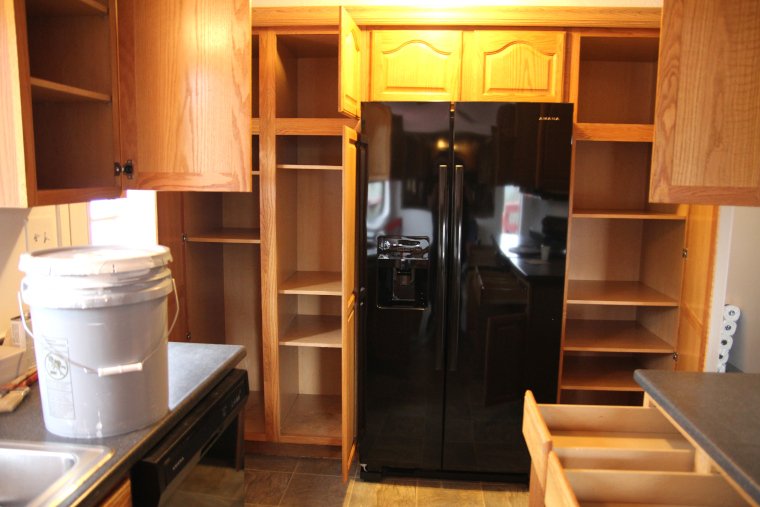
We found some substantial debris and grease in the bottom of some of our kitchen cabinets and under the refrigerator and oven.
There was also a lot of grime around the baseboards and lower cabinets (from dogs, maybe?). Once I cleaned those areas, I immediately noticed an improvement in the smell.
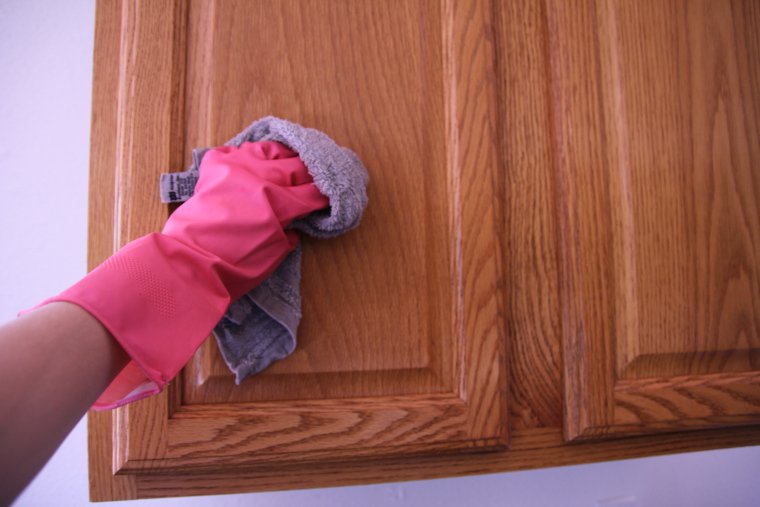
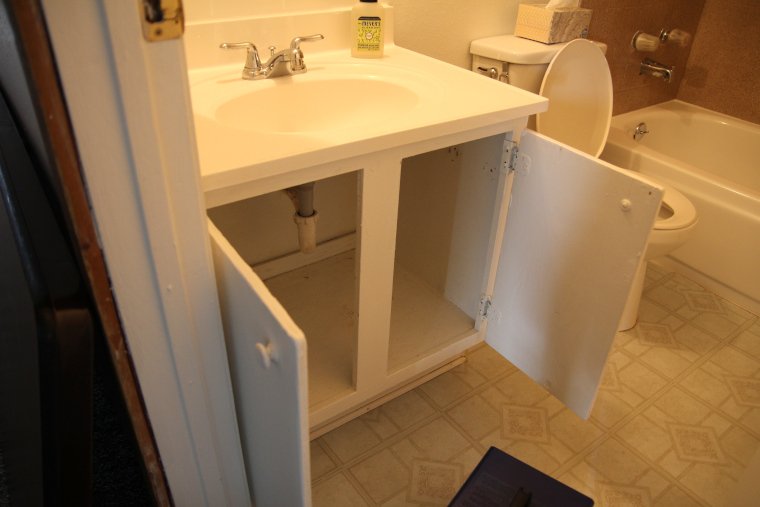
I even went so far as to scrub every kitchen and bathroom cabinet and drawer inside and out.
I scrubbed the insides of all the closets, scrubbed the walls, and mopped the ceilings. It was a lot, but it was necessary to remove that tobacco smoke film.
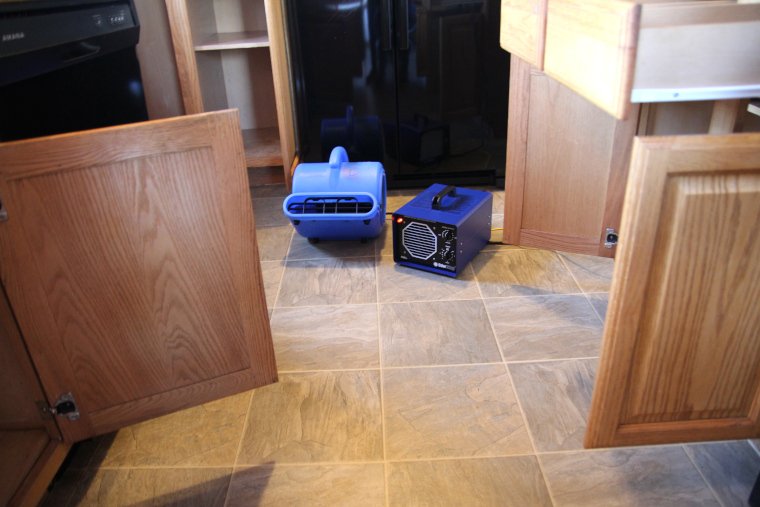
After the cleaning, I opened every cabinet door, drawer, and closet door in preparation for the next step.
Step 2 – Ozone Treatment
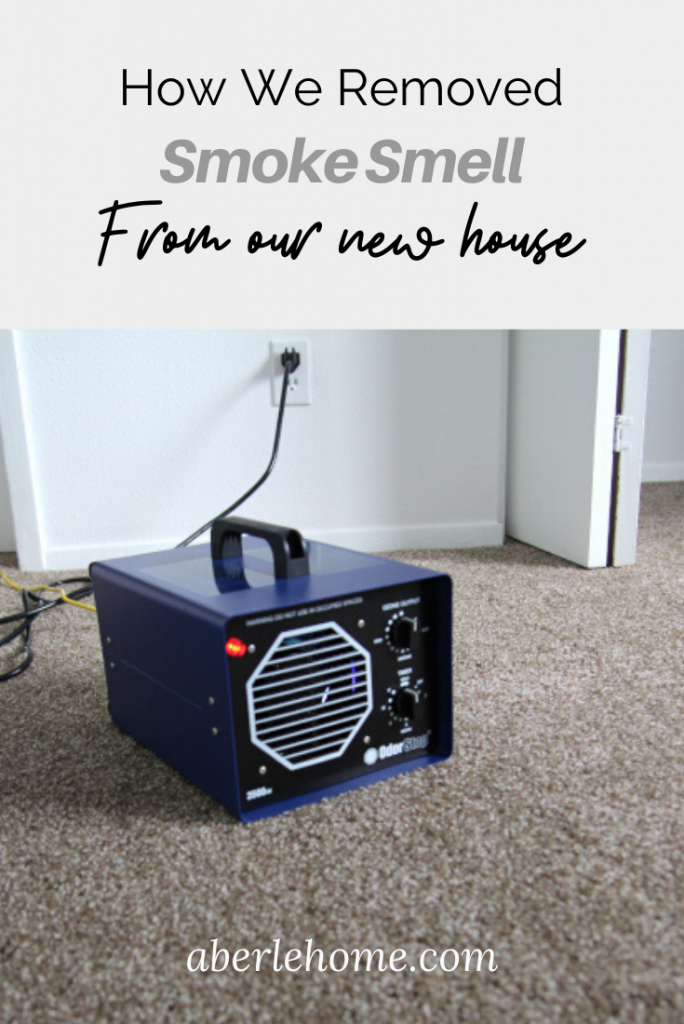
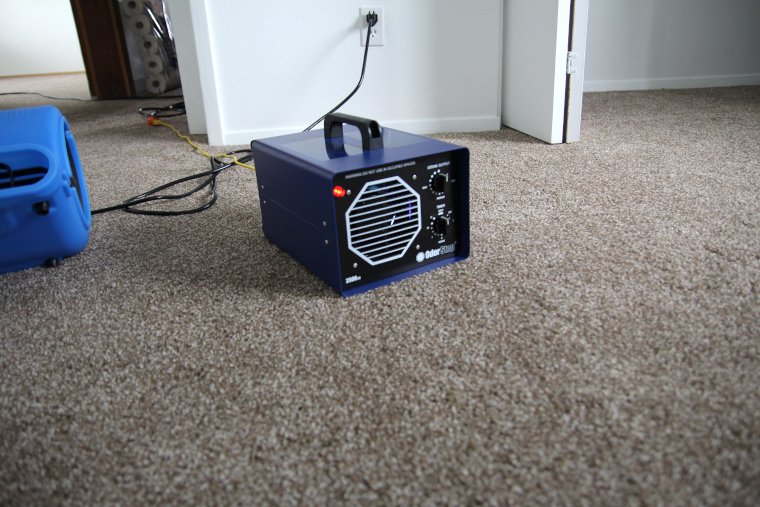
Then it was time for the real kicker, the Ozone Generator.
An ozone generator breaks down oxygen molecules in the air so they can bind to other organic molecules (that cause the odors) and change them into ozone, ultimately eliminating those odors.
Ozone generators are frequently used in rental trucks and hotel rooms to eliminate cigarette smoke smell, and they really work!
We could have rented a generator, but we ultimately chose to purchase one.
Only one local equipment rental business even had an ozone generator available to rent—we didn’t want to take a chance and not be ready to go once we closed on our house.
We also knew we would need it for a few days, plus, we can think of a few other scenarios where we will want to be able to use it again in the future.
We went with the OdorStop brand of ozone generator. For the space we needed to treat, we went with their 3500 Sq Ft + UV model.
I then did my research to find out how to use the ozone generator safely.
If you use an OdorStop ozone generator, I would highly recommend that you follow the guidelines on their site, as using it incorrectly or excessively can cause health problems or unwanted lingering ozone smell in your house.
It’s essential that a house be vacated during treatment with no pets or houseplants inside. Ozone is not something anyone should be breathing, and certain household items can be damaged by ozone if not removed from the premises.
There is no perfect way to determine the length of treatment time when every situation is different, but the National Ozone Association suggests 10,000 mg/hr for every 1,000-1,500 square feet that you need to treat.
I did the math and figured out that for our 2,000 square foot house and the 1400 mg/hr output for our generator on the highest setting, we would need to treat our house for a little over 12 hours.
That was over 6 hours for the main level and over 6 hours for the basement.
(If our generator would have had a lower output, we would have needed longer treatment times.)
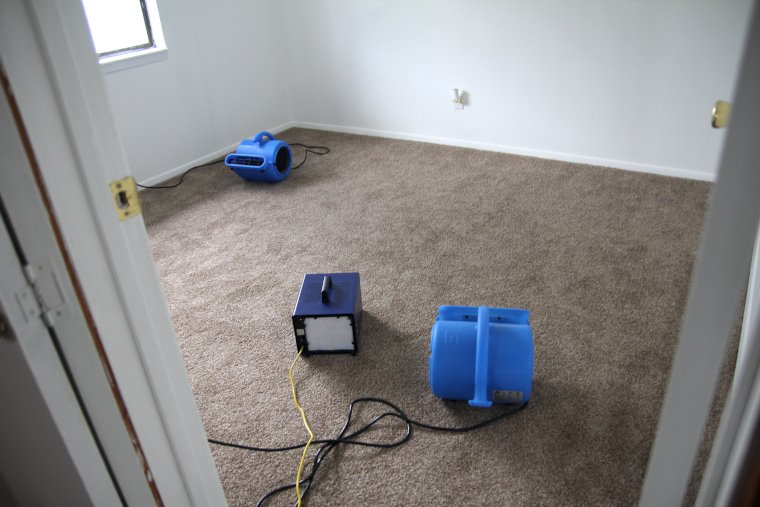
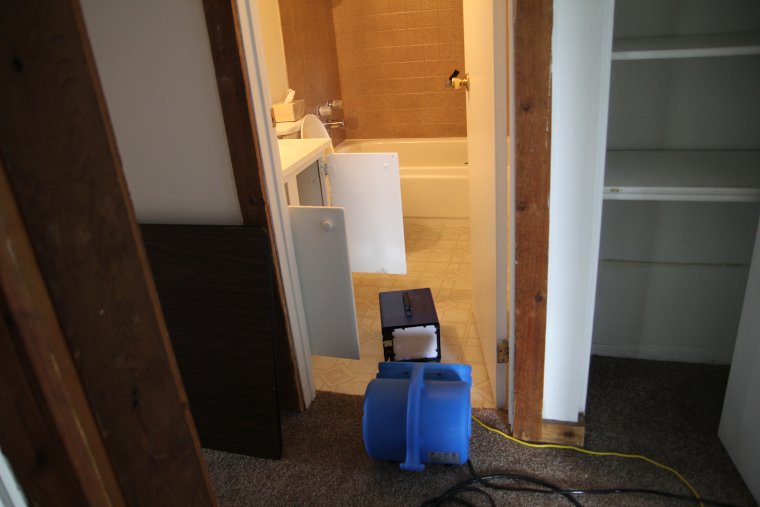
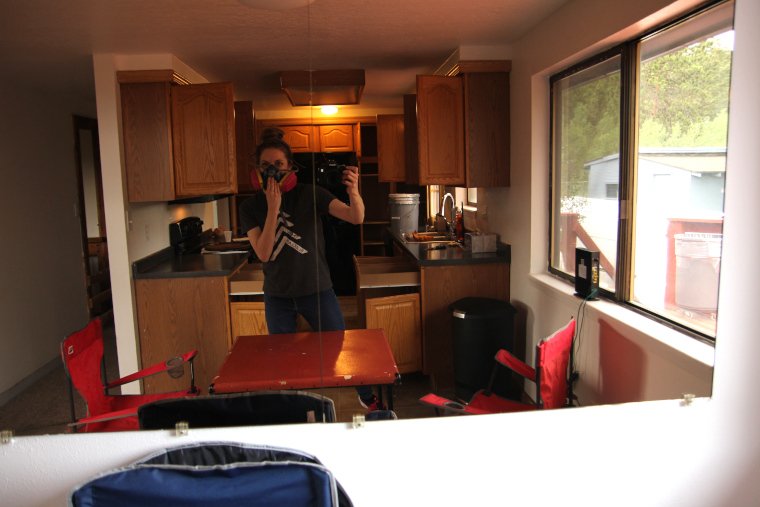
We turned the generator on high with our air blower fans set up to circulate the ozone (any large fans would do), and moved the generator room by room as necessary while wearing a respirator mask.
Step 3 – Air Out the House
After the ozone treatment, we didn’t return to the house for a couple of days, and once we did, we opened up the windows to air everything out well while we were inside.
It wasn’t long before the ozone smell (which smells similar to chlorine) was completely gone.
Step 4 – Paint Last with Zinsser B-I-N Shellac-Base Primer
Our final step in this process will be applying a fresh coat of paint to the entire interior to seal in any remaining odors that will seep through the walls as time goes on.
We’ll be using Zinsser B-I-N Shellac-Base Primer in place of normal primer on our wood paneling and in difficult rooms (like our back bedrooms and bathroom) before painting. We may even consider sealing the subfloor when/where we can, because I know that is an issue as well.
This primer is pricey, but highly recommended by professional painters to block stains and odors. I will have to update this posts with our results using this primer when we get to that point.
(Note: I had previously mentioned in this post that we were going to use Kilz Restoration Primer. This primer also gets pretty good reviews for blocking stains and odors and is less costly, however, it seems like the B-I-N Primer is probably the top choice, so that is our new plan.)
Update 10/29/22: We were able to prime and paint our kids’ rooms with the BIN shellac primer last year with great results. We weren’t able to prime and paint the remaining areas of our home directly after using the ozone (other projects have taken our focus first). Therefore the smoke smell has improved dramatically, but is not completely remediated.
If you’re looking to remove odors in your home yourself without hiring professional odor remediation, I hope you found this post helpful.
With the right information, supplies, and equipment, you really can get decent results doing the work for yourself and save a good amount of money in the process.
I wish you the best with your home!
Thanks for the tips. I have not found vinegar to be effective at cutting grease. TSP or some other degreaser would be needed.
It is worth noting that a respirator will not filter out ozone which is only one atom larger than oxygen. Keep your exposure as short as possible.
I did not know that about a respirator! Thanks, Tim!
Hi! Any updates on the smoke smell? We are going through all this with our house we just purchased, can’t seem to get rid of the smell 🙁
Hi,
We are in the same situation as you were. We are at the vinegar stage….did you wipe the drywall walls with the vinegar solution? What about the ceilings? We have popcorn ceilings….
Did you rinse the vinegar solution off or leave it on?
Hi Cynthia, I did wipe all our walls and ceilings down, and I used a clean damp rag to go back and wipe off the vinegar solution. The popcorn texture sounds tricky. You might consider just painting over all the drywall with a shellac primer and then repainting if your budget/time allows. The smell can still come through the carpet/subfloor though.