This post may contain affiliate links. See my full disclosure. As an Amazon Associate, I earn from qualifying purchases.
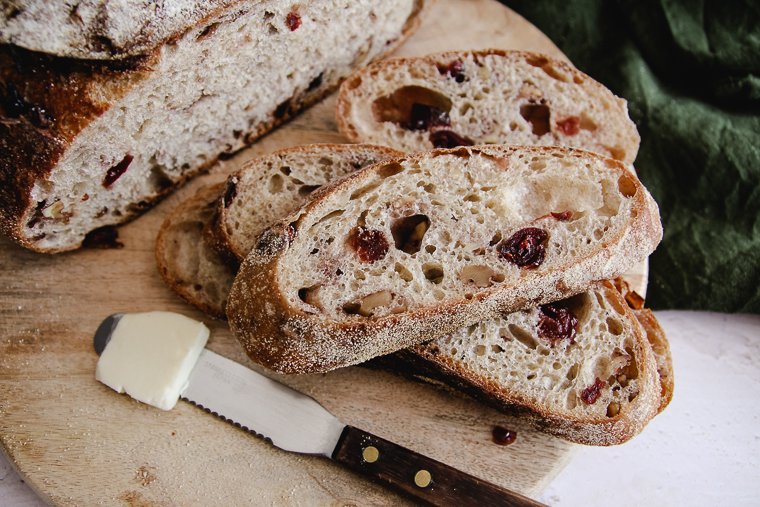
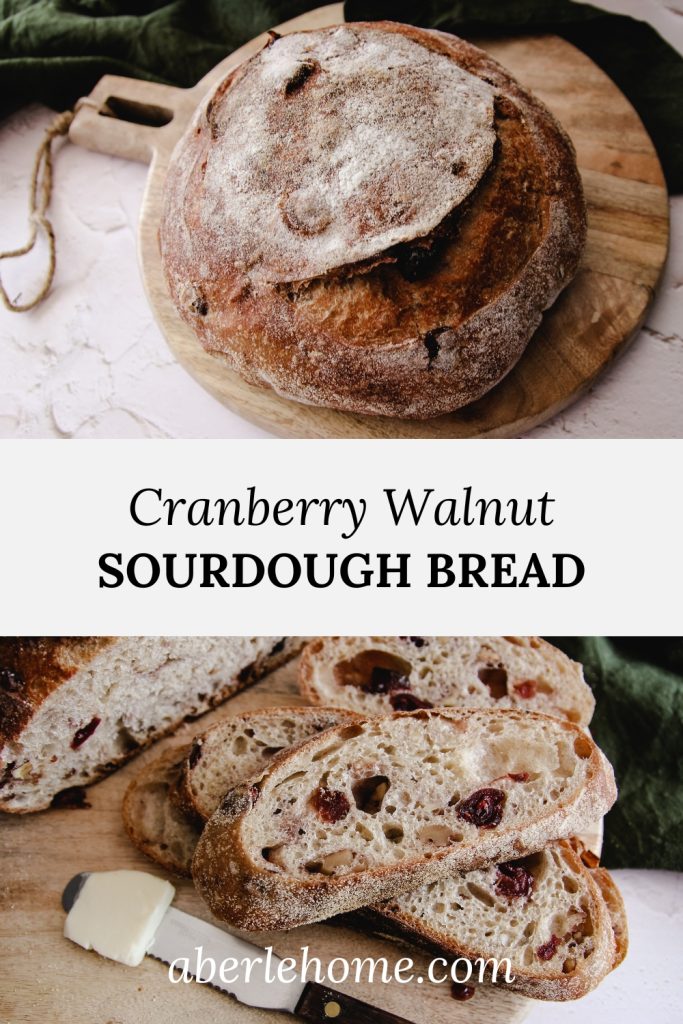
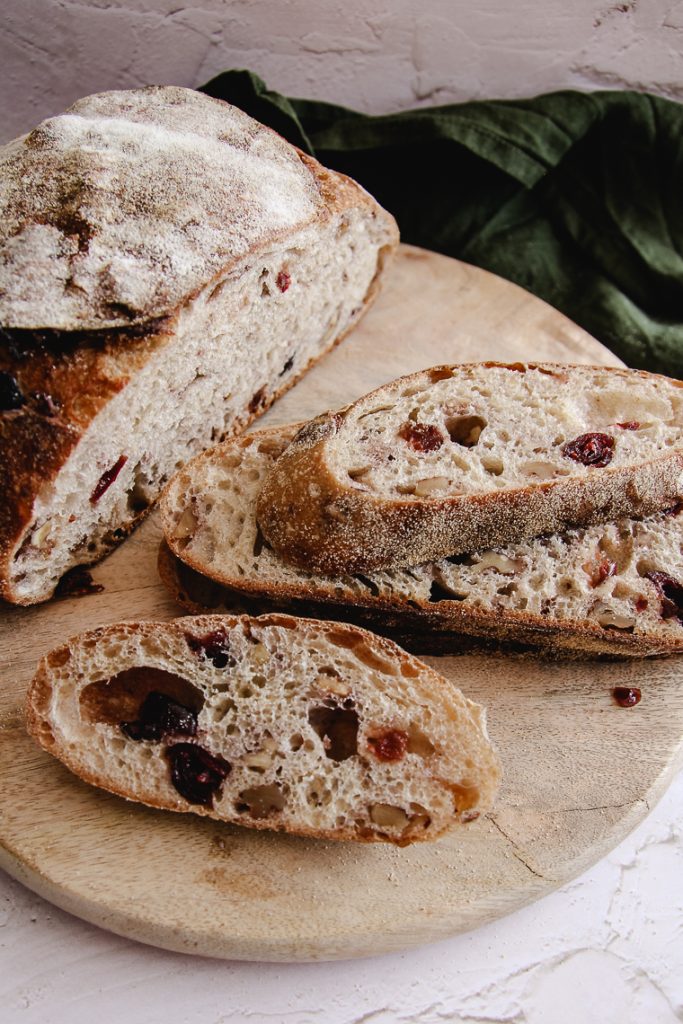
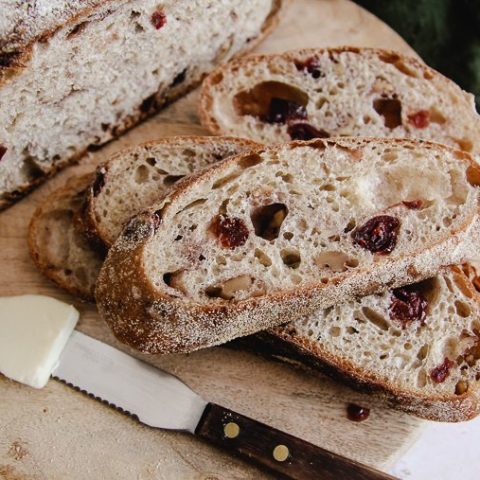
Cranberry walnut sourdough bread? Yes, please. This lightly enriched artisan bread is bursting with flavor from sweetened dried cranberries, toasted walnuts, and a little whole grain wheat and rye flours. You’ll love adding this showy bread to your table.
Sourdough Guides for Beginners:
- Easy Sourdough Starter from Scratch
- Sourdough Baking Terms for Beginners
- Essential Sourdough Bread Making Tools
- Milling Flour at Home: A Beginner’s Guide
One day a few months back, our neighbor gifted us a loaf of seasonal cranberry walnut bread from Costco. The bread was such a treat!
So of course, I was inspired to develop my own sourdough version.
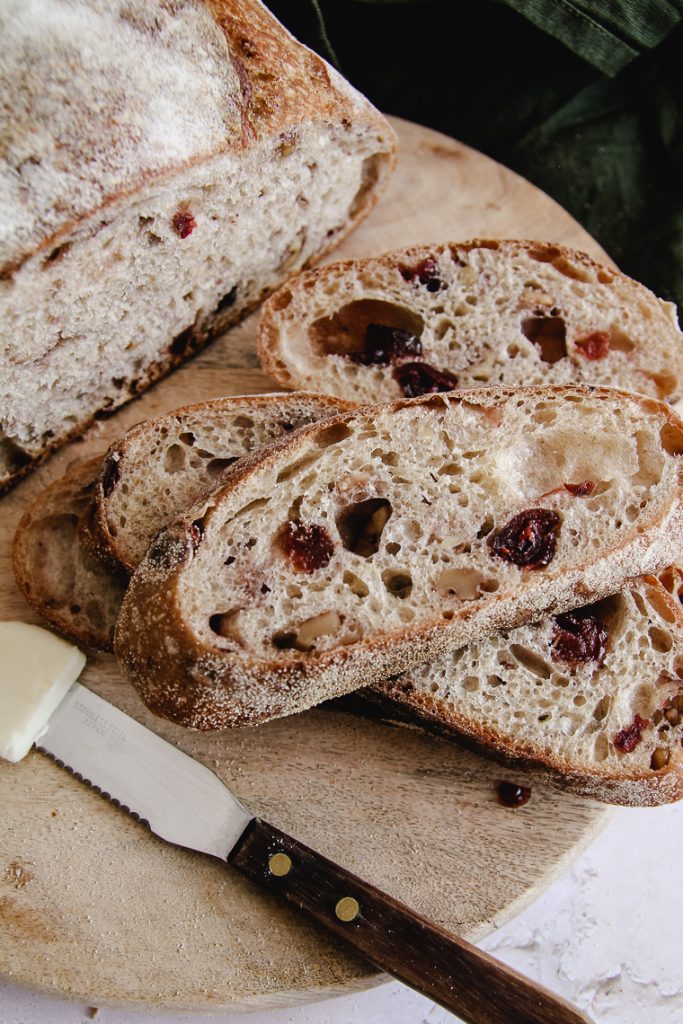
I included a little olive oil and sugar for a tender crumb and a little sweetness. Whole wheat and rye flours add another dimension of color and flavor to an otherwise white loaf.
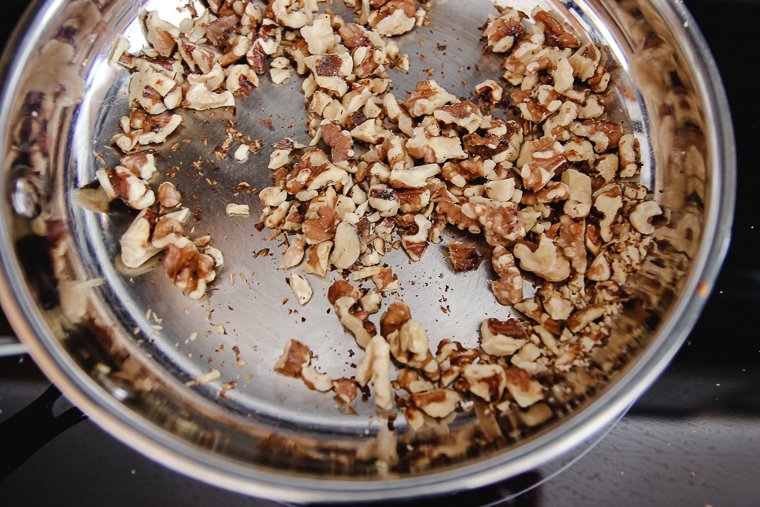
I like to toast my roughly chopped walnuts in a skillet ahead of time and allow them to cool. This gives them extra crunch and nuttiness.
The dried cranberries and walnuts are added during the first set of stretch-and-folds. This way they go in after the autolyse and mixing so they won’t impede the gluten developing–but not so late in the process that the dough deflates.
This cranberry walnut sourdough bread recipe is a perfect choice for the holidays, but it’s just as special any time of the year.
This past week we enjoyed it on a chilly evening alongside a cheesy potato soup with ham and kale.
Recommended Equipment
- Kitchen scale – this one is my favorite
- Instant-read thermometer to measure the temperature of the dough
- Flexible dough scraper – mine came with my banneton, linked below
- Bench scraper
- Small fine-mesh strainer to easily dust dough with flour
- 9-inch banneton with muslin liner or similar size bowl lined with a flour sack towel
- Parchment paper – I like these precut sheets
- Lame or razor blade for scoring dough
- 6-quart enameled cast iron Dutch oven (oven safe to 500°F)
- Large bread bags – handy for proofing and storing bread
- Cooling rack
Cranberry Walnut Sourdough Bread Baking Schedule
Feed your starter several hours prior to baking the recipe and allow it to peak.
I fed my starter early in the morning and started my dough in the early afternoon on day 1.
You’ll bake on day 2.
Approximate timing:
- Autolyse: 1.5 hours
- Mix dough: 10 minutes
- Bulk rise: 4 hours
- Shape: 35 minutes
- Cold Proof: overnight (12 hours+)
- Bake: 30 minutes
*The strength of your starter and the temperature at which you keep the dough will affect how long each step will take. For your reference, my ambient temperature was 77°F and my dough temperature was 74°F at the start of bulk fermentation.
Tips for Making Sourdough Cranberry Walnut Bread
- If you don’t have rye flour, feel free to substitute with more whole wheat flour.
- Dampen your hands before handling the dough to prevent sticking.
How to Make Sourdough Cranberry Walnut Bread
Step 1 – Autolyse and Prepare Walnuts
Since I mill my own whole grain flours, I do that first and add them to my all-purpose flour. I use an organic all-purpose flour that’s 11.5% protein (another great Costco find).
After you weigh out your flour and water, mix them together until no dry flour remains. Then cover and allow the mix to sit for 1.5 hours.
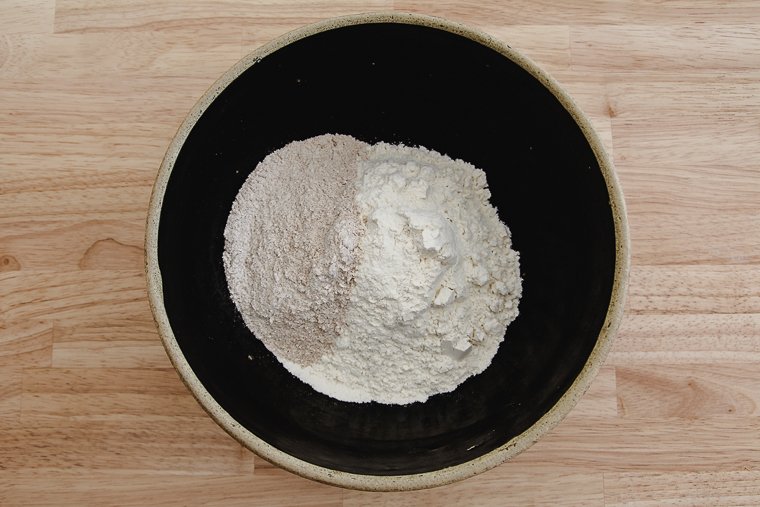
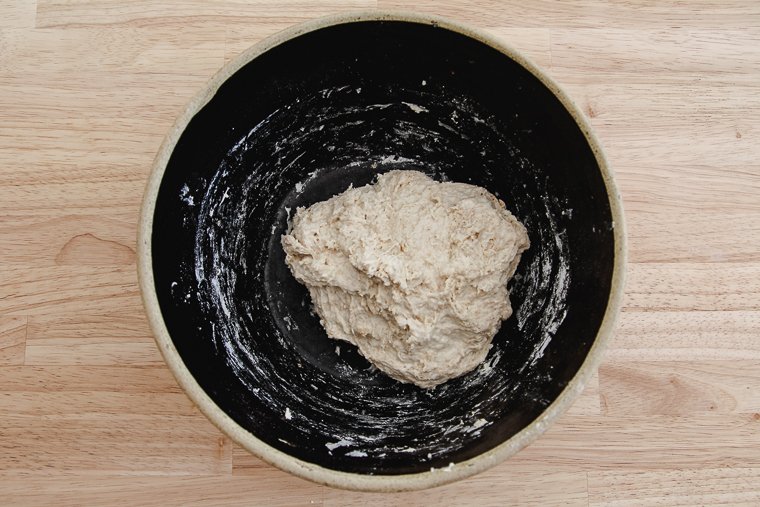
Meanwhile, go ahead and toast your walnuts in a small skillet set over medium heat, stirring often, until they are fragrant and lightly golden.
This will give them time to cool off before they are added to the dough.
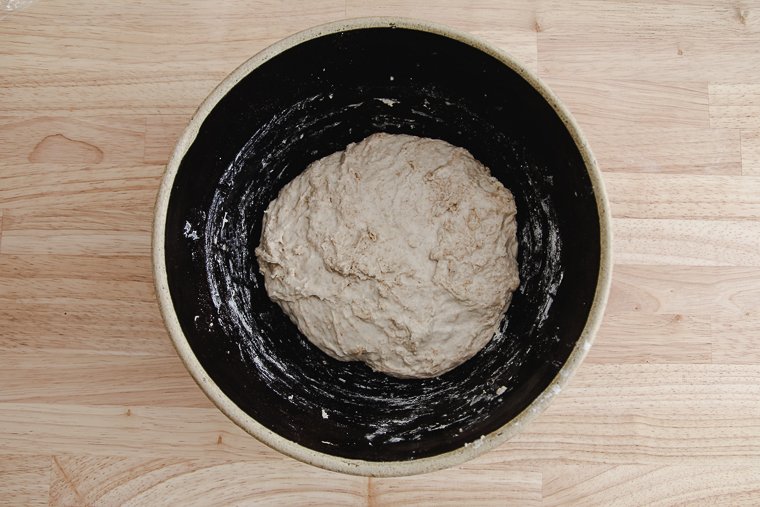
After the autolyse, the dough will have relaxed in the bowl as you can see below.
Step 2 – Mix and Bulk Ferment (Add Inclusions)
At this point, the ripe starter, salt, sugar and olive oil can be mixed in by hand. Continue stretching the dough in the bowl for a few minutes after mixing to develop strength.
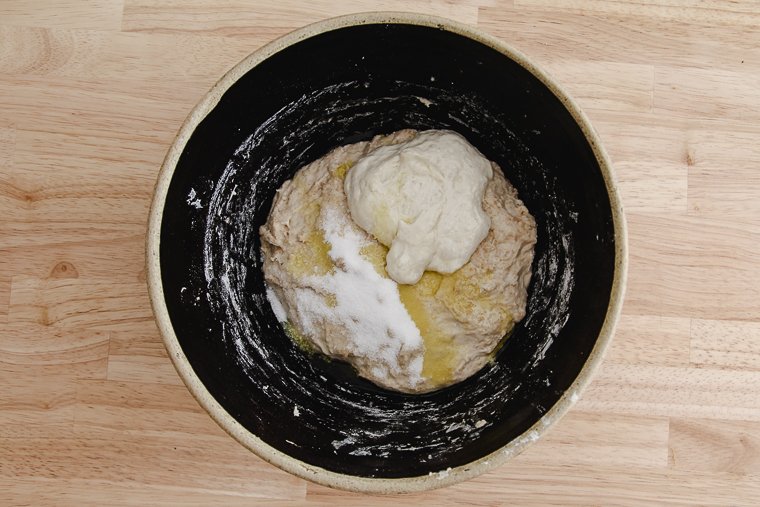
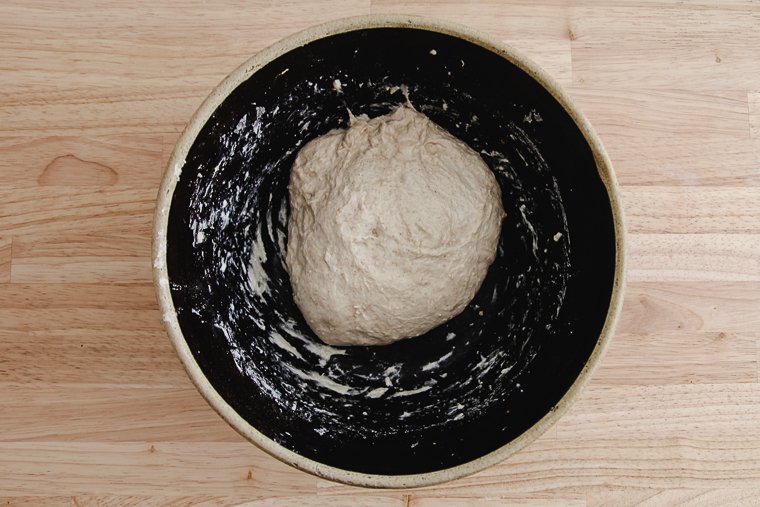
Now marks the beginning of bulk fermentation. Cover the dough and allow it to rest for 30 minutes in a warm place.
After 30 minutes, the dough will have relaxed again in time to add the inclusions.
Sprinkle in a portion of the cranberries and nuts with each stretch-and-fold as you work your way around the bowl.
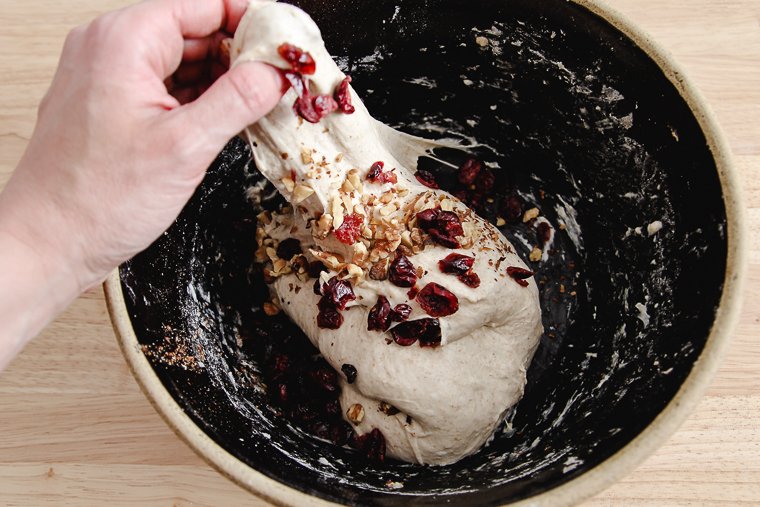
After the cranberries and nuts are incorporated, cover the dough again.
Perform two more sets of stretch-and-folds at 30-minute internals, then allow the dough to rest undisturbed for the remaining 2.5 hours of bulk fermentation.
You’ll know that bulk is done when the dough has increased in volume, wobbles when the bowl is bumped, and has a few large bubbles on the surface.
For the temperature of my kitchen, the total time was about 4 hours.
Step 3 – Preshape, Shape and Cold Proof
Without deflating the dough, turn it out onto a clean surface using a flexible dough scraper.
Use a bench scraper to preshape the dough into a round. Here is a helpful video, but note that you won’t need to divide your dough since you’re only making one loaf.
Allow the round to rest uncovered for 30 minutes. This time will allow the surface of the dough to form a skin for easier handling when it’s time for the final shaping.
I shaped mine into a round loaf (boule). Here’s another video if you are new to shaping bread.
Dust your proofing basket liberally with flour before inverting your loaf inside. A fine mesh strainer makes dusting easy. I use a mix of rice and wheat flour.
I like to sprinkle some semolina flour on the bottom of the loaf for texture.
Cover your loaf before sticking it in the refrigerator to proof overnight. I like to place my basket right into one of these plastic bread bags to keep it from drying out. (I’ll store the finished loaf in the same bag the next day after baking.)
Step 4 – Bake
The next morning, preheat your oven to 475°F with a Dutch oven right inside.
When the oven is hot, remove your dough from the fridge and invert it onto a sheet of parchment paper.
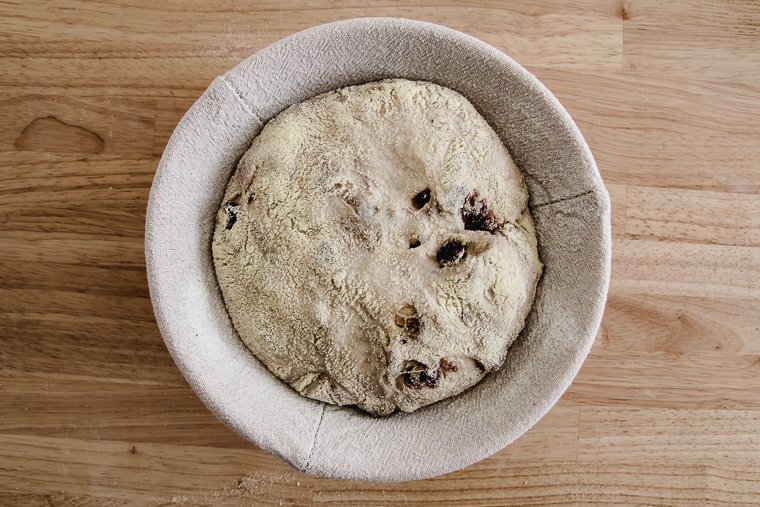
You can score your dough any way you like. I chose to score the dough in the shape of two parentheses following the curve of the loaf.
It can be difficult to score little details in this case because the lame can get stuck on the fruit/nuts.
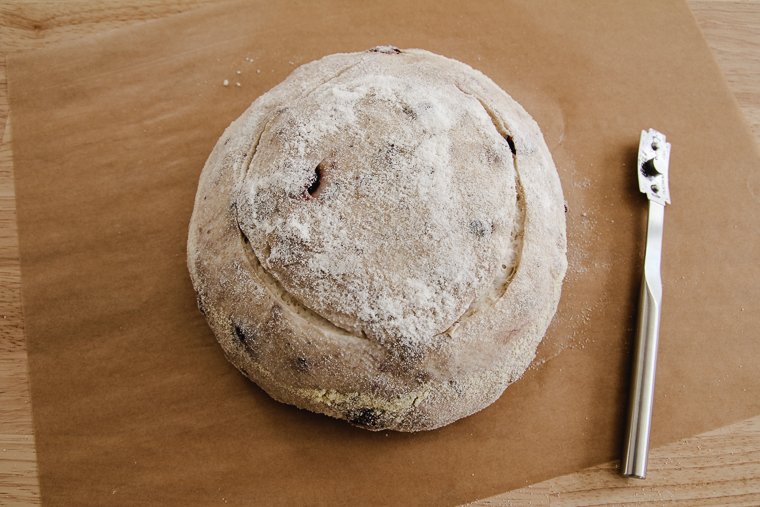
Transfer your loaf into the hot Dutch oven. Bake covered for the first 20 minutes for steam. Then uncover the loaf, reduce the oven temperature to 450°F, and continue to bake until it’s deeply golden.
(Since I’m baking at high altitude, I actually don’t decrease my oven temperature or it will take forever to brown.)
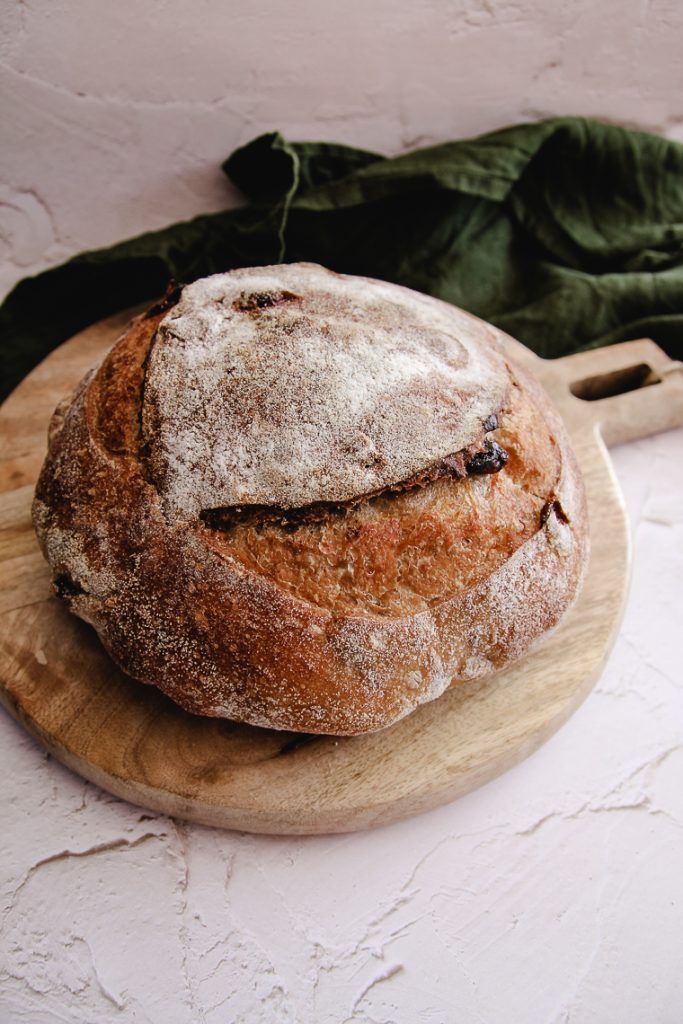
Transfer the finished loaf to a cooling rack. Ideally, you’ll want to let it cool completely before you slice into it.
This bread freezes well if you want to save some for another time!
I’m so grateful for your comments, reviews, and questions! Your star ratings help others discover my recipes, and your feedback helps me make improvements. Thank you for your support!
Cranberry Walnut Sourdough Bread
A lightly enriched artisan bread bursting with flavor from sweetened dried cranberries, toasted walnuts, and a little whole grain wheat and rye flours. You'll love adding this showy bread to your table.
Ingredients
- 340g unbleached all-purpose flour (my flour is 11.5% protein)
- 70g whole wheat flour
- 10g whole rye flour (see notes)
- 330g water, lukewarm
- 76g ripe sourdough starter, 100% hydration
- 9g kosher salt
- 20g granulated sugar
- 7g olive oil
- 80g sweetened dried cranberries
- 65g walnuts, roughly chopped
- Rice flour for dusting
- Semolina flour for dusting (optional)
Instructions
Feed starter several hours prior to mixing dough and allow it to peak.
Day 1 - Early Afternoon
- Autolyse/Toast Walnuts: In a large bowl, mix together flours and water until all the dry flour is absorbed. Cover and allow to rest for 1.5 hours. Meanwhile, toast walnuts in a small skillet over medium heat, stirring occasionally, until fragrant and golden brown. Set aside to cool.
- Mix: To the flour and water mixture, add ripe starter, salt, sugar and olive oil. Mix with your hands until combined. Continue to stretch and fold the dough for 5 more minutes to build strength.
- Bulk Ferment: Cover dough and allow to rest for 30 minutes. Perform the first set of stretch-and-folds, sprinkling in a little of the cranberries and walnuts with each fold as you work your way around the bowl. Cover dough and let rest for 30 minutes. Perform two more sets of stretch-and-folds at 30 minute intervals, then allow the dough to rest undisturbed for the remaining 2.5 hours of bulk fermentation for a total of about 4 hours (see notes). Dough should have increased in size, wobble when the bowl is bumped, and have a few large bubbles on the surface. If you don't see these signs, continue to ferment longer.
- Preshape: Turn out dough on a clean surface and gently shape into a round by scooting the dough in a circular motion with moistened bench scraper. Let the round sit uncovered for 30 minutes.
- Shape: Lightly flour the dough and shape into a boule (round loaf). Invert into a well-floured proofing basket or tea-towel-lined bowl (I prefer to dust with rice flour to prevent sticking). Sprinkle with semolina flour, if desired. Place proofing basket in a large plastic bread bag and refrigerate overnight for at least 12 hours.
Day 2 - Morning
- Preheat oven to 475°F with a Dutch oven inside.
- Bake: Once oven is hot, turn out cold dough into a sheet of parchment paper. Use a dampened lame or razor blade to score loaf in ( ) shape. Transfer dough into the hot Dutch oven. Bake covered for 20 minutes for steam, then remove the lid, reduce heat to 450°F, and bake for an additional 15-20 minutes until deeply golden. Allow to cool completely on a rack before slicing or storing.
Notes
- If you don't have rye flour, you can substitute with more whole wheat flour.
- This recipe was tested at an ambient temp of 77°F, and my dough registered 74°F on an instant-read thermometer at the start of bulk. If your kitchen is cooler, expect bulk fermentation to take longer, or keep your dough warm in a turned-off oven or microwave with the light on.
Recommended Products
As an Amazon Associate and member of other affiliate programs, I earn from qualifying purchases.
-
 If You Care Parchment Paper
 -
 OXO Good Grips Stainless Steel Scraper
 -
 Bakers Math Kitchen Scale - KD8000
 -
 Thermapen ONE Instant Read Thermometer
 -
 Heavy Duty Bread Bags with Ties
 -
 Baker of Seville Bread Lame – Change from Straight or Curved Blade Lame in seconds with the Patented Design. Built for professional and serious bakers.
 -
 9 Inch Bread Banneton Proofing Basket - Baking Bowl Dough Gifts for Bakers Proving Baskets for Sourdough Bread Scraper Tool Starter Proofing
 -
 Cooling Racks
Nutrition Information:
Yield: 8 Serving Size: 1 sliceAmount Per Serving: Calories: 511Total Fat: 8gSaturated Fat: 1gTrans Fat: 0gUnsaturated Fat: 6gCholesterol: 0mgSodium: 440mgCarbohydrates: 98gFiber: 5gSugar: 10gProtein: 13g
*Nutrition information is not always accurate.





This recipe really helps satisfy my craving for Costco bread while living in Europe, but after making it twice as written, I find the hydration personally too high. 80% hydration is definitely doable for some folks who are better at shaping than I am, but I personally find better success with 70% hydration. I bumped up all the flours proportionally so that I had 500g of flour to 330g water, as well as a touch more sugar and olive oil, and I found this dough to be much more manageable with better oven spring.
Thank you again for the recipe!
Thank you for sharing your notes, Andrea! So glad you made the recipe work for you.
Would using bread flour instead of AP flour make a difference in the finished bread?
Hi Stephanie! You can certainly use bread flour. Just add a couple sprinkles of extra water if you feel the dough needs it. 🙂
Can I have this bread in the fridge for as long as your long ferment bread recipe?
Hi there! I think that should work. If you find the bread over-ferments (bakes up too flat), you can decrease the warm bulk fermentation to account for the longer cold proof. 🙂 Let me know if you try it.