This post may contain affiliate links. See my full disclosure. As an Amazon Associate, I earn from qualifying purchases.
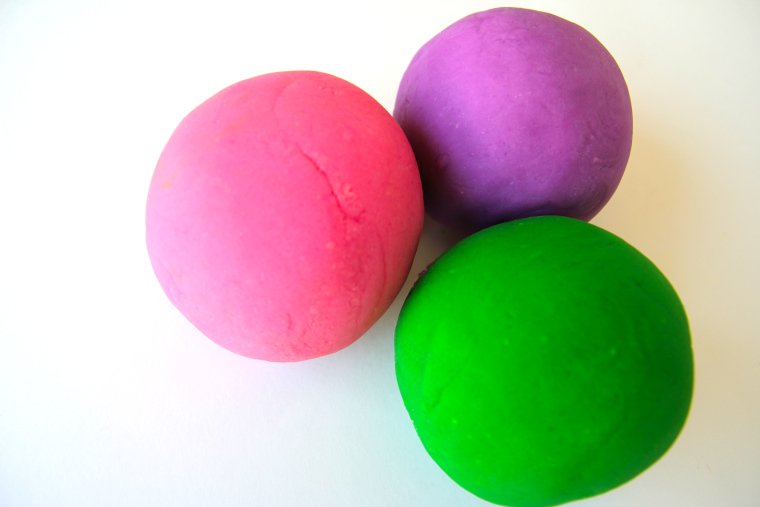
My little ones love playing with play dough, and we love to make it ourselves at home with our favorite recipe! This play dough is simple to make with common household ingredients. It isn’t sticky, and it comes out so soft and nice every time!
This recipe yields a 1-cup-size ball of play dough.
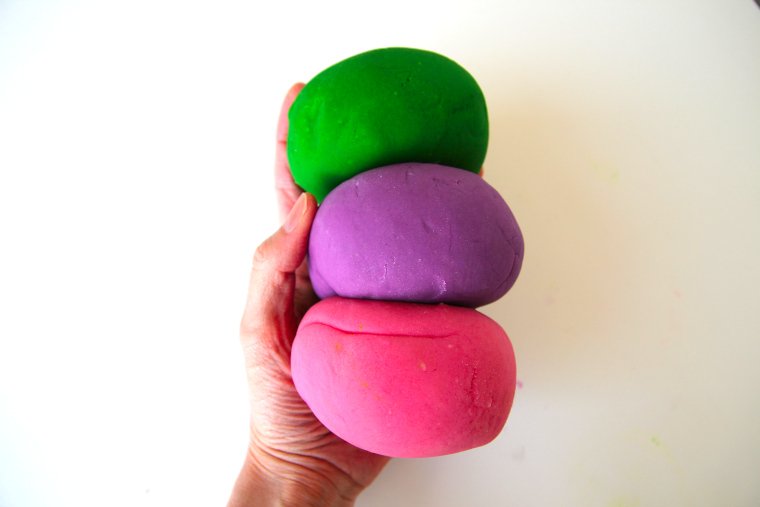
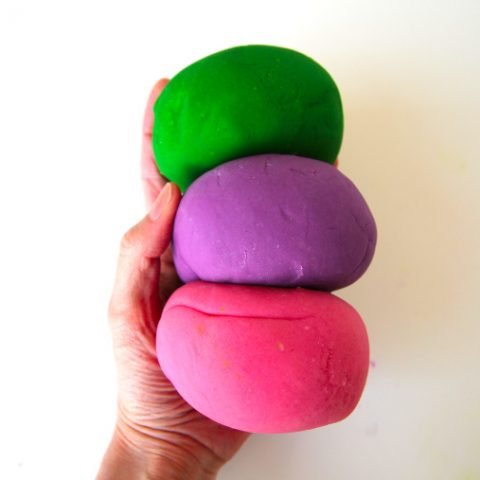
I started out by making purple playdough, and then rinsed and wiped out my saucepan and repeated the process two more times to make green and pink playdough as well!
This is a fun way to keep your kids busy and productive when they need to play indoors.
My girls enjoy making pretend cupcakes and treats when I set out a cupcake pan, silicon cupcake papers, mini rolling pins, cookie cutters, and plastic utensils for them to use.
There are so many activities your kids can do with playdough! Here is an awesome article I found with some great ideas to try out!
Look for a printable how-to card at the end of this post so you can save the recipe and make it again and again!
Tools Needed
- Small saucepan
- Spoon
- Measuring cups and spoons
- Paper plate
Ingredients
- 3/4 cup all-purpose flour
- 1-1/8 teaspoon cream of tartar
- 3-1/2 tablespoons fine table salt
- 3/4 cup water
- 2 teaspoons vegetable oil
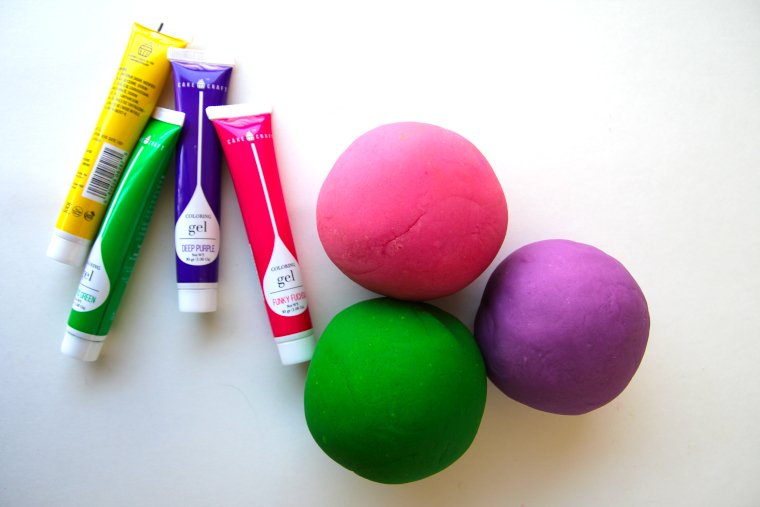
- Gel food coloring (anything like this will do)
How to Make Play Dough
Step 1 – Mix Ingredients
Add all of your ingredients into a small saucepan (no heat yet) and stir to combine.
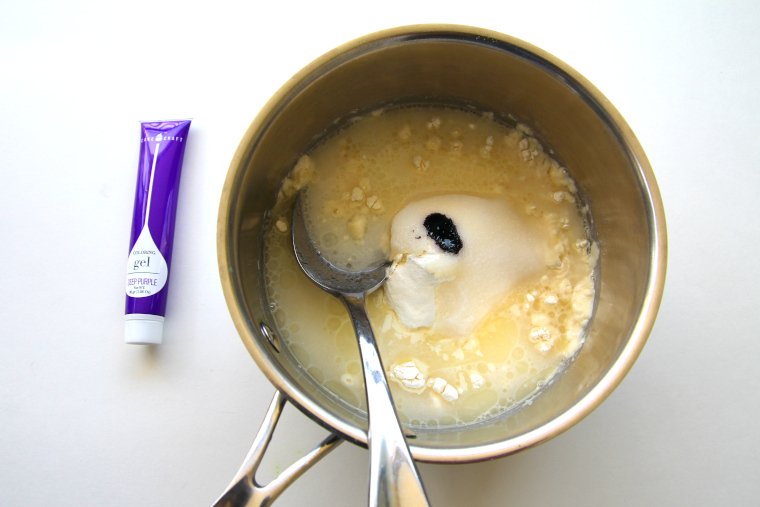
Use as much of the gel food coloring as you would like. Use just a little if you want a pastel shade, and add more as needed if you want it brighter.
Don’t worry if there are a couple of lumps after you stir.
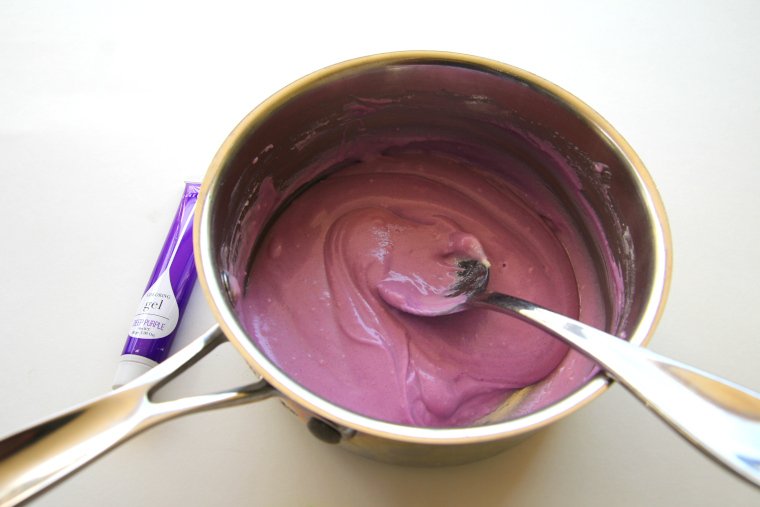
Step 2 – Cook the Play Dough
Now set your saucepan with your playdough mixture over medium heat, stirring constantly with a spoon, until your mixture forms a ball.

As soon as your dough stops looking wet, remove your pan from the heat and scoop your playdough onto a paper plate to cool slightly.
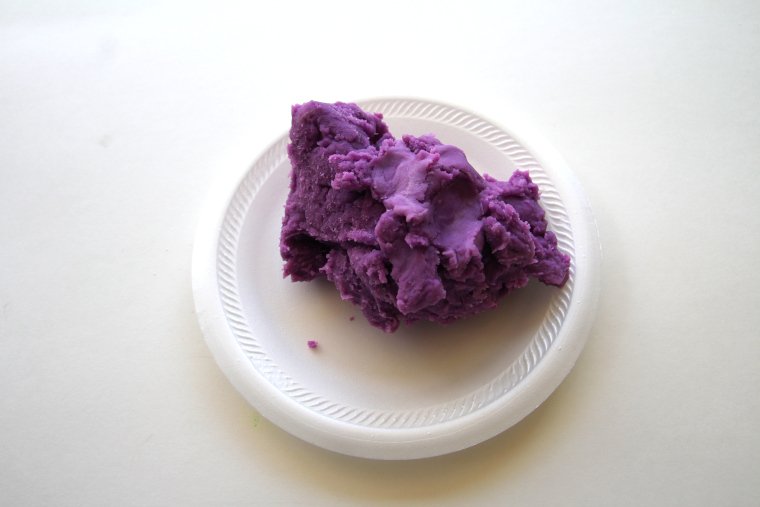
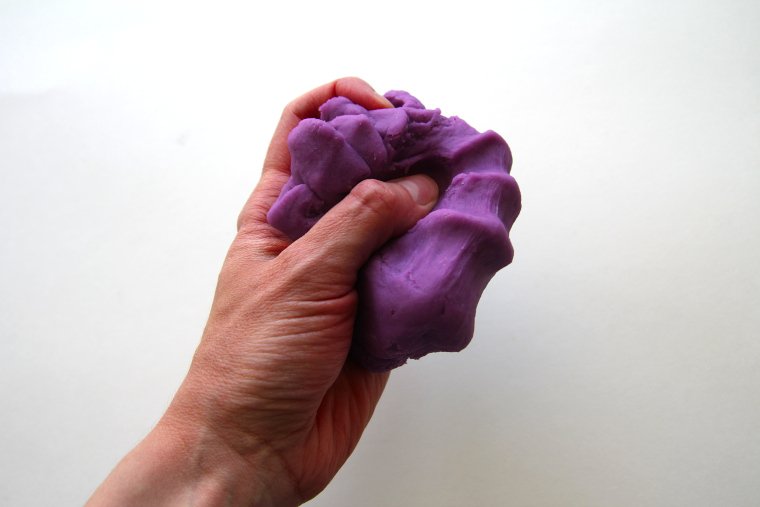
Step 3 – Knead Playdough
When your dough is cool enough to handle, use your hands to squeeze and knead the dough until it is smooth. This won’t take long!
And that’s it! Your playdough is ready to go.
When not in use, store in an airtight container in the refrigerator for up to three months.
I like to write the date on my container so I know how old my dough is later.
Enjoy!
If you make this project and love it, I would greatly appreciate a star rating and review!
Tag your photo on Instagram @aberlehome to show me what you made!
Our Favorite Playdough Recipe
This playdough is simple to make with common ingredients and comes out soft and not sticky every time! Your children will love to play with it and help make it!
Materials
- 3/4 cup all-purpose flour
- 1-1/8 teaspoon cream of tartar
- 3-1/2 tablespoons fine table salt
- 3/4 cup water
- 2 teaspoons vegetable oil
- Gel food coloring
Tools
- Small saucepan
- Spoon
- Measuring cups and spoons
- Paper plate
Instructions
- Add all ingredients into a small saucepan (no heat yet) and stir to combine. Use as much of the gel food coloring as you would like.
- Put saucepan over medium heat, stirring constantly with a spoon, until your mixture forms a ball.
- As soon as your dough stops looking wet, remove your pan from the heat and scoop your playdough onto a paper plate to cool slightly.
- When dough is cool enough to handle, use your hands to squeeze and knead the dough until it is smooth. This won't take long.
- Store in an airtight container in the refrigerator for up to three months.