This post may contain affiliate links. See my full disclosure. As an Amazon Associate, I earn from qualifying purchases.
Setting up a brooder for chicks is simple with only a few necessary supplies. I’ll show you our set up for baby chicks, specifically for the first two weeks. I’ll share about our brooder container and our bedding and heat source choices. I’ll also go over basic chick care.
*Updated 1/25/24
What is a brooder for chicks?
A brooder is the place you raise your chicks indoors until they are ready to go out to their coop. It’s a place where your chicks will stay warm and protected while they grow.
We ordered our very first batch of eighteen chicks online from Murray McMurray Hatchery.
We had a wonderful experience with this hatchery as brand new chicken keepers. They were so helpful when we had to make changes to our order, and the chicks arrived at our post office in great condition.
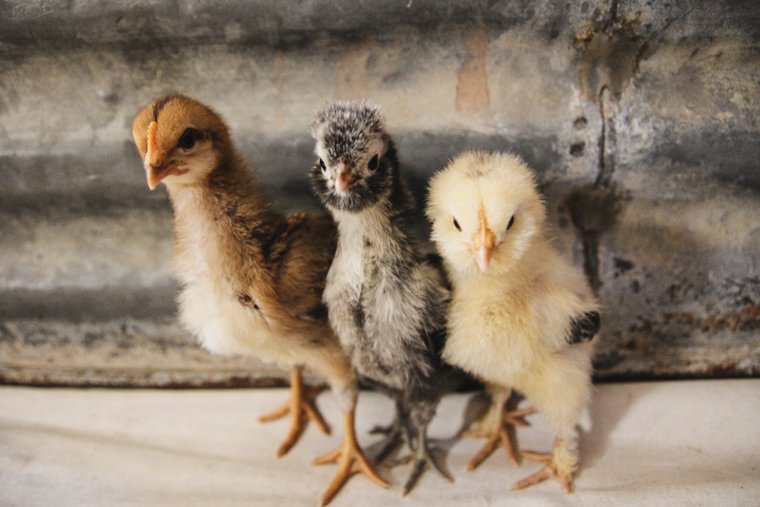
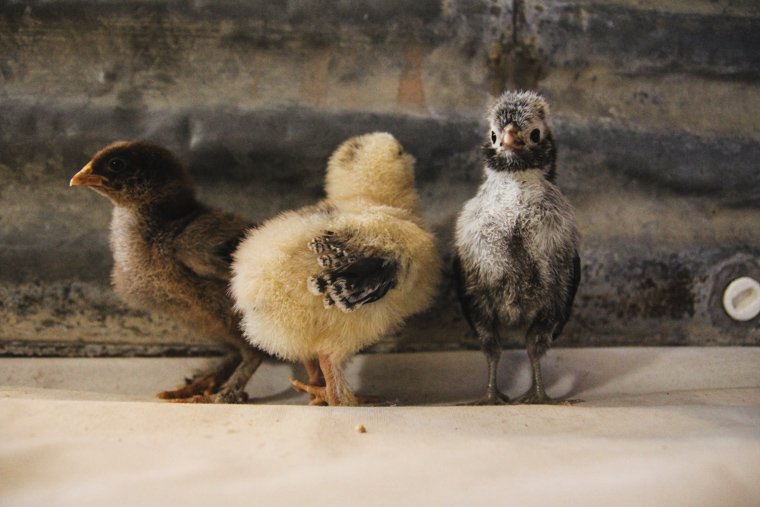
We ordered a variety of friendly breeds for a colorful egg basket later. Our brooder was all set up by the time the post office called to tell us our chicks had arrived.
Since that first year, we’ve added a few birds to our flock each spring! It’s something our family looks forward to.
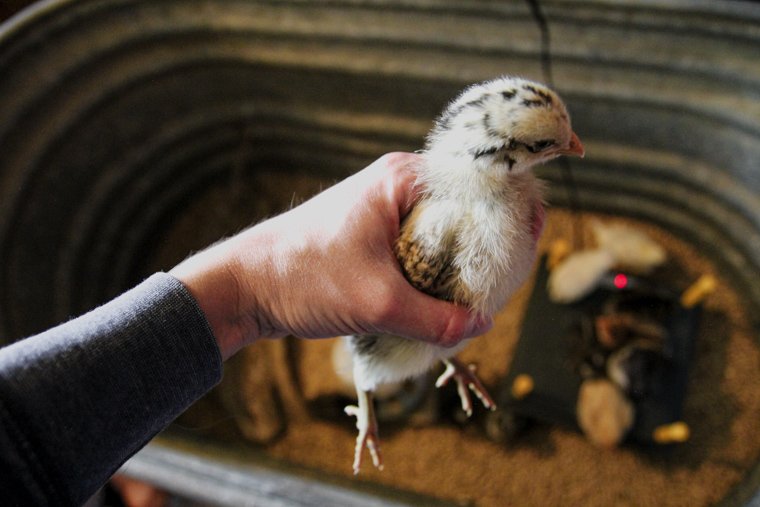
We try to gently play with our new chicks as much as we can so they get used to us handling them (which is helpful later when they need care).
More Chicken Keeping Posts from Aberle Home:
- 8 Things the Internet Didn’t Tell Us Before Raising Chicks
- Our Favorite Chicken Supplies for a Low-Maintenance Setup
Brooder Container
There are different options for what you can use as a brooder for chicks, and your options will depend on how many chicks you have.
For the first few weeks, we use a galvanized stock tank.

The tank is not suitable for watering animals anymore because of holes in the bottom, but we simply covered the holes with duct tape. We keep the tank on top of a drop cloth to protect our floor below.
When the chicks grow in their wing feathers, we clip chicken wire over the the top to prevent them from flying out.
How Big Should a Brooder for Chicks Be?
Now, if you have several chicks like we did for our first batch, they will quickly grow out of a stock tank.
I’ve heard some conflicting information about brooder size per chick, but here is a good rule of thumb:
- Weeks 1-4 = a half square foot per chick
- Weeks 4-8 = one square foot per chick
You want enough room so they don’t peck each other or pile on each other. Make sure your brooder is set up and your heat source has been warming up for at least an hour before your baby chicks arrive.
Chick Brooder Bedding
We like to use industrial hemp bedding in our brooder (we also use this for the deep litter method in our chicken coop and to cover mud in our run). This material is absorbent and composts well. We found a local source to purchase it.
You can expect brand-new chicks to eat their bedding. To help with this, you can cover the bedding with sheets of paper towels for the first few days while they learn what their food is.
As the bedding becomes soiled, simply sprinkle on a thin new layer of fresh bedding to cover the droppings.
Another option we’ve used for bedding in the brooder is pellet stove pellets. The pellets are made of pine and no chemicals. They absorb moisture well and are too big for a chick to eat.
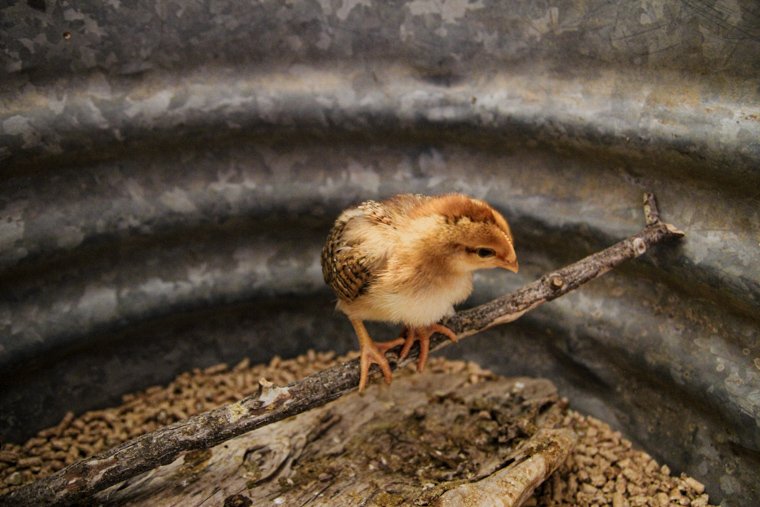
The pellets break apart and become super dusty after they have absorbed a certain amount of moisture, so it’s best to scoop out the old pellets and place fresh ones in after a while.
Really, though, every type of bedding is dusty to a certain extent. Make sure you place your brooder for chicks in a place where the dust won’t be a problem.
Chick Brooder Heating Plate
The brooder temperature is one of the most important factors in the beginning when brooding chicks.
You will know if your chicks are warm and comfortable if they stay fairly quiet with soft peeps. They will peep loudly when they are scared or cold.
If the heat source is too hot, they will avoid it and stay to the edges of the brooder.
When the temperature is just right, they will go back and forth between the heat source and exploring, eating, and drinking.
Chicks need to have a heat source that is 90-95°F the first week.
Each week after, the temperature needs to decrease by five degrees until the chicks are at 70°F. They can acclimate to the outdoors once they are fully feathered (around 6 weeks old).
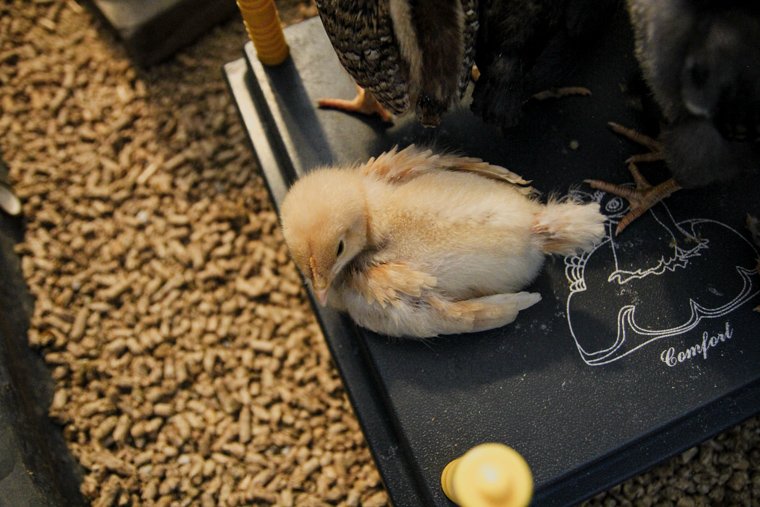
You can use a heat lamp with a red bulb as your heat source, but recommend a Premier Chick Brooder Heating Plate.
It’s a heating plate on four legs that can be raised higher as the chicks grow. We got the 12’x12′ size which is recommended for up to 20 chicks. It’s only 22 watts per hour to run.

There is less risk of fire with a heat plate than with a heat lamp, and the chicks love being able to hide underneath it the way they would hide under a mother hen to get warm.
They can come out once they are warm to explore and find food and water. They seem to love it.
You can buy a heat plate that comes with a cover to keep the chicks from making a mess on the top of the plate.
Once more consideration for the heat plate: you will need to provide some dim light for your chicks at night the first couple of weeks so they don’t pile on each other.
Chick Feeder and Waterer for the Brooder
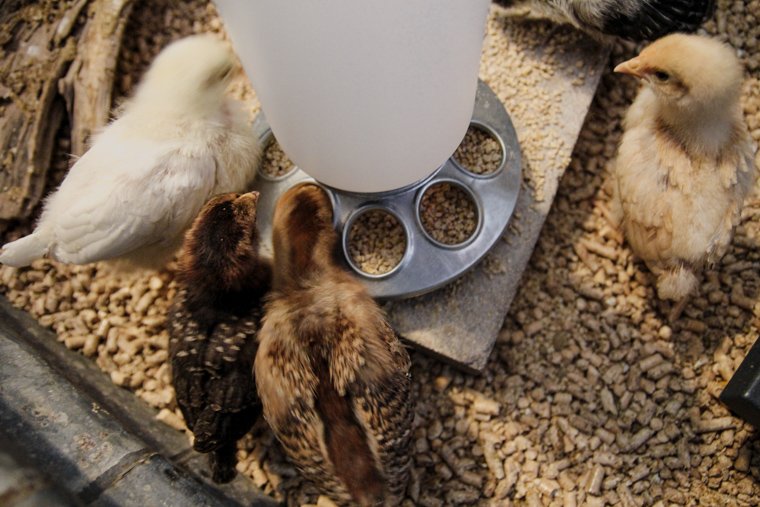
Chicks need constant access to chick feed and clean water.
Start with a small chick waterer to prevent the chicks from drowning. Our newest favorite chick waterer is this nipple waterer. The chicks learn to peck the tip to get a drink, and the water stays clean for the day.
Normal waterers need to be refreshed often since the chicks will scratch bedding into their water.
You can set feeders and waterers up on a cinder block in the brooder to keep them cleaner.
If you start with a very small feeder or waterer, know that you may need to use a larger one as the chicks grow.
Chick Feed Options and Basic Chick Care
Now I’ll go into more detail about how we feed our chicks and care for their health.
Medicated Chick Starter/Grower Feed
We feed our chicks a medicated starter/grower feed.
Our chicks have always come vaccinated against Merek’s disease (a type of chicken herpes), but not against coccidiosis (a parasitic disease of the intestinal tract).
We go with medicated feed as a preventative measure against coccidiosis, but some people choose to medicate only if a problem arises.
You can do your own research to determine which route is best for you as far as vaccinations and feed options go.
You won’t want to offer oyster shells or layer feed to chicks. These contain extra calcium which is essential for laying hens but harmful to chicks.
We take our chicks on an (almost) daily short field trip to our dirt outside to help them build immunity to the organisms in the soil. They love to dust bathe by rolling in the dirt and kicking it around. I’m sure it’s the highlight of their day!
You could also bring some soil in to your chick brooder in a small pan.
Supplements for Brand New Chicks
We supplement our chicks with a vitamin and electrolyte powder in their water continually through day five to give them a boost. After that, we offer it only once a week.
You can also offer a probiotic supplement for your chicks, if you like.
It’s necessary to give chicks access to chick grit once they begin eating anything besides chick starter.
Our chicks find plenty of grit in our granit-laden mountain soil when we take them outside. For this reason, we don’t usually offer our chicks extra grit.
First Aid
Chicks commonly get “pasty butt” during the first week. This is where their droppings stick to their down and plug their vent so they can’t relieve themselves. They can die if this isn’t taken care of in a timely manner.
To treat pasty butt, I just hold a wet, warm washcloth on the area to soften everything until I can wipe it gently away. You don’t want to rip the dried droppings off or you risk tearing the skin.
I apply petroleum jelly to the chick’s clean vent with a cotton swab to prevent the problem from occurring again. (You can also apply petroleum jelly ahead of time as a preventative measure.)
I also keep a medicine dropper on hand from the beginning in case I needed to help feed a weak chick.
We also keep triple antibiotic ointment (not the pain relief kind!) or Vetericyn Plus Poultry Care Spray on hand in case in case of injuries.
Pick-No-More cover up lotion is another product we love for both chicks and mature birds. It covers dried blood or scabbed-over wounds to prevent any more pecking to the area.
Treats for Chicks in the Brooder
We typically give our chicks their first real treat at the two week mark: scrambled eggs. Eggs are always a hit once the chicks realize they are getting food.
Treats should only make up about 5% of the chicks’ diet so they get enough nutrition from their feed. Here is an article with a list of treats that are good for baby chicks.
I use treats like this to teach the chicks to come when I call “chick, chick, chick!” so they will come to me as grown chickens when I need them to.
Brooder for Chicks and Basic Chick Care – Conclusion
Overall, chick care is fairly minimal and straightforward. Your main concerns when setting up a brooder for chicks are a properly sized container, bedding, a heat source, and a feeder and waterer.
Once you make decisions about vaccinations and feed and supplement choices, a few simple first aid supplies will keep you prepared.
Let me know if you have any questions for me after reading this post!