This post may contain affiliate links. See my full disclosure. As an Amazon Associate, I earn from qualifying purchases.
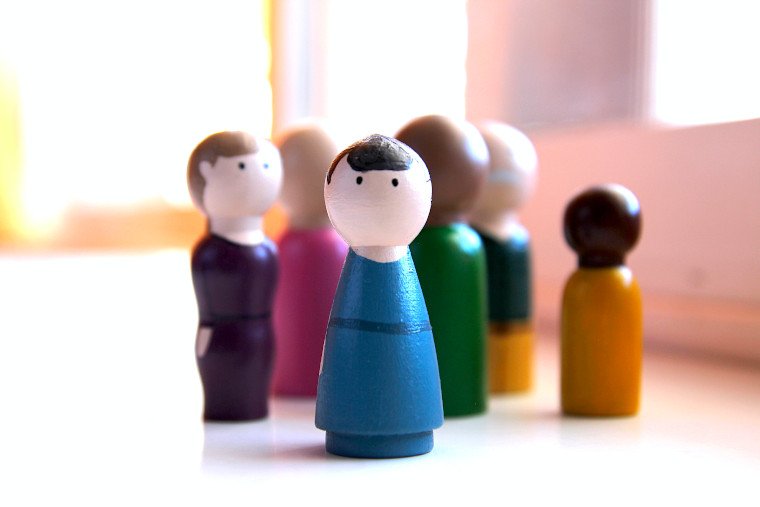
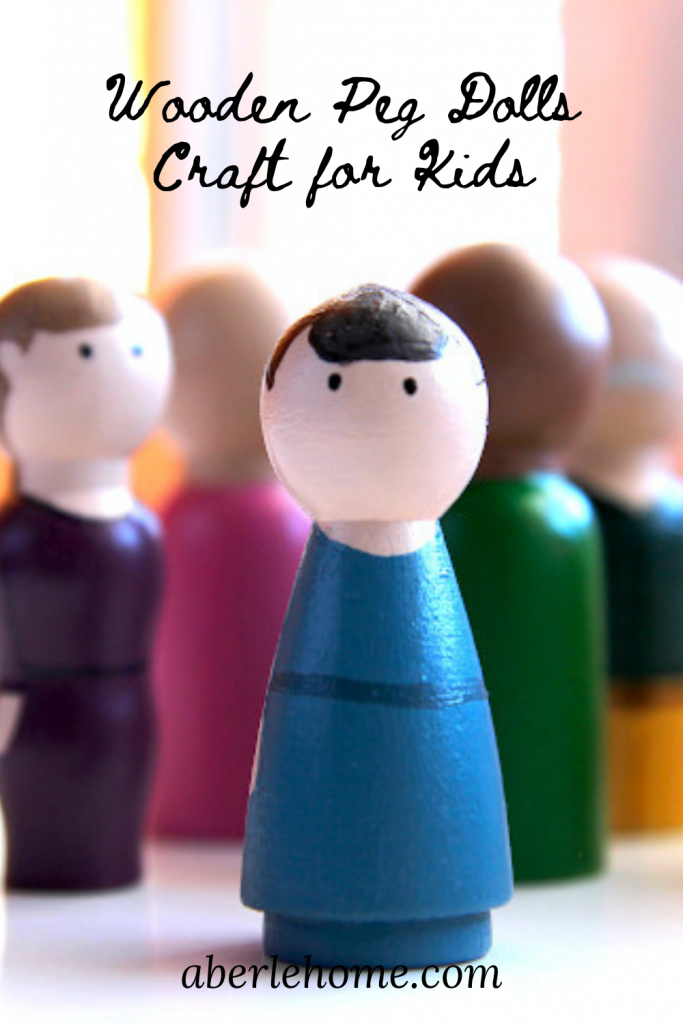
These charming DIY peg dolls are a simple, fun art project for kids or adults! It’s not that hard to learn how to paint peg dolls, and you can use them in a preschool busy bag, for Waldorf or open-ended play, for counting, story-telling, for decoration, or for a handmade gift.
*I have linked to non-toxic paints and varnish in this post, but I still wouldn’t recommend these peg dolls be given to little ones who still put toys in their mouths.
You can make these dolls as simple or as complicated as you would like.
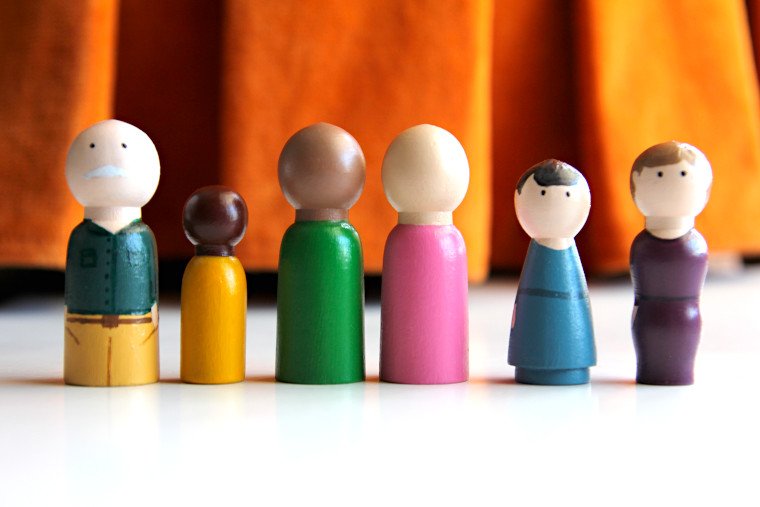
You will notice that some of mine have a plain head with no face and solid-color clothing. These will be for my kids to play with.
I ended up painting others to resemble some of my family members whom I gifted them to. Your own creativity is the limit!
Peg Doll Supplies
*I purchased my paints and brushes in town, but I have linked to similar ones here:
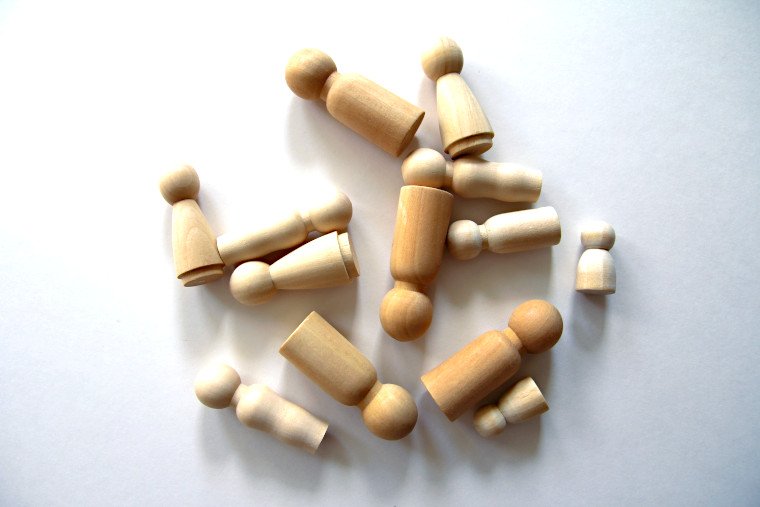
- Unfinished wooden peg dolls
- Paint tray pallet or paper plate
- Non-toxic acrylic paints (or these will work well too)
- Pencil
- Paint brushes
- Toothpick
- Water-based polyurethane varnish (you can use the matte, satin, or gloss version)
How to Make Wooden Peg People Dolls
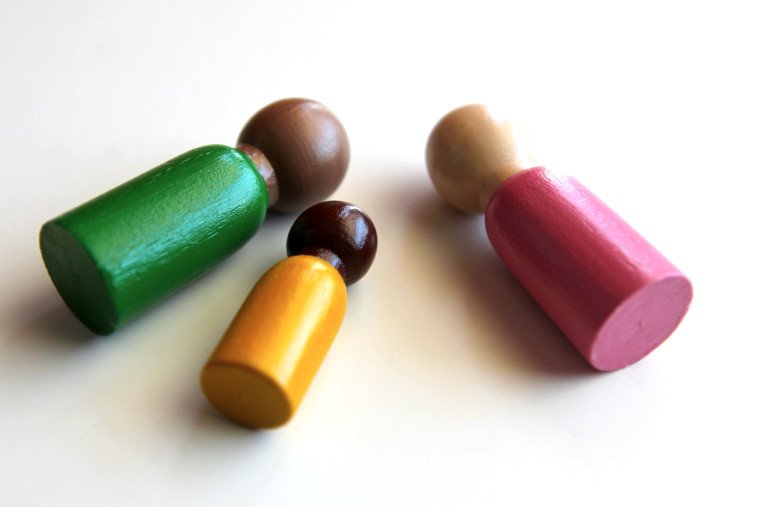
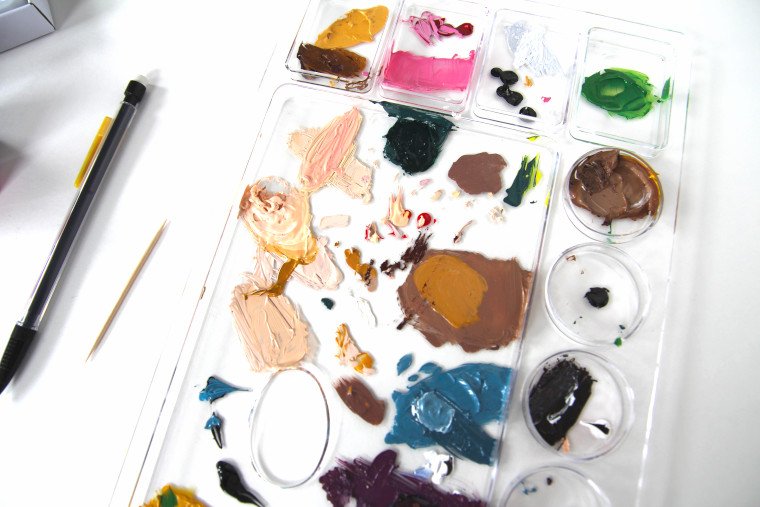
As you go, mix your desired paint colors on an artist pallet or paper plate until you have the tones you would like.
Only mix the colors as you need them, though, because they will dry fairly quickly.
Step 1 – Paint the Skin Tone
Start by painting the skin tone on the head and the general area of the arms/hands.
(Exception: if you are planning to use a skin tone that is much darker than your clothing color, do the head and arms/hands after the clothing.)
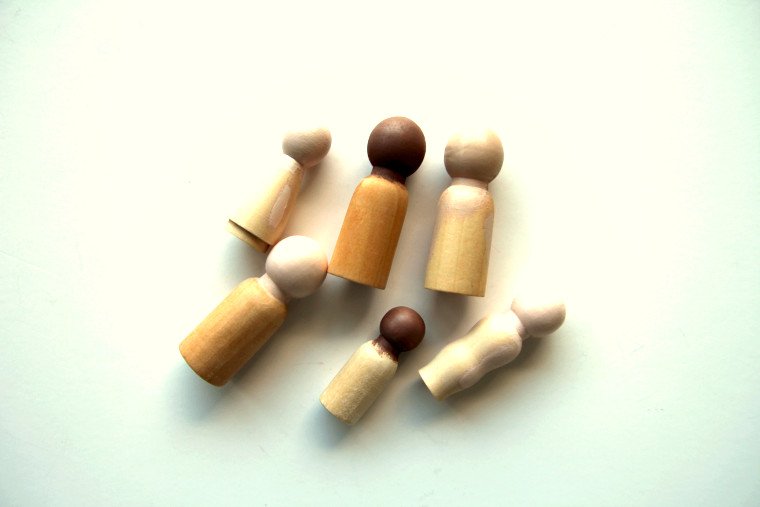
Allow to dry and apply a second coat if you feel like you need more coverage.
Step 2 – Mark the Hands and Clothing
Then use a pencil, if needed, to lightly mark where you will want your hands and clothing.
Step 3 – Paint the Peg Doll Clothes
Next, paint the clothing in the order a person would dress themselves, letting each layer dry before painting more details over the top.
For example, paint a shirt before painting a scarf, vest, or dress over the top.
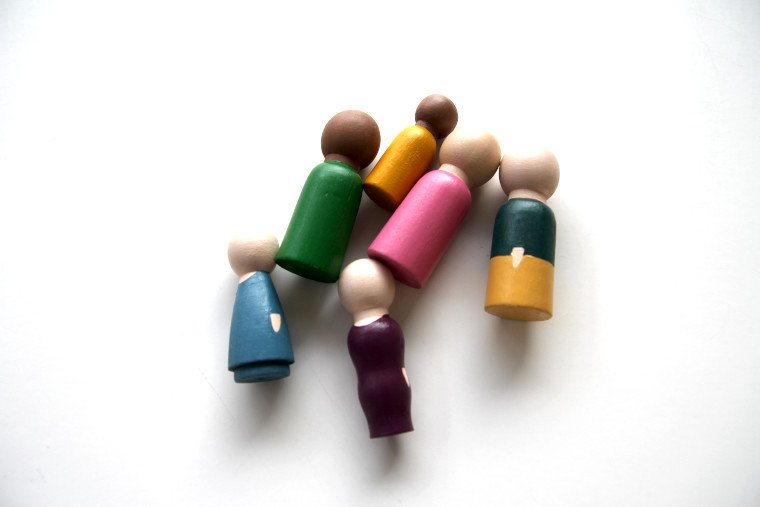
I used my smallest round brush when I painted around the necklines and the hands, and a slightly larger round brush for bigger areas.
Again, apply a second coat to any areas where you feel like you need better coverage. Let dry.
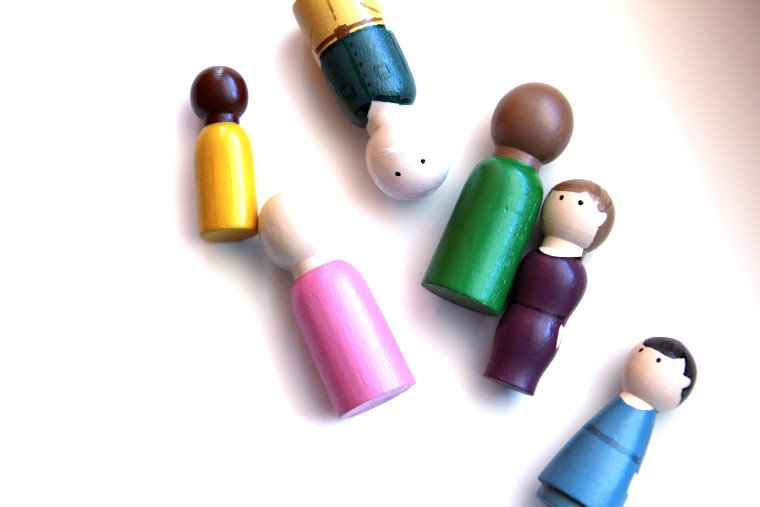
Step 4 – Add Hair and Details
Use a pencil to lightly draw guidelines for the hairstyle and any facial features you want.
Then paint the hair.
Using your smallest round brush or a toothpick, paint your details on the face, hair, or clothing.
I mixed a touch of black paint into my clothing colors to make slightly darker shades to add details. Let dry.
Step 5 – Varnish
Shake the bottle of varnish gently before dispensing some on your paper plate, and then use a medium-sized flat brush to apply to the heads and necks of your peg dolls.
Allow to dry at least until tacky. Then apply varnish on the remaining portions of your dolls while holding the dolls by their already-varnished head ends.
Allow your peg dolls time to dry completely, and they’re done!
Share Your Project
Now that you know how to make peg dolls, I would love to see what you come up with! Tag @aberlehome in your photos of your finished peg dolls on Instagram!
